How To Nail T1-11 Siding
We may receive a commission on purchases made from links.
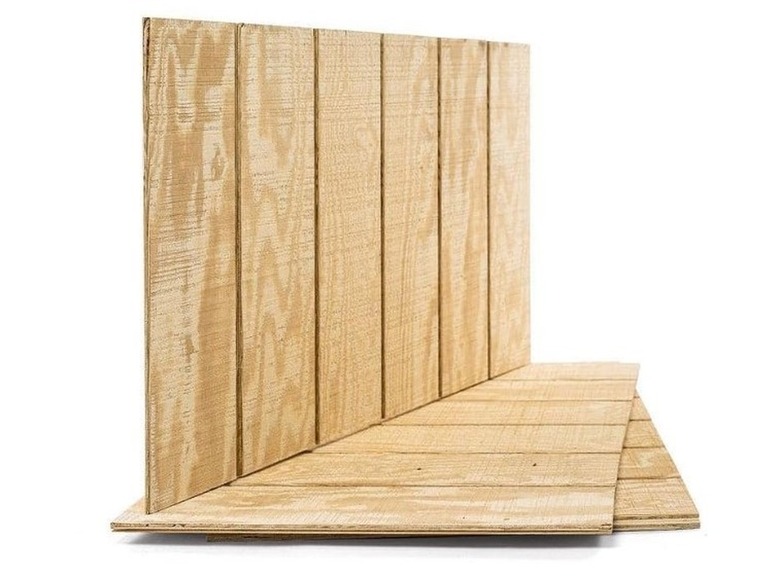
While not the only kind of plywood siding, T1-11 is probably the most common, and it has been around since at least the 1960s, when it was very popular. It comes in sheets that are 4 feet wide and 8 or 10 feet long with a thickness of either 11/32 or 19/32 inch with an underlap on one side edge and an overlap on the other. It's most commonly installed vertically with the lapped edges joined to make a watertight seam.
You can install T1-11 on top of house sheathing or in the case of a shed or utility outbuilding, directly on bare studs. Although some builders use screws to attach it, the most common way is to use nails. If you support sheets at the bottom and follow a simple nailing protocol, T1-11 can be very easy to install, which is undoubtedly one of the reasons for its popularity.
What Type of Nails to Use
What Type of Nails to Use
When nailing T1-11, it's important to sink nails into studs and not just the sheathing because nails driven into the underlayment have a nasty habit of backing out. Nails for T1-11 siding have to be weather-resistant and long enough to sink at least 1 1/2 inches into the studs. The minimum nail length is 2 to 2 1/2 inches, and the nails should be hot-dipped galvanized or electro-galvanized.
Generally, 6D nails are adequate for 11/32-inch panels, but you need 8D nails for 19/32-inch panels. Smooth box nails or framing nails are usually adequate, but some builders prefer ring shank nails, which tend to hold better but are more difficult to remove if you ever need to replace the siding.
Preparation for Nailing
Preparation for Nailing
T1-11 needs to cover the sill plate and should extend an inch or two lower than that, but it cannot be in contact with the ground and should be about 6 inches above bare ground and 1 to 2 inches above a concrete or wood surface. Installation is easier if you have a way to support the sheets while you nail them. If you have something to which you can nail a level 2x4, that's best, but angle brackets also work.
Before you nail the sheets, mark the positions of the studs. It's usually enough to draw pencil lines on the top and bottom wall plates as long as the marks are still visible with the siding in place. This isn't absolutely essential because studs have a standard 16-inch spacing, but it's a time saver because it avoids having to measure from the corner to locate the studs.
How to Nail T1-11
How to Nail T1-11
The first sheet lines up with the corner of the wall with the overlap side facing the corner and the underlap bisecting a wall stud. Set the sheet on the support or hold it in place, align the edge with the corner stud, and partially drive a single nail about halfway up. Use a level to plumb the opposite side of the sheet and then drive a second nail on the corner edge to stabilize the sheet. Now you can drive nails into the top and bottom wall plates, spacing them by 4 inches, and into the studs in the middle of the sheet and along the corner, spacing them by 6 inches. Don't nail the edge with the underlap just yet.
Set the next sheet in place with the overlap side butting against the underlap side of the previous sheet. Since you already leveled the previous sheet, you don't have to worry about leveling as long as the joint is tight. Drive nails through the joint, which simultaneously secures both sheets to the stud, and then nail off the sheet the same way you did the first sheet. Continue to the opposite end of the wall.