Try This Easy-To-Make Door Tassels Tutorial
We may receive a commission on purchases made from links.
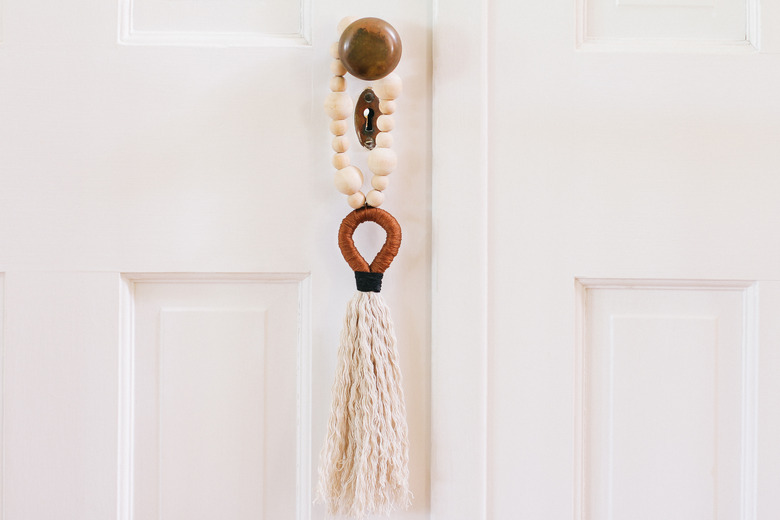
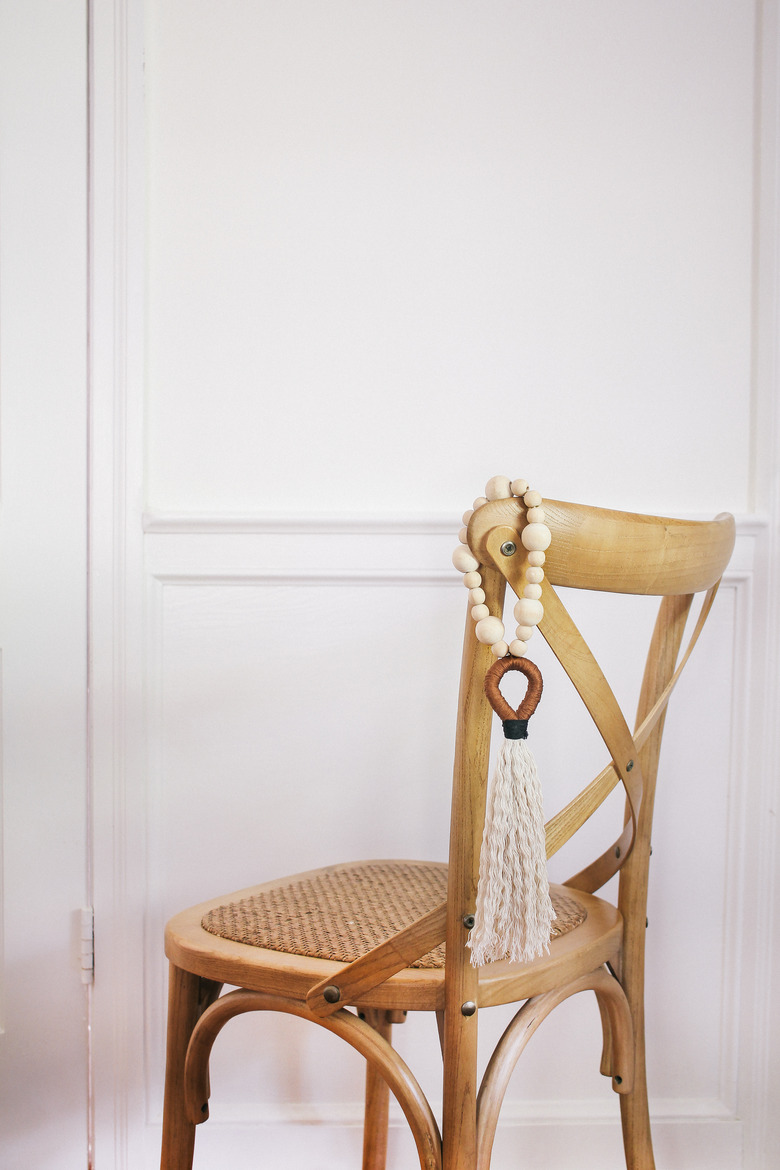
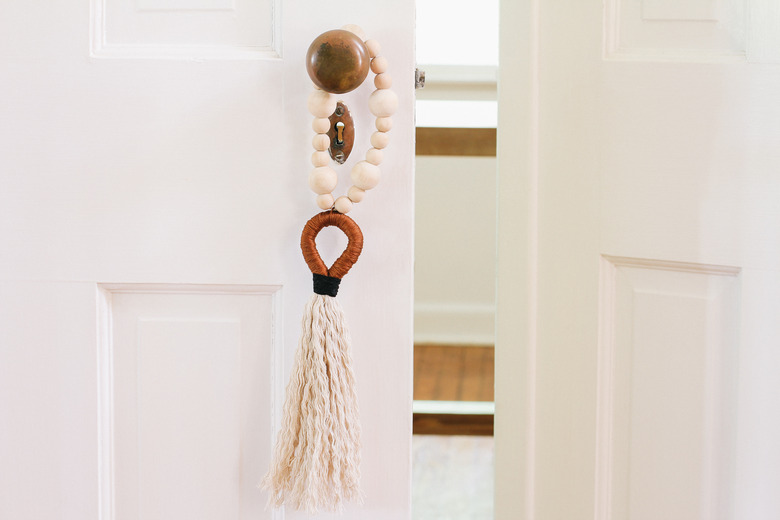
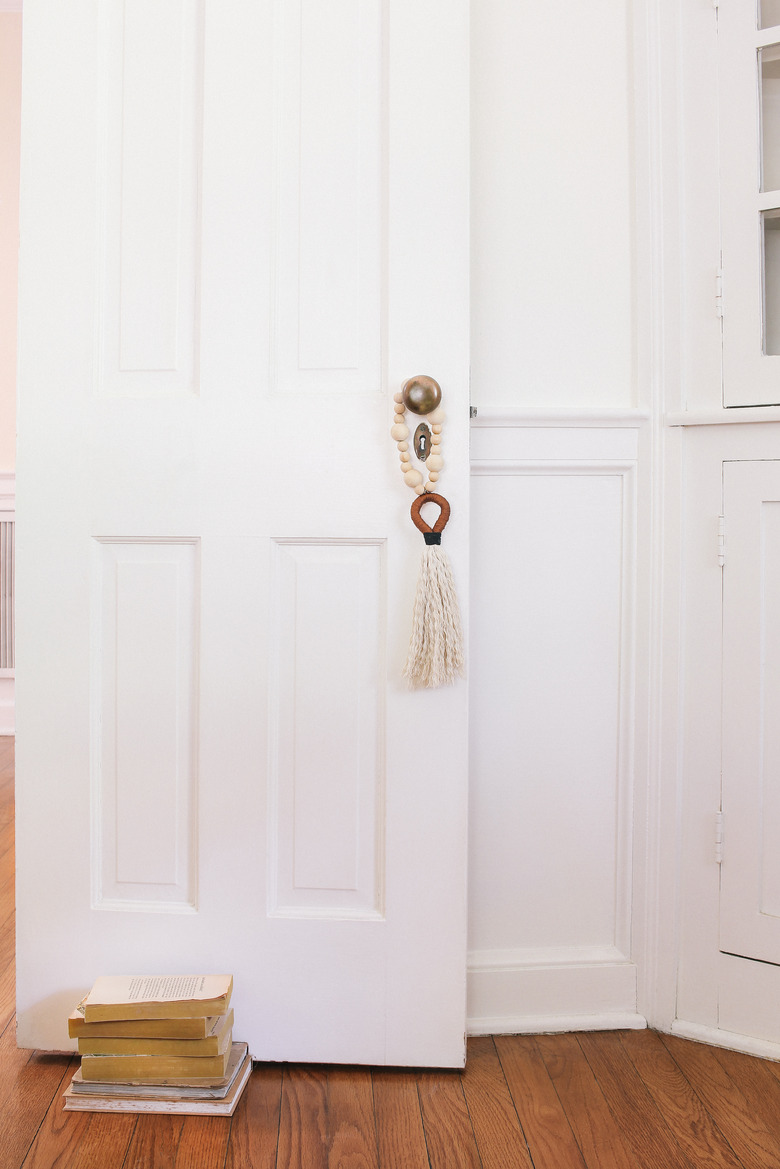
Door swag is a thing. And we're loving the textured touch this DIY tassel adds to a doorway. Paired with the earthiness of wooden beads, it brings such warmth to your space, welcoming you and your guests each time you pass by. We're also digging just how easy it is to make (we're talking less than the time it takes to have dinner delivered). So add this project to your agenda because — hung from a doorknob, a drawer pull, or the back of a chair — this tassel offers both style and a symbol of hospitality wherever you hang it.
Things Needed
-
Ruler
-
Scissors
-
Painter's tape
-
Embroidery floss (I used black and amber)
-
Twine or string
 Trisha Sprouse
 Trisha Sprouse
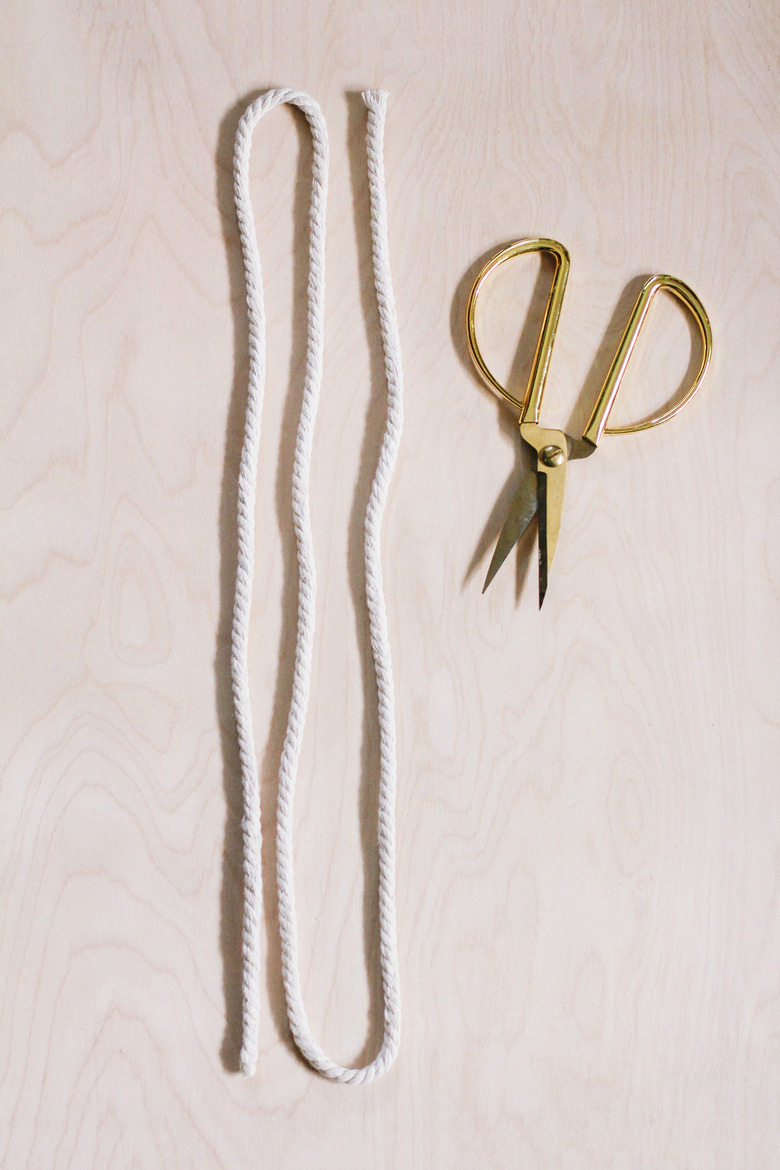
Step 1
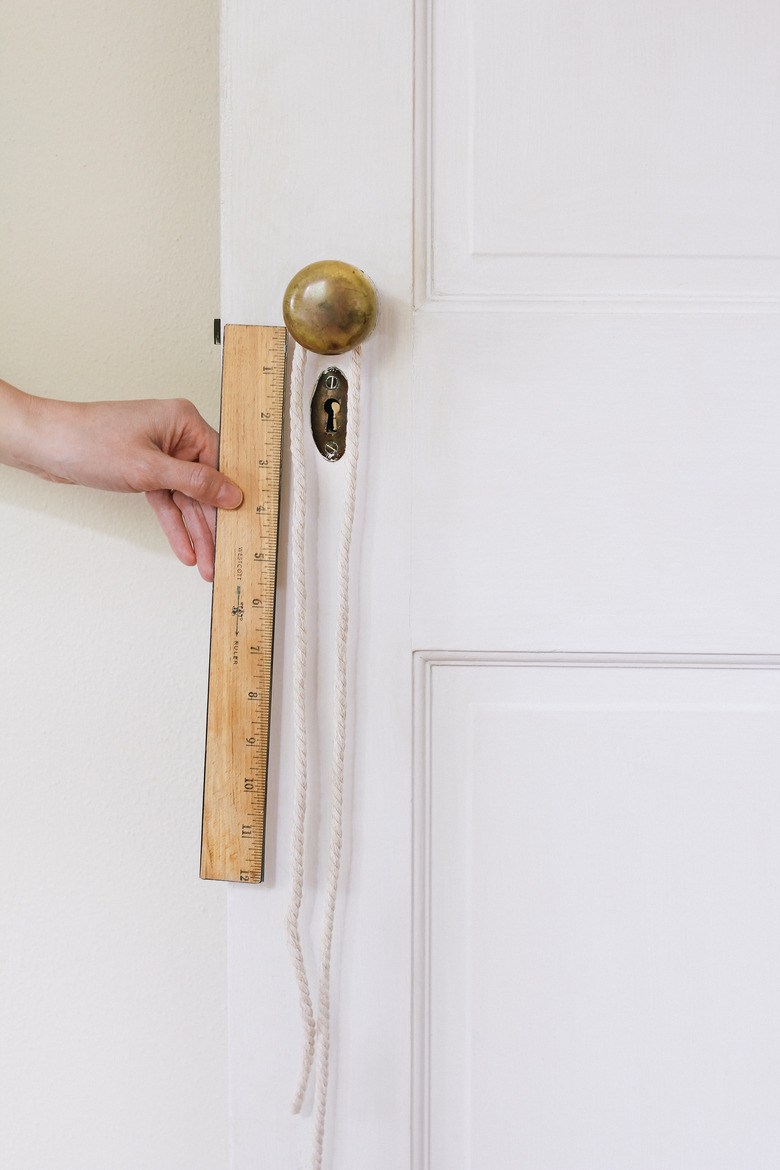
Figure out how long you want your tassel to hang on your door. I decided to make a 9-inch tassel.
 Trisha Sprouse
Multiply the desired length of your tassel times six, and cut a piece of rope according to that length. Since I wanted a 9-inch tassel, I cut 54 inches of rope (9 x 6 = 54).
 Trisha Sprouse
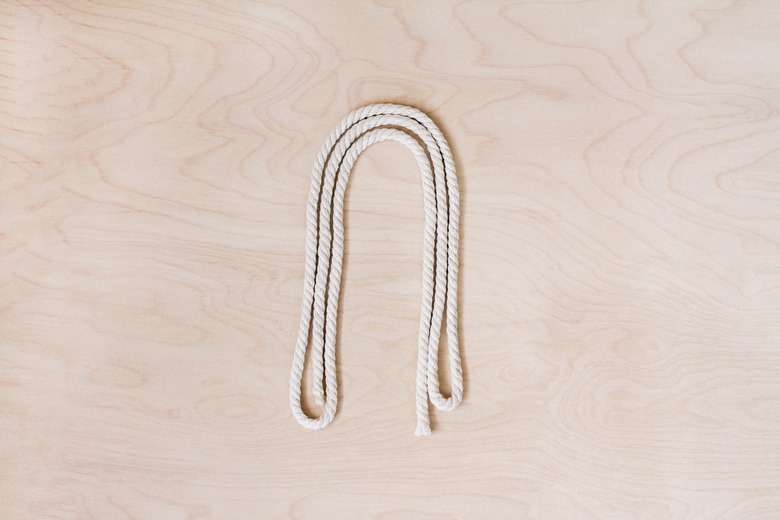
Step 2
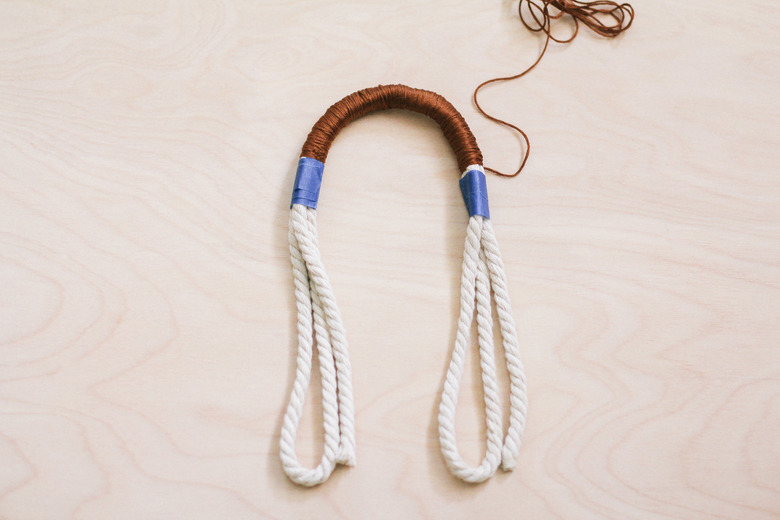
Fold your rope into thirds, and then form it into an arch shape.
 Trisha Sprouse
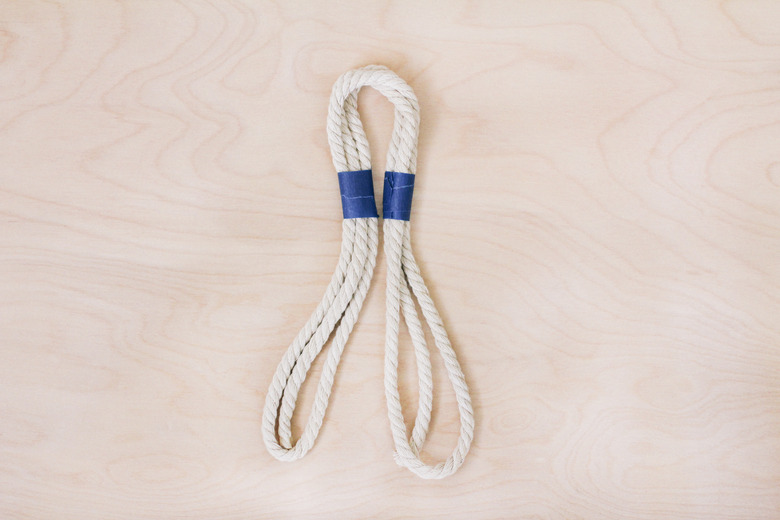
Wrap painter's tape around each side of the arch where you'd like to wrap colored embroidery floss.
 Trisha Sprouse
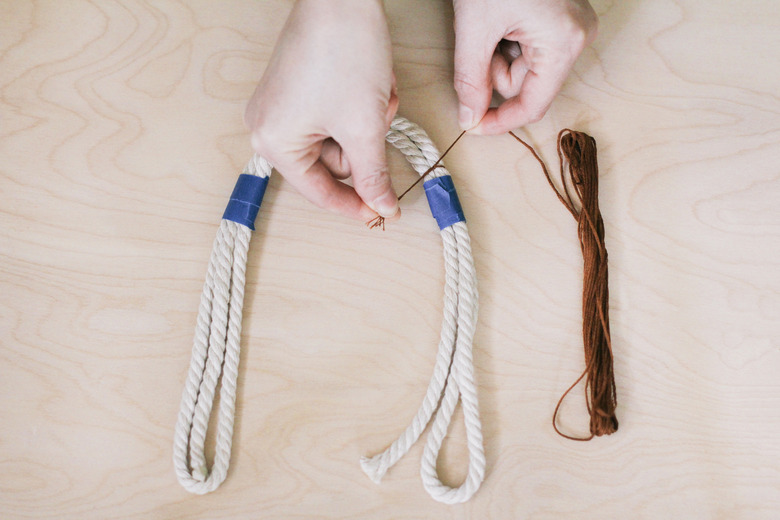
Step 3
Tie a piece of embroidery floss with a double knot onto one end of the section you taped off.
 Trisha Sprouse
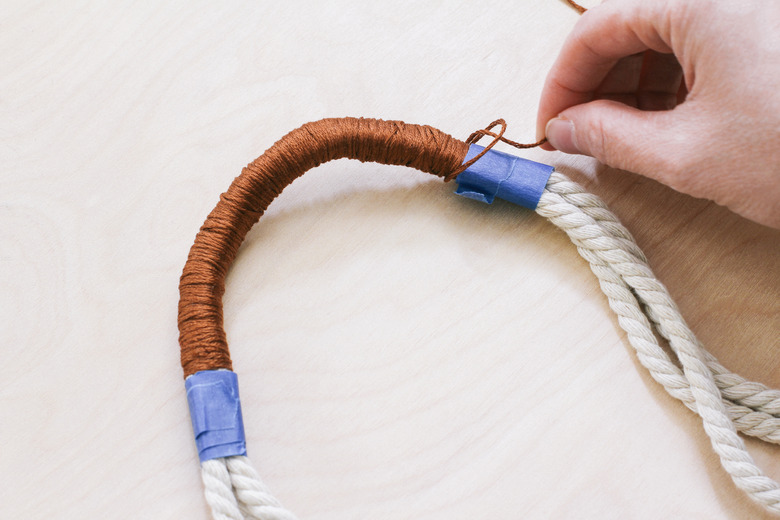
Tightly wrap the embroidery floss from one end of the taped section to the other, overlapping it to completely hide the rope beneath it.
 Trisha Sprouse
When you get to the end, wrap the embroidery floss loosely around the rope to form a loop, and pull the tail of the embroidery floss through the loop to secure a knot. Trim off the tail and remove the tape.
 Trisha Sprouse
Step 4
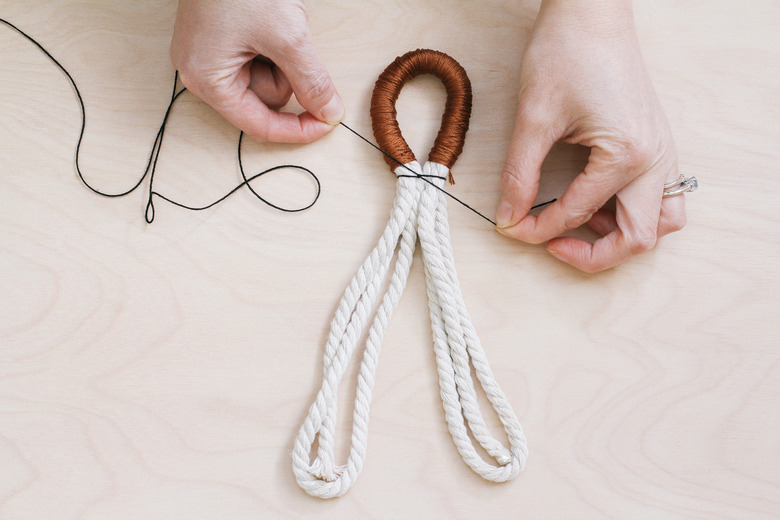
On the sides where the embroidery floss ends, cinch the rope strands together to form a loop. To secure the loop, tie a knot around the rope strands with a different colored embroidery floss. Don't trim off the tail on the knot.
 Trisha Sprouse
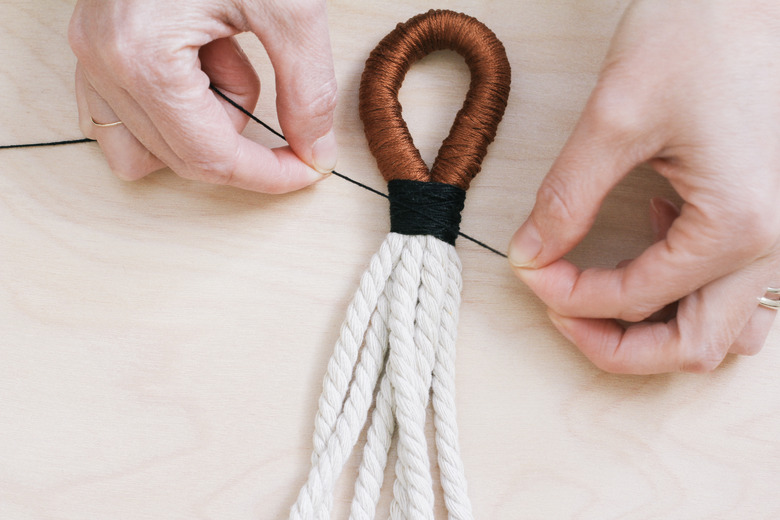
Continue wrapping the new embroidery floss color around the base of the loop until you form about a 1-inch band. Tie the end of the embroidery floss with the knot tail you left on at the beginning, and then trim off the tails.
 Trisha Sprouse
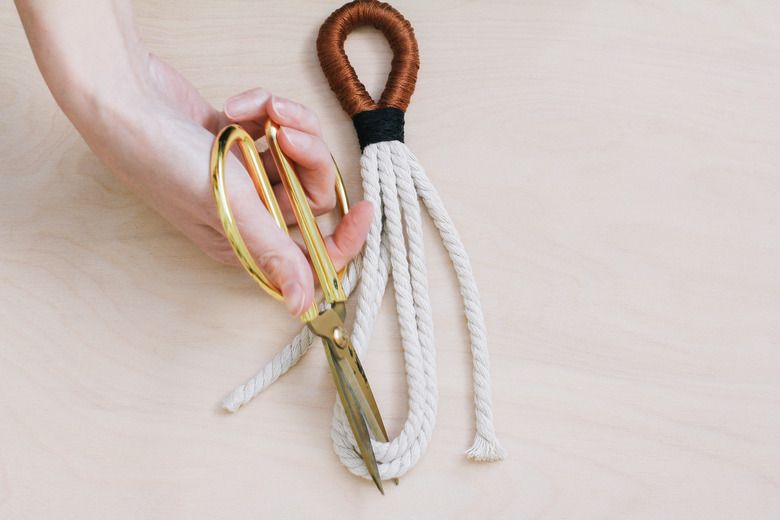
Step 5
Cut through the loops on the end of the tassel to create loose rope strands.
 Trisha Sprouse
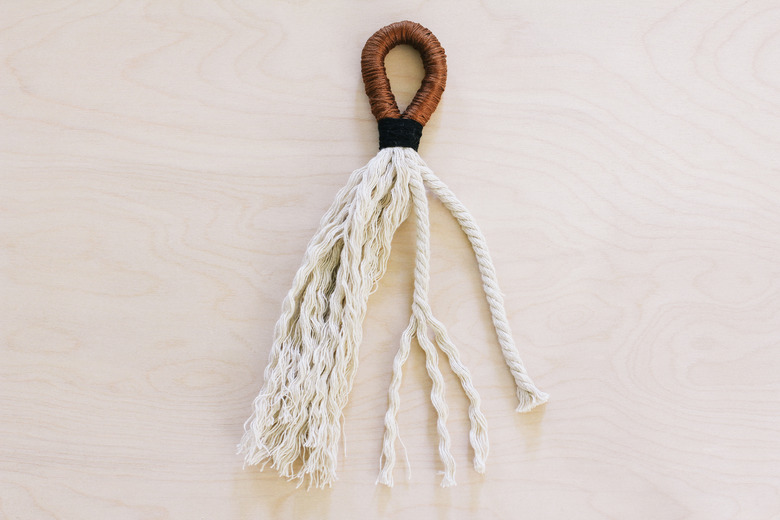
Unravel the ends of each rope strand and comb through them with your fingers to fluff up the tassel. Trim the length as desired.
 Trisha Sprouse
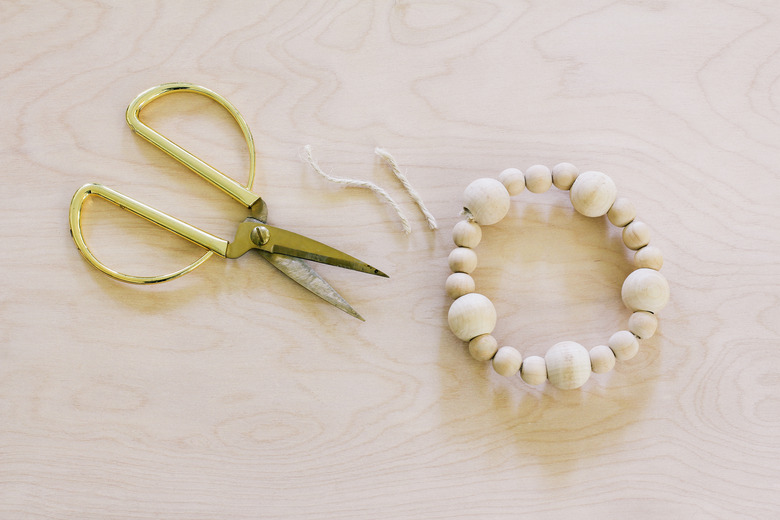
Step 6
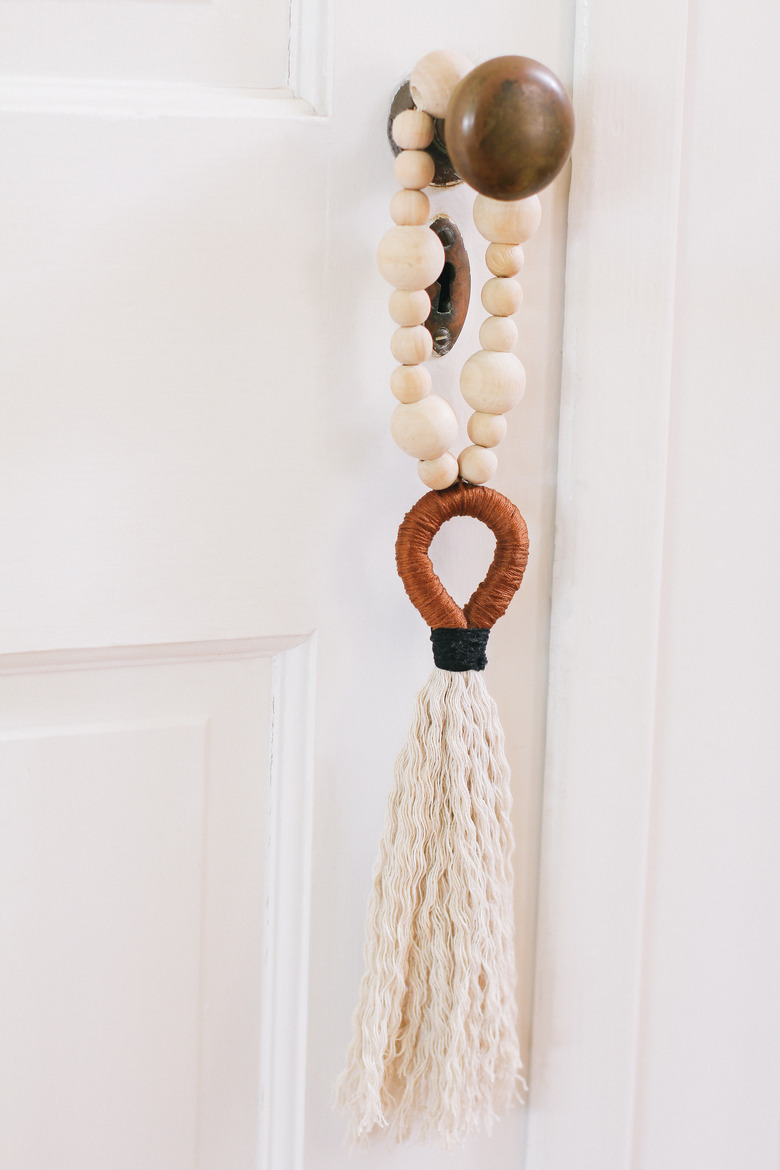
String wood beads onto a length of twine or string, and tie the ends in a tight double knot to form a loop. Make sure the loop is large enough to fit on your doorknob.
 Trisha Sprouse
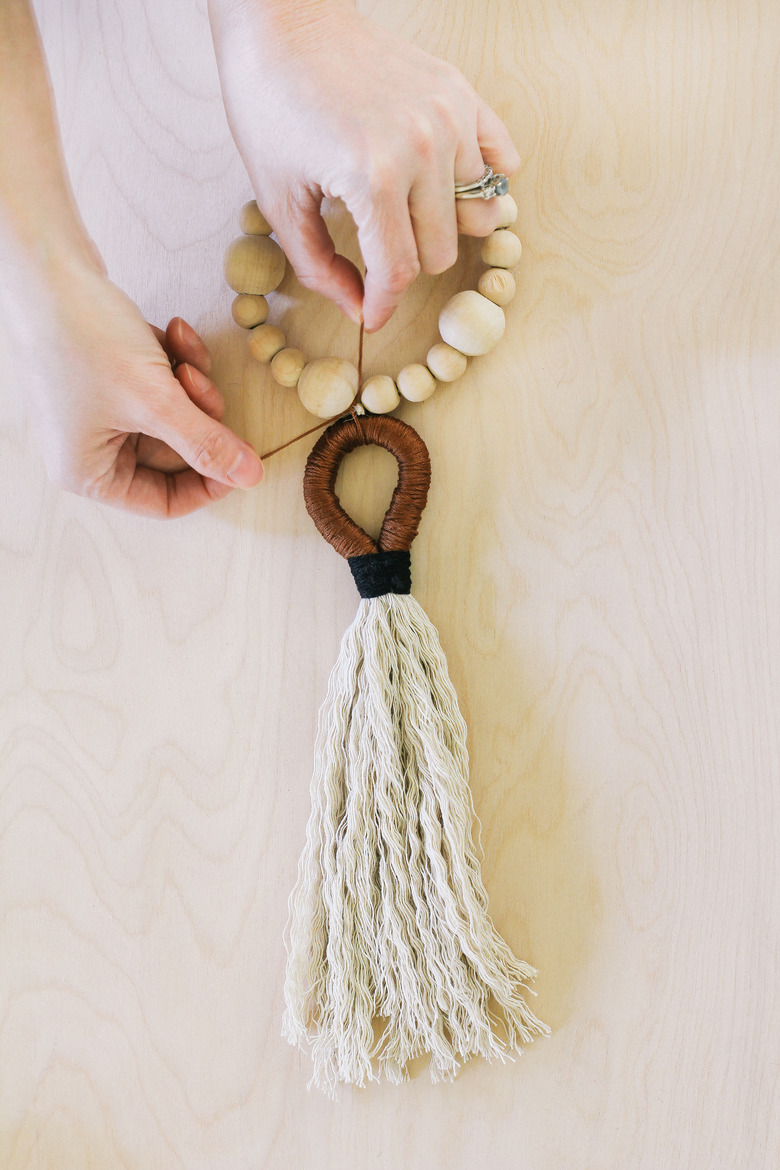
Step 7
Using the same embroidery floss color you used on the top of the tassel, tie the tassel to the wood beads with a tight double knot. Trim the tails.
 Trisha Sprouse
Hang, and enjoy a warm welcome every time you pass it!
 Trisha Sprouse
 Trisha Sprouse