Building A Simple Compost Bin
Composting is something that nature does for you. Pile up some biodegradable organic material (food scraps, leaves, grass clippings, etc.), let it sit for a while, and you've got compost. If you stir up the pile occasionally, the magical process happens even faster. Such perfect simplicity shouldn't be ruined by a complicated process for building a compost bin or the need to buy an expensive plastic contraption, such as the mixing barrels that yield only a tiny amount of compost. You also don't need three compartments to make compost, as with classic "three-bin" systems. A single bin works just a well. Compost bins can be as simple as a square, rectangular or round area enclosed with metal mesh fencing. The best option for you depends on how much space you have and how much mixing you want to do.
 lovelyday12/iStock/GettyImages
Choosing a Compost Bin Type
Choosing a Compost Bin Type
A compost bin has only a few requirements. It should be at least 3 by 3 feet (or 3 feet in diameter, if round) and have ventilated or slatted sides for plenty of air flow. The height of the bin can vary to suit different uses and compost quantities. Beyond that, the main factor to consider is whether you want to mix, or turn over, your compost material as it cooks. If you'd just like to fill the bin with scraps and yard waste and let it stew over the winter so you have a batch of compost ready for spring planting, a 3-foot round bin is probably the best fit. On the other hand, if you want to make a lot of compost and/or want to make it more quickly, a walk-in bin allows you to step inside the bin to turn the pile and pull out completed compost as it's ready (or you can leave it in until it's needed). Both round and walk-in bins use basic materials and are very easy to build.
Things Needed
-
10 linear feet of 36-inch-wide (tall) galvanized hardware cloth with 1/2-inch mesh
-
Three or four wood or metal posts (optional)
-
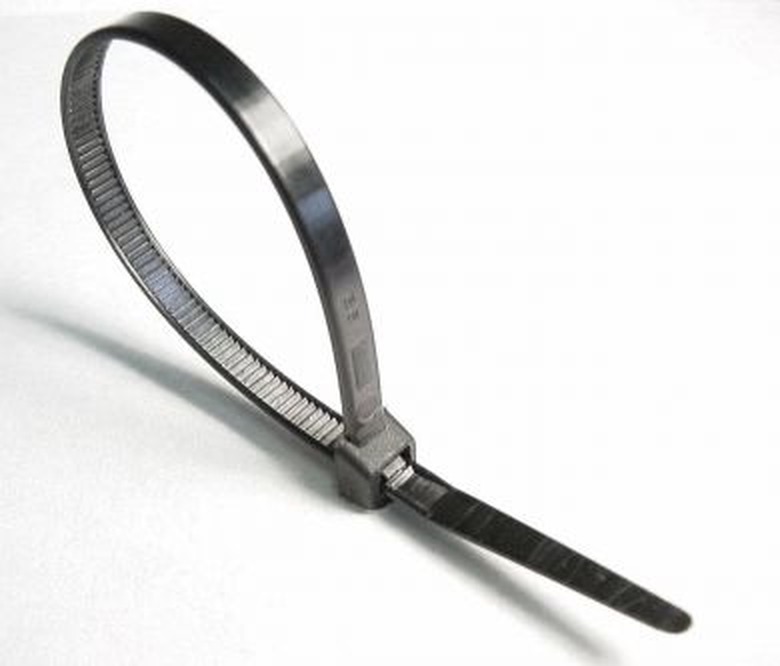
Galvanized wire or UV-resistant zip ties
-
Wire cutters
-
Metal file
-
Pliers (as needed)
-
Sledgehammer (optional)
 Acorn International/Home Depot
How to Build a Basic Round Bin
How to Build a Basic Round Bin
The simplest version of a round bin is made with a cylinder of galvanized hardware cloth (metal wire mesh) without support posts. If you prefer to have support, you can add three or four wood or metal posts driven into the ground.
- Cut a 10-foot length of 36-inch-tall galvanized hardware cloth, using wire cutters. Cut as close as possible to a vertical line of wire so there are no long, sharp ends of horizontal wire sticking out.
- File down the nubs of horizontal wire with a fine metal file to remove any sharpness.
- Stand up the hardware cloth and shape it into a cylinder that is 3 feet in diameter, overlapping the ends of the mesh as needed.
- Secure both ends of the mesh where they overlap the cylinder, using pieces of galvanized wire or zip ties. Twist the wires tightly with pliers, then cut off the excess and bend the twisted end inward so there are no sharp points sticking out. Pull the zip ties tight and trim off the tails flush with the buckle of the tie.
- Set the bin upright in the desired location and begin filling it with compostable material.
- When the compost is ready to use, simply lift up the bin to access the pile.
Tip
To secure the round bin in place, drive three or four evenly spaced posts just inside the cylinder, then tie the mesh to the stakes with wire or zip ties.
How to Build a Simple Walk-In Bin
How to Build a Simple Walk-In Bin
Things Needed
-
Galvanized hardware cloth with 1/2-inch mesh, 18 to 36 inches wide (tall); length as needed
-
Four wood or metal posts (add two more if creating a door)
-
Galvanized wire, UV-resistant zip ties or galvanized staples
-
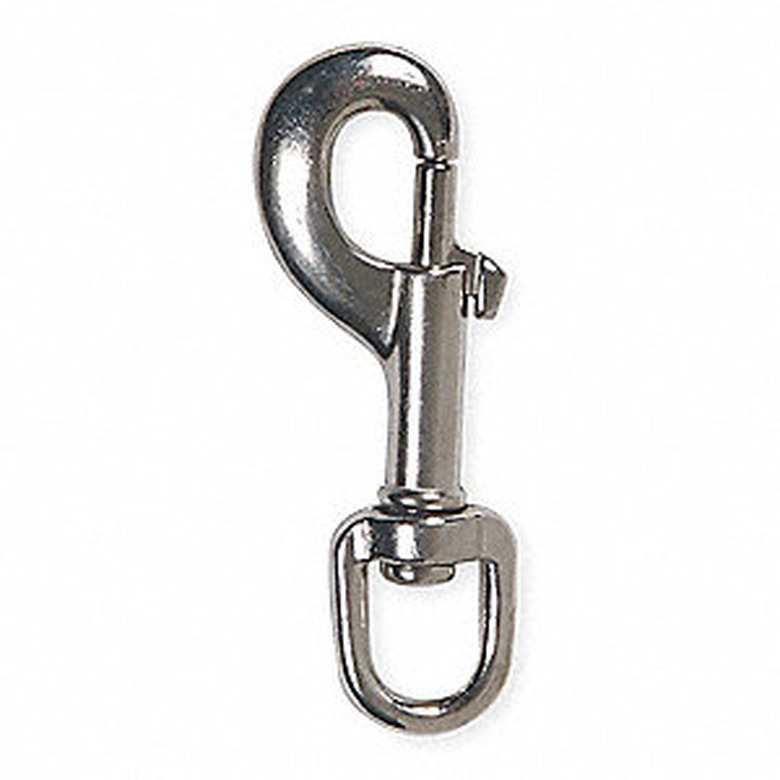
Snap hook
-
Measuring tape
-
Wood stakes or stones
-
Shovel or small sledgehammer
-
Scrap 2-by-4 or digging bar
-
Wire cutters
-
Hammer or small sledgehammer (as needed)
 Beal UK
A walk-in bin is usually square or rectangular, but it can be any shape that fits your space. It can have short walls—maybe 18 to 24 inches high—so you can easily step in and out of it, or you can make it taller and include a simple door for access. A taller bin may keep out your dog, but it probably won't deter raccoons and squirrels (but that's just part of composting).
- Lay out an area for the bin, marking its corners with stakes or stones. If the area is square or rectangular, you can check your layout by measuring diagonally between opposing corners; when the measurements are equal, the layout is "square" (has 90-degree corners).
- Mark the location of two door posts, if desired. These should be in line with two adjacent corner posts.
- Dig a 12- to 18-inch deep hole for each post, as needed.
- Set each post in its hole and backfill around it with soil, compacting the soil periodically as you go, using a scrap of 2-by-4 lumber or a digging bar. Alternatively, drive a metal post at each corner (and the door posts), using a hammer or small sledgehammer. Each post should be the same height or slightly taller than the height of the fencing.
- Unroll galvanized hardware cloth (with 1/2-inch mesh) or chicken wire, and cut it to height, if necessary, using wire cutters.
- Secure one end of the hardware cloth or chicken wire roll to one of the corner posts or a door post, as applicable, using galvanized wire or zip ties. You can also use galvanized staples (U-shaped nails, sometimes called "poultry staples") if you have wood posts. If you cut the wire mesh, position it with the cut side down so any sharp points are sticking into the ground.
- Pull the fencing around the outside of the remaining posts, securing it at each post with wire, zip ties or staples. Stop at the final corner or the second door post, as applicable.
- Create a door by cutting a piece of fencing about 12 inches longer than the width of the door opening. Fold over each side edge to create a 3-inch-wide hem, pressing it flat. Hang the door on one of the posts with three or four wire pieces, zip ties or staples, securing along the edge of the door so it swings freely and overlaps the door opening by 2 to 3 inches.
- Create a door latch by adding a wire or zip-tie loop on the fence then securing a snap hook to the door so the hook clips onto the loop to keep the door closed.
 Grainger