How To Install A Corrugated Metal Privacy Fence
We may receive a commission on purchases made from links.
Privacy fences range from a single section next to a patio to block a neighbor's prying eyes to a full fence surrounding the backyard. To install a corrugated metal privacy fence, contemplate your needs and aesthetic, whether rustic or industrial. There are a number of options to consider before designing, purchasing materials, and installing the fence.
Things Needed
-
Corrugated metal fencing panels
-
Posts, wood or metal
-
Rails, wood for metal
-
2-by-2-inch boards (optional)
-
Metal U-shaped channel (optional)
-
Stakes
-
Twine
-
Measuring tape
-
Pencil
-
Post-hole digger or auger
-
Gravel
-
Shovel or rebar
-
Screwdriver
-
Screws
1. Design the Corrugated Metal Privacy Fence
1. Design the Corrugated Metal Privacy Fence
When designing a corrugated metal fence, first be sure to check local building codes and any homeowner association (HOA) rules. You may have to adjust your design to avoid issues with the city, such as lowering the height, or submit the plan to the HOA for approval to ensure that it doesn't incur an HOA violation letter and fine.
Next, determine if you're using a fence system designed for corrugated metal fencing or building a wood framework and attaching the metal panels. Ask yourself: "Will the panels be set horizontally or vertically?" and "Will I have to cut the panels to fit a specific design or am I using them at their full length and width?"
To avoid cutting the metal into shorter sections, consider using precut corrugated panels. Once you've designed the fence, received approvals as needed and purchased the materials, plan for at least a long weekend to install the new privacy fence.
Warning
Check with the utility companies before you dig. You don't want to dig a post hole and accidentally break a gas or water pipes or cut into underground power lines.
2. Set the Posts
2. Set the Posts
Put on your safety gear, including work gloves, safety goggles and a dust mask before you begin. Mark the fence line with stakes and twine to ensure it is installed in the correct place and that it is straight. Also measure and mark the locations of the posts. If installing horizontally, 10- and 12-foot panels should have an additional post at the 5- to 6-foot mark to support the rails and make sure the panels are secure.
Dig the post holes with a post hole digger or auger, three times the width of the post and one-third of the above ground length of the post. A 6-foot-tall fence should have 8-foot posts set at least 2 feet underground. Add 6 inches to the depth of the hole to allow for the gravel base.
Pour 6 inches of gravel into each post hole and compact it with the end of the post or a hand tamper. Place the first post into its hole, brace with scrap lumber (or have your helper hold it in place), then add a quick-setting concrete mix and the recommended amount of water according to the package directions.
Use a piece of rebar, shovel or scrap lumber in an up-and-down motion to mix and distribute the concrete around the post. With a spirit level, adjust the post to vertical and hold in place for a few minutes until the concrete sets enough to hold it in place; repeat the process with each post.
3. Frame the Fence
3. Frame the Fence
After the concrete has set for at least four hours or overnight, add the horizontal rails. If adding steel channel fence rails from a kit, bolt the U-shaped vertical supports and horizontal rails to the posts according to the manufacturer's directions. Generally, the panels are inserted before the top rail is installed.
If working from your own design using wood-framing, insert the horizontal rails between the posts and attach with screws or predrill before inserting and tightening lag bolts. Your plan may require a centered third rail, or additional 2-by-2-inch boards screwed to the top and bottom rails in order to hold vertical metal panels in place. Alternatively, a metal U-shaped channel attached to the rails or the posts will hold the panels in place.
4. Attach the Corrugated Metal Panels
4. Attach the Corrugated Metal Panels
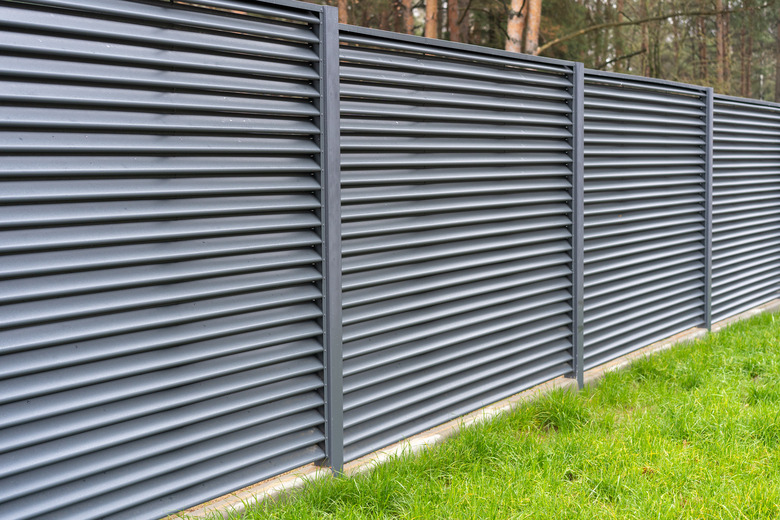
Slide the corrugated panels horizontally or vertically into the channels on metal-framed fencing. (Use caution, the edges may be extremely sharp.) Overlap two ridges on the panels to ensure a tight seam; consider using a double-stick tape or adhesive manufactured for exterior use with metals to hold the panels together. Then, add the top channel and bolt it to the posts to finish the fence.
Adding the corrugated metal panels to the wood frame of your fence varies according to your design. Simply screw the panels to the rails and posts on one side of the fence, overlapping one or two ridges and butting or overlapping the ends for a simple rustic look. Alternatively, sandwich the panels vertically or horizontally between the rails, screwing them to the 2-by-2 boards. A second set of 2-by-2s can be added to the rails on the opposite side of the panels to make a good-neighbor fence, with both sides having the same finished appearance.