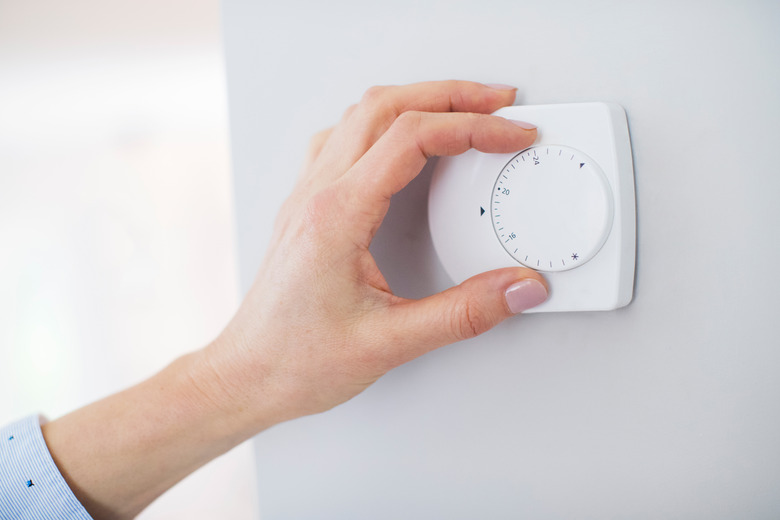
How To Install A Non-Programmable Thermostat
A non-programmable thermostat is the most basic type of heating and cooling control system available. Inexpensive but useful, these manual thermostats lack the automated functions of more advanced thermostat models, but they can be installed to work with nearly any heating and cooling system for versatile use.
Non-Programmable Thermostat Options
Non-Programmable Thermostat Options
Newer non-programmable thermostats are commonly produced by Honeywell. Although the company sells a number of newer, programmable models in addition to the base-level manual thermostats, one Honeywell thermostat works as well as any other of its models in terms of core functionality. Honeywell thermostat older models lacking the advanced features are just as effective at running heating and cooling systems.
Uninstalling an Old Thermostat
Uninstalling an Old Thermostat
By following the Honeywell thermostat directions included in your manual thermostat's packaging, you can easily uninstall an old thermostat and replace it with your new manual unit without professional help. To begin, go to your breaker box and turn off the power to your heating and cooling system to prevent any risk of taking an electric shock later on in the thermostat installation process. Remove the old thermostat from its mount, then unscrew the old thermostat mount, being careful to not harm the thermostat's wiring.
Honeywell Non-Programmable Thermostat Wiring
Honeywell Non-Programmable Thermostat Wiring
Once you've exposed the wiring of your old thermostat, you can begin the process of wiring up your new one. Honeywell non-programmable thermostat wiring and installation are functionally universal: Wires are inserted into unit terminals based on color. If your old thermostat's wires aren't labeled already, take note of which terminal each wire is plugged into, using masking tape to label each wire as you remove it from the old thermostat's mount.
Make note of wire placement with a piece of paper or simply take a picture of the wiring. Not all wiring will be color coordinated, as you can see with the blue wire.
If the new thermostat is attached to its mounting plate, separate the to. When all wires are labeled and removed from the old mount, thread them through the wire hole on your new thermostat's mounting plate. Then, use a drill, screws and drywall anchors to install the new mounting plate on the wall. Your new thermostat should include the screws and anchors that you need. Predrill the holes, insert the drywall anchors and screw the plate in place.
Connect each wire to the appropriate terminal on the new thermostat's panel. Refer to the instructions printed on the panel and the wire labels you created when you uninstalled the old thermostat. Use a screwdriver to tighten each wire into its appropriate terminal on the panel, being careful not to overtighten it.
Finishing Up and First Operation
Finishing Up and First Operation
With the wiring complete, finish the thermostat installation process by plugging your new manual thermostat into its base, then restoring power to your home's heating and cooling system. You might need to install alkaline batteries into the unit before using it. Press your unit's power switch if necessary and then follow the instructions in your Honeywell digital thermostat manual to begin using your new, fully installed manual thermostat.
Refer to the owner's manual to learn about the controls. The options are usually straightforward with a system switch to change between heat and air, fan switch and temperature adjustment arrows.
