How To Wire A Honeywell CT87N
We may receive a commission on purchases made from links.
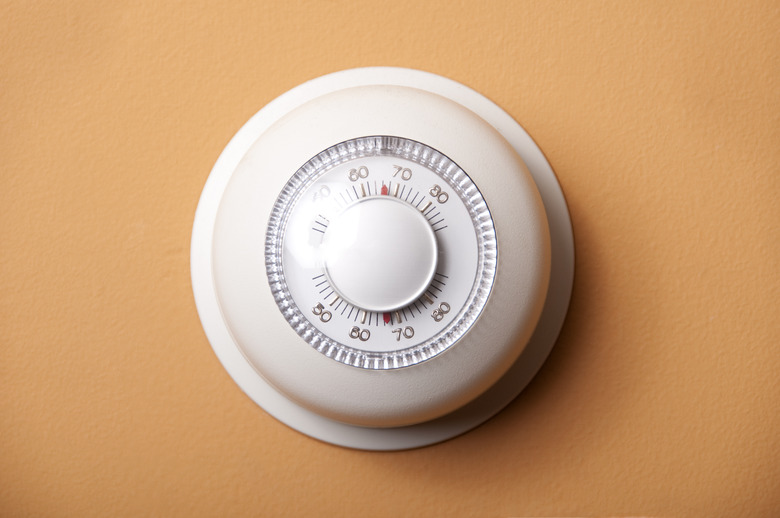
The Honeywell CT87N thermostat is one of the models in the trademark analog-dial Honeywell "The Round" series that is often installed by homeowners and contractors for reliable, simple climate control. This particular model controls your furnace and air conditioner. It is compatible with systems that include between four and six power and control wires. You wire a Honeywell CT87N by connecting the wires of the system to the terminals of the thermostat. It is crucial to match the letter codes of the system wires with the matching codes on the terminals of your Honeywell CT87N.
Things Needed
-
3/16-inch drill bit for drywall or 7/32-inch bit for plaster
-
Marker or pen
Wiring Honeywell's CT87N Thermostat
1. Turn Off the Power
Turn off the circuit breakers or remove the fuses that control electrical power to your furnace and your air conditioner.
2. Remove the Old Thermostat
Remove the front cover and the mechanism of your old thermostat. Dispose of the thermostat according to local waste regulations for mercury if it has a mercury thermometer tube or is marked with a mercury warning.
3. Disconnect the Wires
Attach a small piece of masking tape to each wire and mark it with the letter of the terminal to which it is attached on the base plate of your old thermostat. Disregard the color of each wire and mark them only according to the letter embossed on your old wall plate. Disconnect each wire one by one.
4. Remove the Base Plate
Remove the base plate. Bend the wires over the gap in the wall left by the old thermostat so they do not fall behind the wall.
5. Mark Mounting-Hole Positions
Thread the wires through the rectangular opening in the base of your new Honeywell CT87N thermostat. Align the thermostat with the wall and use a level to position it if desired. Mark the positions of both screw mounting holes at the sides of the base plate. Remove the thermostat and be careful not to let the wires fall behind the wall.
6. Drill Holes for Screws
Drill holes at the marked points and use a hammer to tap a (provided) plastic anchor into each hole.
7. Pull Wires Through Thermostat Base
Pull all wires through the cover plate if you are using one and then through the rectangular opening at the bottom of the thermostat base.
8. Screw in the Mounting Screws
Line the mounting holes up with the anchors and screw each mounting screw firmly into its anchor.
9. Match Wires to Terminal Block Letters
Match the letter(s) you marked on the tape label of any one of the wires with the corresponding letter embossed on the left side of the left terminal block or the right side of the right terminal block.
10. Insert Wires Into the Correct Terminals
Insert any wire marked "R," "RH," "4," or "V" into the "R" terminal, any "G" or "F" wire into the "G" terminal, any "W," "W1" or "H" wire into the the "W" terminal and any "Y," "Y1," or "M" wire into the "Y" terminal. If you have a wire for both the "R" and "Rc" terminals, unscrew both terminal screws and remove the metal jumper connecting them before you insert either wire. Do not use the C or X wire at all. If you have a heat pump and both an "O" and "B" wire, do not connect the "B" wire. Cover the exposed end of all unused wires with electrical tape and push them behind the wall.
11. Tighten Each Terminal Screw
Unscrew the terminal screw, insert the exposed end of the wire firmly into the terminal slot, and tighten the screw. Tug on the wire and make sure it does not come out of the slot. If it does, repeat this step.
12. Install Each Remaining Wire
Repeat Steps 8 and 10 for each remaining wire.
13. Set the Switches
Set the fan switch in the center of the thermostat base to "E" if you have a heat pump or electrical heating system. Move the positions of the two cycle rate switches according to the settings for your type of system.
14. Snap the Cover in Place
Align the tabs at the bottom of the thermostat cover with the lugs in the base and snap the cover into place.
15. Turn the Power On
Restore power to your system and set the dial, heating/cooling switch, and fan switch as you wish.