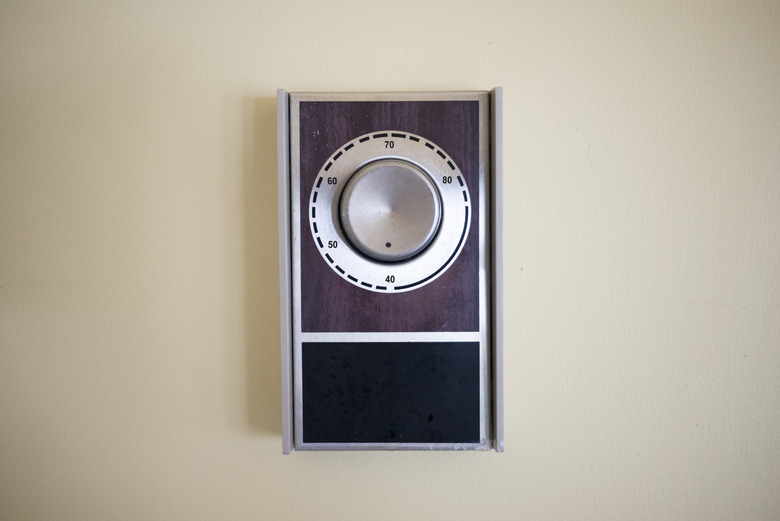
How To Replace An Old Honeywell Thermostat
We may receive a commission on purchases made from links.
You might want to replace an old Honeywell thermostat to upgrade from a mechanical model to a digital one or to upgrade your current digital one to a smart Wi-Fi thermostat. These upgrades are significant in terms of thermostat capability, but they don't affect the difficulty of the replacement, which you can definitely DIY. That's because the wiring won't change with the new model.
Things aren't quite as simple when you have to replace an old Honeywell thermostat to accommodate upgrades to your HVAC system. If you've added air conditioning to your heating system or replaced your furnace with a reversible heat pump, you'll need to connect extra wires for which there may have been no terminals on the old thermostat. Few homeowners should ever have to DIY this, though, because any HVAC technician who installs such new equipment will also install the upgraded thermostat. Here's how to replace an old Honeywell thermostat.
Things Needed
How to Remove and Replace an Old Honeywell Thermostat
1. Shut Off the Power
Shut off the circuit breaker that controls the HVAC system. Even though you can't get a serious shock from 24-volt thermostat wires, you could damage the HVAC equipment if the wires touch each other while the power is on. It's a different story if you're replacing a line voltage thermostat controlling a system of baseboard heaters because the live 120-volt wires can seriously shock you. Either way, play it safe and turn off the power.
2. Remove the Old Cover Plate
Unsnap the cover plate or use a screwdriver to remove the screws and lift it off. Be careful when removing the faceplate from an older mechanical thermostat because there's a glass vial inside underneath the cover that contains mercury, and the glass is breakable. Leave the wall plate where it is so you can label wire connections before proceeding. Test the red wire, which is the one that carries power, with a noncontact voltage tester to make sure it's dead.
3. Label and Disconnect the Wires
Note the letter designation of each terminal to which a wire is connected and the color of the wire and label each wire with that letter using painter's tape and a pencil. And because more information is good, take a photo with your smartphone for reference. You'll be connecting each wire to the terminal with the same letter on the new thermostat except perhaps the one connected to the C, or common, terminal if there is one. The common wire (C-wire, which is usually black or blue) is only needed for thermostats that don't have batteries.
When you're finished, disconnect the wires from the terminals either by using a screwdriver to loosen the terminal screws or by pushing on the plastic release tab on each terminal to free the wire. Separate the wires and splay them out to prevent the wire bundle from falling into the hole in the wall.
4. Remove the Old Wall Plate
Loosen and remove the screws holding the wall plate (base plate) and give it a gentle tug. If it's stuck to the paint, use a utility knife to cut around the plate to prevent paint from peeling off and then remove the wall plate. Tape the wires to the wall with low-tack painter's tape, being careful not to cover the lettered labels, as you might accidentally tear them off. If your new thermostat is smaller than the old one, you may need to remove drywall anchors or do some putty repairs. (Don't skip taping the wires to the wall; they could slip back into the wall if you don't!)
5. Install the New Wall Plate
Mount the base plate level by dry-fitting it, leveling it with a torpedo level, and marking the screw holes. Drill holes for screw anchors in the drywall and tap in the anchors. They will prevent the screws from pulling out of the drywall when you remove the cover plate to install new batteries. Set the base plate in position, feed the wires through the hole in the back, and drive the screws. Check the level one last time before tightening the screws all the way. Splay out the wires so they can't fall backward.
6. Wire the New Thermostat
Using your labels on the wires or your smartphone photo as a reference, connect the wires to the terminals with the same letter designations as they were on the old thermostat. Use a screwdriver to tighten the terminal screws on the base plate or if there are no screws, push on the spring-loaded tabs.
If your old nonprogrammable thermostat didn't have batteries and your new programmable thermostat does, you might not need the C-wire, but some smart and Wi-Fi-enabled models require it, so check the installation instructions. If you don't need the C-wire, cover the exposed end with electrical tape and push it out of the way. Otherwise, connect it to the C terminal. If your old unit didn't have a C-wire and the new unit needs one, you'll need to call an HVAC pro to install that wire.
7. Put In Some New Batteries
Open the battery compartment on the cover plate and insert new batteries. Most Honeywell models take two AA batteries, while others take three or four AAA batteries. You'll probably see notifications, including the room temperature, on the LED display when you close the battery cover. If the user's manual calls for a C-wire, your thermostat doesn't need batteries.
8. Install the New Cover Plate
Snap the cover plate onto the base plate. If your cover plate is fastened by screws, drive the screws with a screwdriver rather than a drill to avoid cracking the plastic.