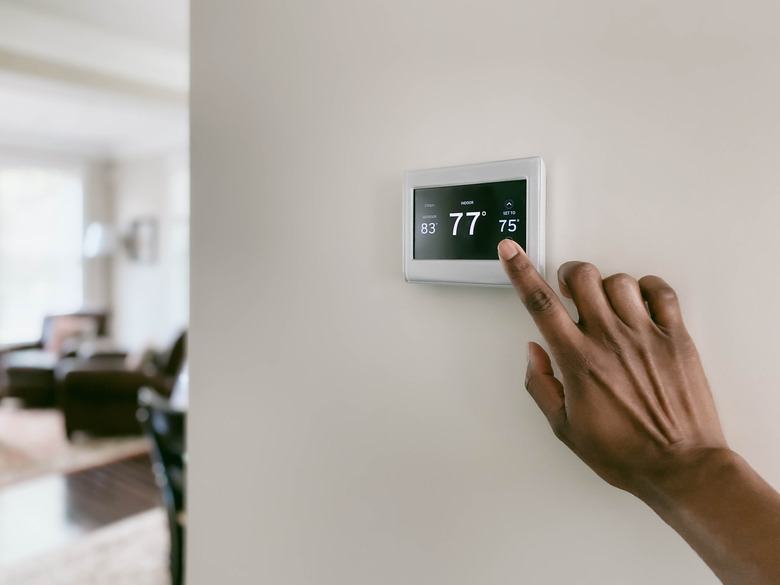
How To Wire A Honeywell Thermostat
Honeywell thermostat wiring can vary from model to model. There are also differences when it comes to the wiring in your home that, with the help of your thermostat, controls the heating and cooling system. If you check the Honeywell thermostat CT31A1003 wiring diagram, for example, you'll see that it requires only two wires because it's a very basic thermostat designed only to control a heating system. If you have a system that both heats and cools your house, you need a more complex thermostat with more wire terminals, and if your system incorporates a heat pump, you need a heat pump thermostat or any standard thermostat that is heat pump compatible.
You can use a multifunction thermostat to control a simple system, but not the other way around. It helps to have a basic understanding of your home's heating and cooling system as well as how thermostats work before you buy a thermostat to control it. If your HVAC knowledge is limited, you can also simply count the wires connected to your old thermostat; your new Honeywell thermostat should be able to accommodate at least that many wires.
Honeywell Thermostat Wiring Letters
Honeywell Thermostat Wiring Letters
Honeywell thermostats follow the industry standard for terminal identification. Each terminal is marked with a letter that usually corresponds to the color of the wire that should be used to connect it.
|
W (white wire) |
Controls the auxiliary heating elements |
|
Y (yellow wire) |
Controls the compressor on the cooling system |
|
G (green wire) |
Controls the fan |
|
C (blue wire or black wire; aka C wire or common wire) |
Provides a return path to the transformer; used when thermostat receives 24VAC (low-voltage) power from the system control panel; not present when thermostat has batteries or operates mechanically |
|
O (orange wire) |
Controls the reversing valve on a heat pump to switch the pump back and forth from heating to cooling |
|
Rh (red wire) |
Supplies 24VAC power to the thermostat and switches the heating system on and off |
|
Rc (red wire) |
Supplies 24VAC power and switches the cooling system on and off |
|
W2 (color unspecified) |
Second-stage heater |
|
Y2 (color unspecified) |
Second-stage cooler |
|
X2 (color unspecified) |
Second-stage indicator lights |
Metal Jumper for Honeywell Thermostat Terminals
Metal Jumper for Honeywell Thermostat Terminals
If your HVAC system has both heating and cooling functions, you'll need to connect both the Rc and Rh terminals with a red wire. Because many thermostats come with a pre-installed thermostat jumper wire (or a small metal clip) that connects these terminals, you only need one red wire, which could be the thermostat Rc wire or the Rh wire. If this jumper wire isn't present, you can install one yourself. If you don't use a jumper, you'll need two red wires so you can connect each terminal separately to the system transformer.
DIY Tips for Hooking Up a Honeywell Thermostat
DIY Tips for Hooking Up a Honeywell Thermostat
Thermostat installation is an easy DIY project that any homeowner can tackle, but understanding a few basics can help you avoid problems.
You Can Upgrade to Most New Thermostats
You can replace an older existing thermostat with almost any type of new thermostat, including Honeywell wi-fi thermostats and other smart thermostats, such as Nest thermostats, as well as basic digital and programmable thermostats. Thermostats that connect to just two wires can control only a heating system (such as a furnace) or a cooling system (such as an air conditioner) but not both. This wiring configuration will work with a new programmable thermostat, but be aware that this will not change the functions of your HVAC system.
It's Okay to Have Unused Thermostat Wires
The most common wiring for home thermostats is 5-wire, but 6-wire and 7-wire thermostat cables (wires wrapped inside a plastic sheathing) are also possible. In any case, it's ok to have one or more unused wires. For example, you may have a 5-wire cable but only three of the five wires connect to your old thermostat. Just be sure to hook up the same three wires to your new thermostat.
Don't Rely on the Thermostat Wiring Color Code
When installing a thermostat, many people — even HVAC pros — don't always pay attention to wire colors, so you can't assume that the colored wires sticking out of your wall perform the most common or standard functions. The best way to identify the wires is to look on your system control board — where the thermostat wires connect to your furnace or other equipment. It has the same terminal designations as the thermostat does, and you can simply note the color of the wire attached to each terminal on the control board, then make sure the same wires go to the same terminals on the thermostat.
If you're replacing an existing thermostat, note the color of the wire attached to each terminal before you disconnect it. Label each wire with painter's tape for easy identification, or take a picture for reference. Connect the wires to your new Honeywell thermostat in the same way.
Warning
Standard thermostat use low-voltage (typically 24 volts) wiring that is very thin (18-gauge). Thermostats that control baseboard heaters or other electric heaters often use line voltage (120 or 240 volts) and have standard (12- or 14-gauge or larger) wires. Low-voltage thermostats are not compatible with line voltage.
