Installing A Programmable Thermostat
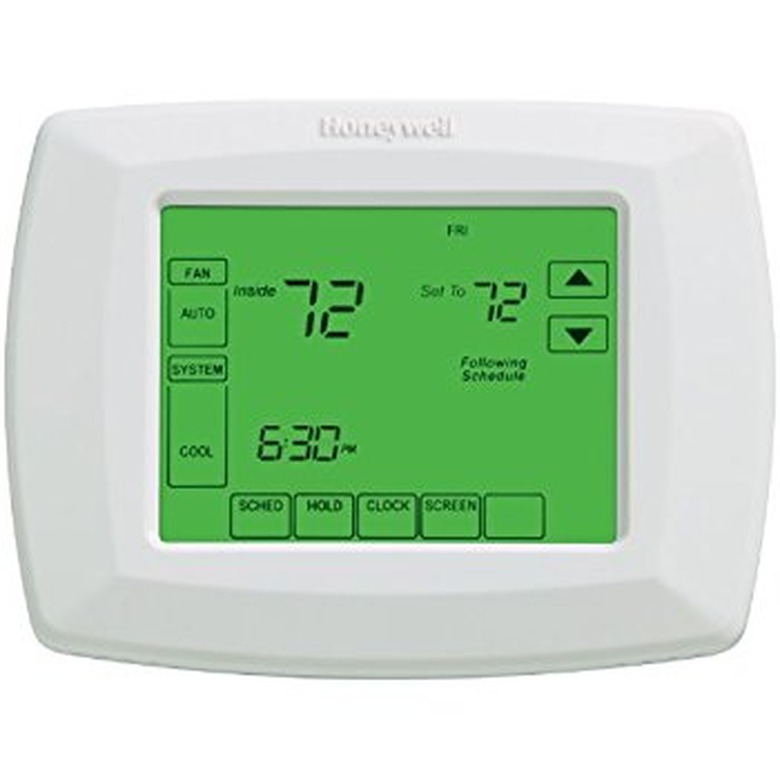
A programmable thermostat is a convenient and inexpensive investment that can help you save money on your heating and air-conditioning costs by automating the action of raising and lowering the temperature settings. For example, a programmable thermostat can automatically set your system to a more energy-efficient level when you are at work, shifting it back just before you return home.
Installing a new thermostat is a quick and easy task that requires very few tools.
These directions are for a basic programmable thermostat suitable for these types of heating and air-conditioning systems:
- A furnace that is gas, oil, or electric—the existing thermostat has 2 or 3 wires connected
- A central air conditioner— the existing thermostat has 2 or 3 wires connected
- A hot water system that does or does not have a pump—the existing thermostat has 2 wires connected
- A millivolt system—the existing thermostat has 2 wires connected
- Central heating with air-conditioning—the existing thermostat has 4 or 5 wires connected
Note that these directions are not for a heat pump system, multi-stage system, or electric baseboard heaters.
Things Needed
-
Programmable thermostat
-
Flat blade and Phillips screwdrivers
-
Tape
-
Marking pen
-
Torpedo level
-
Drill and bits
-
Small hammer
-
Wire stripper
 Lowes
Lowes
1. Remove the Old Thermostat
Thermostats are typically two parts—a cover that pulls or snaps off and a base that is screwed to the wall. Some may have three parts. The goal is to expose the thermostat wires connected to the thermostat.
- At the circuit breaker box, turn off the power to the heating and/or cooling system. The furnace and the air conditioner will have separate circuits.
- Remove the cover on the old thermostat. Some may have a small tab at the side or bottom to push in that releases the cover; other covers may pull straight off.
- If you can see the wires coming out of the wall, jump ahead to Step 3.
- If you cannot see wires coming out of a hole in the wall, this usually means that you have a three-part thermostat. Unscrew the two or three mounting screws and remove the second part of the thermostat, exposing the thermostat wires. Note: If there is no second part, it may mean that the labeled screw terminals are located on the back of the wall plate. You will need to remove the wall plate in order to expose the wires.
 King County
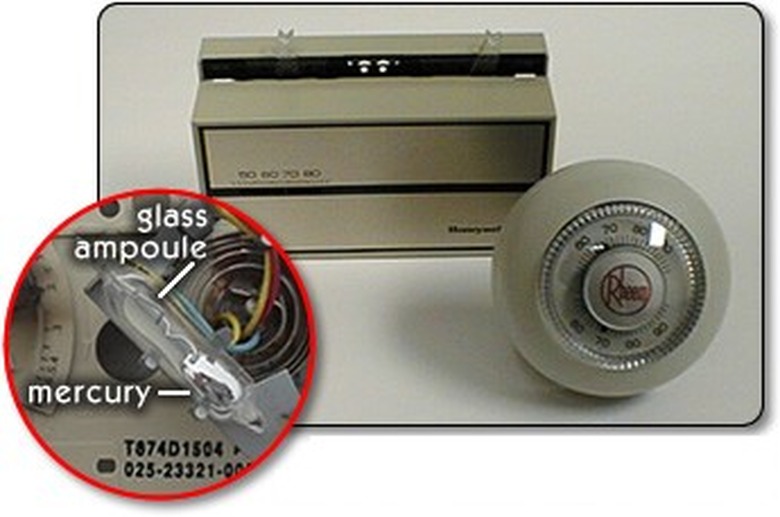
Warning
Older thermostats (prior to 2006) may contain mercury. Mercury is an extremely hazardous substance, and federal law prohibits the disposing of mercury thermostats in the trash. When you remove the thermostat, look for a small glass ampoule with a silvery liquid inside. Take the thermostat to your local hazardous waste reclamation center for proper disposal.
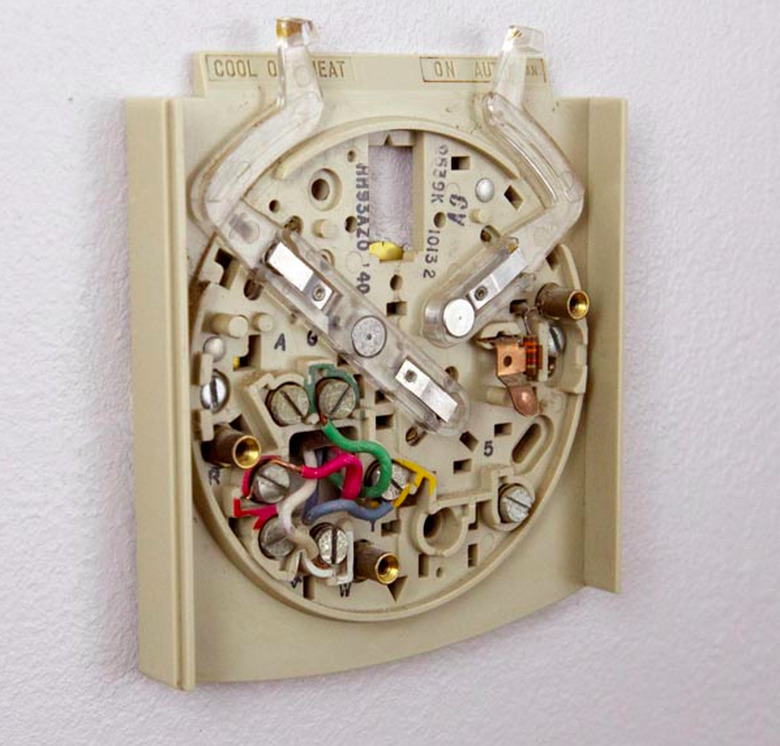
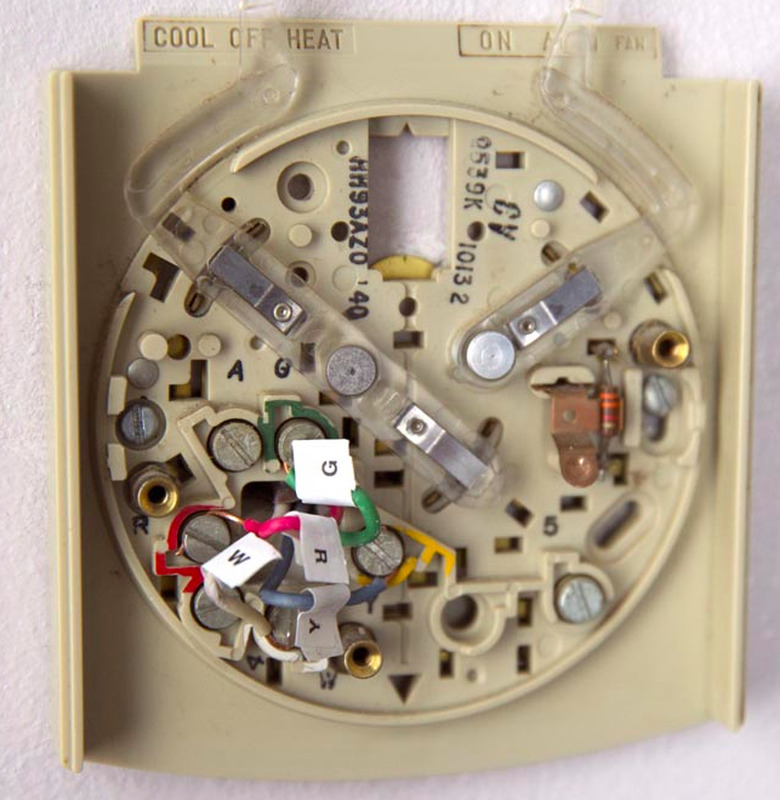
2. Label the Wires
The wires coming out of the wall are attached to labeled terminals on the thermostat.
- Label small pieces of tape with the same letter, or the same letter and number combination, that is on the thermostat terminals.
- Wrap the labels around each corresponding wire. Note that the wire colors may not match the initials on the terminal. (The G terminal may have a blue wire, for example.)
Warning
If there is a metal or plastic junction box and large wires attached to your thermostat, it is a line voltage thermostat and cannot be replaced except by a trained technician. Line voltage thermostats typically connect baseboard electric heaters and some electric furnaces. Reattach the thermostat and contact an HVAC professional.
3. Remove the Wall Plate
 Lowes
Lowes
- Once the wires are labeled, detach the wall plate from the wall by removing the mounting screws. Pull the wall plate slightly away from the wall.
- Loosen the screws holding the wires to the terminals, and remove the wires from the wall plate. Allow the wires to slide through the opening on the wall plate, but be careful to keep hold of the wires.
- Wrap the wires around a pen or pencil to prevent them from slipping back into the wall.
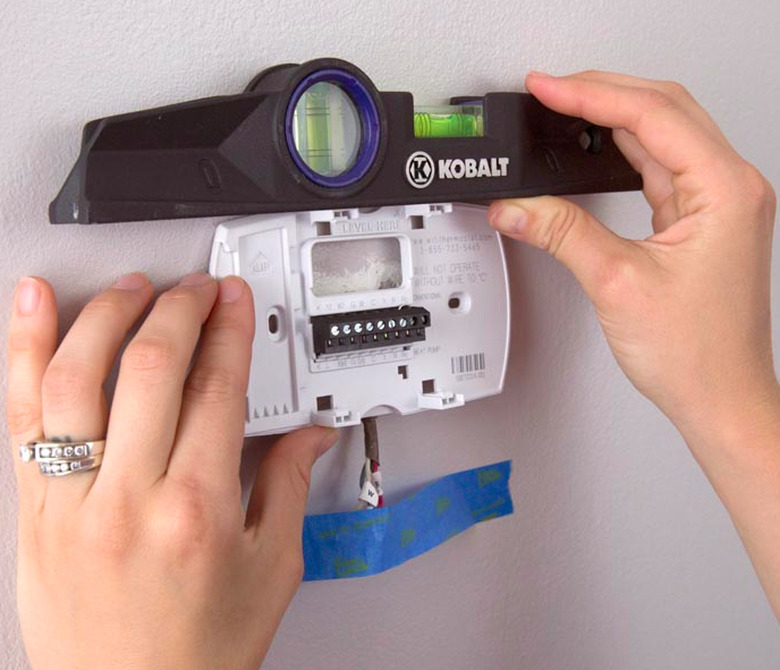
4. Prepare the New Thermostat
- Separate the wall plate and cover on the new thermostat.
- Position the wall plate over the hole in the wall. Use a torpedo level to make sure the wall plate is level.
- Mark the wall where at the location of the openings for the mounting screws.
5. Attach the Wall Plate for the New Thermostat
 Lowes
Lowes
The new thermostat should come provided with screw anchors—small plastic parts to help hold screws in drywall. These anchors and screws are used to secure the wall plate.
- Drill pilot holes into the wall at the positions you marked in the previous step. The holes should be the size of the wall anchor body, not the lip.
- Gently tap the wall anchors into the holes in the wall, using a hammer. The lip of the anchors should be flush with the wall surface.
- Hold the wall plate in position, and pull the wires through the hole in the plate.
- Press the wall plate over the wall anchors, flush against the wall, and attach it with the provided screws driven into the wall anchors.
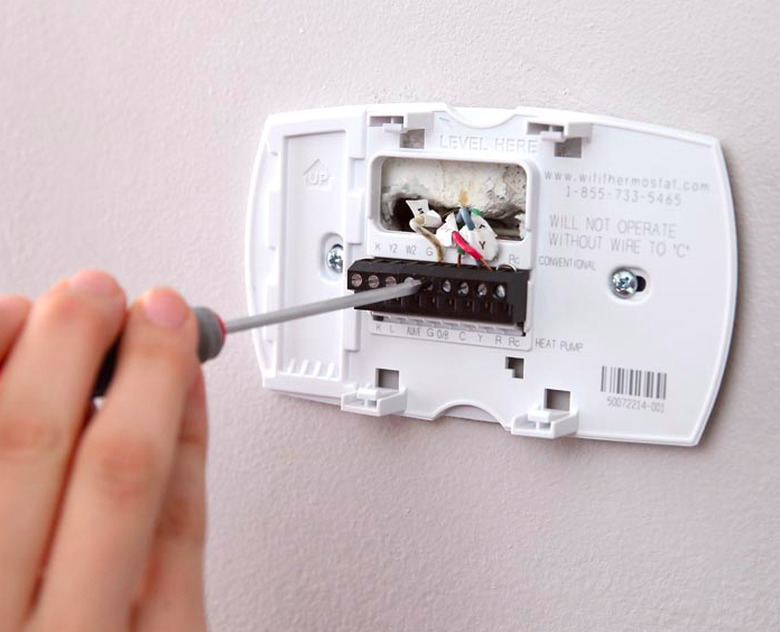
6. Connect the Wires
 Lowes
Lowes
How the thermostat wires get attached to the new thermostat will depend on the type of thermostat. Some thermostats have push-in connections, while others have screw terminals. In both cases, connecting the wires involves matching the labeled wires with the proper terminal connections. Check the instructions for additional wiring information if you have an R and an Rc wire or if your wire labels do not match the new terminals.
For the push-in connections, a clean, straight 1/4 inch of exposed wire is needed. Use wire strippers to cut and strip the wires accordingly. Then, insert the bare ends of the wire into the matching push-in connections.
For screw terminals, wrap each wire around its matching terminal screw in a clockwise direction, and tighten the screw down over the wire.
7. Finish the Installation
Install batteries as directed. Snap the face plate onto the wall plate, then program your new thermostat as directed by the manufacturer!