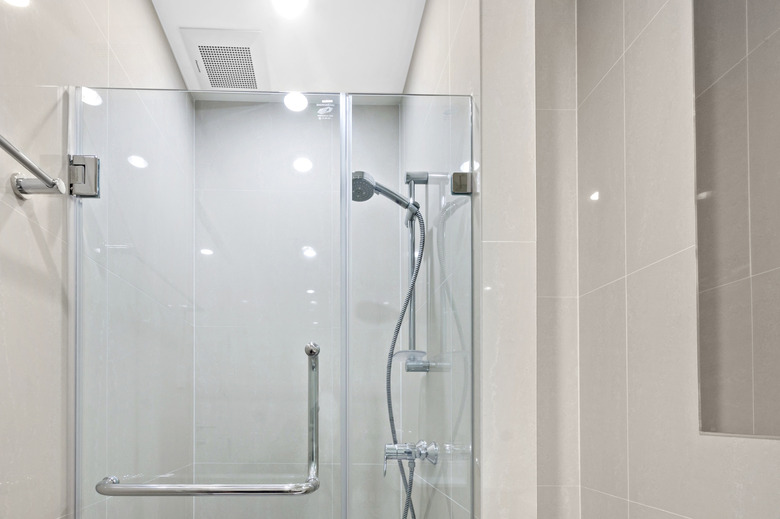
How To Repair A Shower Handle
We may receive a commission on purchases made from links.
The handle in your shower may seem like a simple piece of hardware, but the truth is, it can fail over time. Sometimes, the valve inside the handle suffers from aging, cracking or mineral buildup, which can lead to the faucet or showerhead dripping and leaking when the valve appears closed. Sometimes the internals can leak, making the handle leak and drip around the outside casing. It isn't difficult to replace a shower handle, but sometimes the existing handle can be repaired.
Preparing for Repairs
Preparing for Repairs
Your first step is turning off the water to the shower. Most bathrooms have a shutoff valve somewhere that should be easy to access.
If not, turn off the water to the whole house and drain off as much water as possible through the shower or bath. This will make it easier to disassemble the handle without having to worry about the water pressure behind it.
Removing the Handle
Removing the Handle
To remove the handle, you'll need to check the set screw that secures the handle. This screw is sometimes hidden under a cap for aesthetic purposes; you can pry off the cap with a flat-head screwdriver.
Most set screws use either a Phillips screwdriver or an Allen wrench. Obtain the proper tool and then examine the screw. If your problem is leaking around the base of the handle, this screw may need to be tightened. If so, tighten it, turn the water back on and then watch the enclosure for leaks. If it still leaks, you may need a new screw, or you may want to add some thread tape around the screw.
If this kind of leakage isn't the problem, remove the handle to take a look at the parts inside. Check the handle for cracks, dents or other damage.
Repairing a Shower Handle
Repairing a Shower Handle
Sometimes handles can be repaired if the crack or break is small. Most hardware stores sell epoxy kits for repair to metal or plastic handles; follow the manufacturer's instructions to mix up the compound and seal up the crack or break.
If this is the problem, seal up the leak and then reinstall the handle and tighten the set screw; run the shower and check for leakage from the repair.
Issues With Valves
Issues With Valves
If the problem is water leaking from the actual showerhead or tub faucet, it's likely that the insides of the valve attached to the handle have been degraded by buildup or usage. In this case, you'll want to remove the pieces in the front: This could include different pieces and parts, depending on the type of the valve.
- For a ball valve, you'll want to remove the cam and ball and
inspect them for wear and damage. There should be washers and springs at the
inlets, so examine these for damage and cracks as well. Take these parts to
your local hardware store to find and purchase replacements and repair as
needed. - If the valve has a cartridge, you'll want to remove the pin or
collar holding the cartridge in place. Examine the cartridge for damage. If
there's mineral buildup, a soak in white vinegar will remove these deposits from the cartridge. Check the internal O-rings for degradation; these may need to be replaced, depending on what sorts
of impurities are in the water.
After replacing and repairing the internals, you'll want to reassemble the faucet and run the water on and off to check whether the leaks have been managed.
