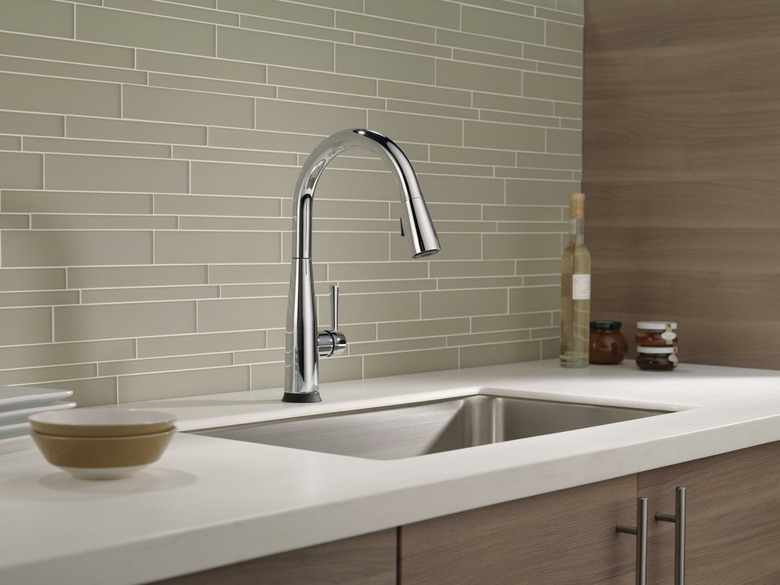
Delta Kitchen Faucet Troubleshooting
We may receive a commission on purchases made from links.
Whether it's leaking, the valve is stuck, or something just isn't working right, when your Delta kitchen faucet isn't in operating correctly it can be frustrating. Before doing any faucet repair, you should troubleshoot the problem to find out exactly what is wrong. Faucet troubleshooting involves locating where the problem is coming from, and that is something many homeowners can do without having to call a plumber. Once you are ready for your faucet repair, you'll need Delta faucet parts, which can often be purchased in a kit, along with a few simple tools.
How to Troubleshoot a Delta Kitchen Faucet
1. Starting Your Delta Faucet Repair
Turn off the hot and cold water shut-off valves under the sink. If there are no valves, or the valves are old and stuck, you can turn off the main valve that is located where the main water pipe enters the house. This will shut off water to your entire home. Once the water is off, turn on the faucet to drain any remaining water.
Then, locate the set screw at the base of the faucet handle and loosen it by turning counterclockwise with an Allen wrench, or with the wrench contained in the Delta repair kit. If there is a cap covering the screw, use a flat-head screwdriver to pry it off.
2. Fixing a Leaking Faucet
If water has been leaking from under the handle, you can tighten the adjusting ring with the wrench supplied in the repair kit. Insert the edges of the wrench into the ring slots and turning clockwise.
Then, set the handle back on and turn the water back on to the faucet. If the leak has stopped, tighten the handle back on with the Allen screw. If it is still leaking, turn off the water, remove the handle and remove the collar under the adjusting ring with a pair of pliers.
A dripping faucet is usually caused by worn faucet seats. To address the problem, first remove the Delta faucet parts by pulling out the ball assembly. Then, use the flat-head screwdriver to pry the springs and rubber seats from the inlet holes at the bottom of the faucet valve. If you have a two-handle faucet, you will find a cylinder-shaped cartridge instead of a ball assembly.
3. Delta Faucet Troubleshooting
Lift the spout from the faucet stem. This may require working it back and forth instead of pulling straight up. Remove the O-rings from the faucet stem and replace with new ones. Once the O-rings are in place, coat them with silicone faucet grease before sliding the spout back on. This will reduce friction, allowing your spout to move smoothly and preventing the O-ring from wear or breakage.
Place the new springs inside the new rubber seats from your kit of Delta faucet parts and set them in the faucet inlet holes. Inspect the old ball assembly for mineral deposits. If any are found, they should be chipped off with a screwdriver, or soaked in vinegar until the deposits are removed, before reinstalling. If the ball is chipped, or your repair kit comes with a new one, you should replace the ball assembly.
Complete your Delta faucet troubleshooting by reinstalling the collar and faucet handle, making sure to tighten the Allen screw at the base of the handle. Turn the water valves back on and check the faucet for leaks.