How To Loosen A Tight Shower Handle
We may receive a commission on purchases made from links.
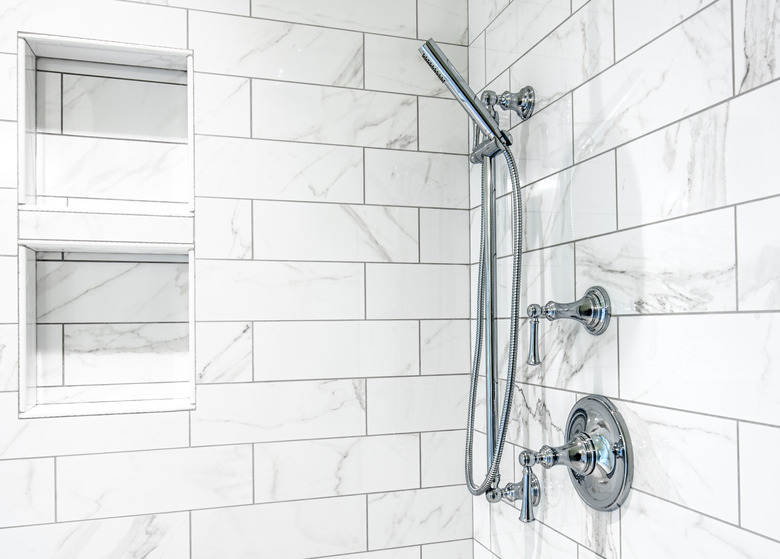
Showers come with anywhere from one to three handles: an all-in-one cold to hot control, double hot and cold taps, and the possible addition of the shower diverter valve. Like all things that are frequently used and have moving parts, these shower handles can become worn down, clogged and damaged over time.
In some cases, the handle may become tight when turning. When this happens, applying excessive force to open the handle can cause internal damage, which can lead to a leak in the valve.
Why Shower Handles Become Tight
Why Shower Handles Become Tight
Shower handles can become hard to turn for several reasons, but the primary one is buildup. Mineral deposits from water, especially calcium, can build up over time, blocking the screw mechanism inside that's meant to turn easily.
Even residue from shower products can build up over time, especially products that are meant to be more cosmetic than cleaning. While the housing of the faucet is meant to be watertight, over time, small leaks can occur from both the external housing and the internal mechanism, which can produce these types of buildup.
If it isn't buildup, it's likely to be internal corrosion or an old, cracking gasket that has gotten in the way of the turning screw.
Loosening a Tight Shower Handle
Loosening a Tight Shower Handle
To address this problem, the handle will have to be removed so that the inner parts can be lubricated and loosened. This isn't a complicated procedure, but it may seem intimidating for those who don't have any experience working with plumbing. This can usually be done with tools that are already available around the house.
First, turn off the water to the bathroom; if the bathroom doesn't have an isolation valve, turn off the main water feed to the house. Drain the water from the line as best you can by opening the valve until the flow slows and stops.
Removing the Handle
Removing the Handle
Most shower handles have a cap over the screw keeping them fastened. Carefully pry off the decorative faucet cap with a flat-head screwdriver. Then use a Phillips-head screwdriver to loosen the screw inside.
Be careful not to strip the screw (this happens when the screw head becomes too damaged for the screwdriver to be able to catch); you can use a lubricant to make it easier to remove if necessary.
Pull the handle off. If the handle is stuck, try to add lubrication or use a flat-head screwdriver to try and pry it out little by little. Leak Geeks also suggests you use plumber's grease. If all else fails, purchase a handle puller from a hardware store.
Troubleshooting the Problem
Troubleshooting the Problem
Examine the handle. If it looks like buildup is the problem, Reader's Digest suggests you use a white vinegar soak to dissolve most of it. Also, check the packing nut at the bottom of the stem. Sometimes this nut just needs to be loosened using an adjustable wrench. Clean the handle and loosen the nut slightly.
Slide the handle back into position, replace the set screw and tighten. Be sure not to overtighten; the screw needs to be tight enough that the faucet doesn't leak but not so tight that it introduces stress inside the handle. Once reassembled, check to make sure the valve is turning more easily. Once everything is back in place, put the decorative cap back and turn the water main back on.
If this doesn't work, check the age of the faucet and handle. There's a chance it might be too old for repair and may need to be replaced entirely. If you know the make and model, check the manufacturer's instructions for additional suggestions.