

Use Scrap Wood To Win Back Countertop Storage Space With This Clever DIY
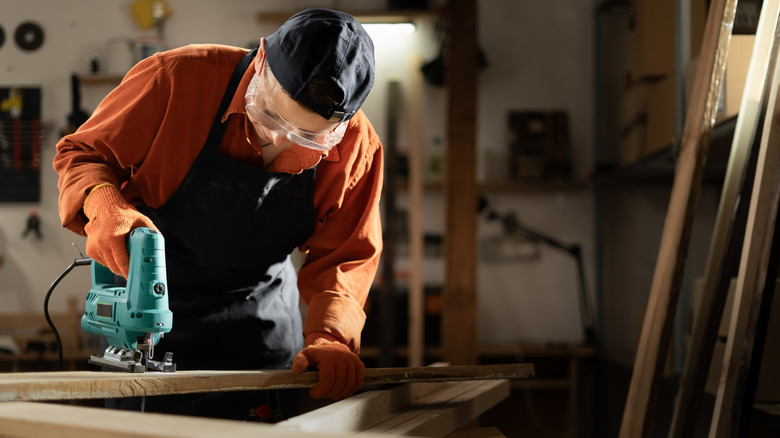
If you want your kitchen to feel well-organized, you'll need to have a trick or two up your sleeve for tidying up all the miscellaneous items that's likely on your countertop. Everything from your spices to your cookbooks needs a dedicated home. Using tiered countertop shelf solutions is one way to keep your surfaces clear of small-item clutter. Another option is to try a space-saving Dollar Tree DIY that turns metal baskets into storage. However, if you have an open space beneath an overhanging countertop to the side of your lower cabinets, you might first want to try adding some shelves to it with the help of a crafty DIY from frghomestead on TikTok. This creator has a video that shows him using some spare two-by-twelve boards to line a gap beneath his countertop. He then uses the same wood, and some metal L-shaped brackets, to make two shelves. The end result of his project has an elegant built-in look to it.
The shelves that the DIYer built beneath his countertop could be a perfect place to store all sorts of miscellaneous items that limit available countertop space, such as cutting boards, coffee supplies, and small appliances. Building them for yourself isn't too tricky if you have the wood on hand. You'll also need a saw for making the appropriate cuts, plus wood screws, a level, shelf brackets, and an oscillating multi-tool for removing baseboards, if applicable. The finished result of the project should make trying out some of Martha Stewart's top countertop organizing tips a bit easier.
Building scrap wood shelves beneath a countertop overhang
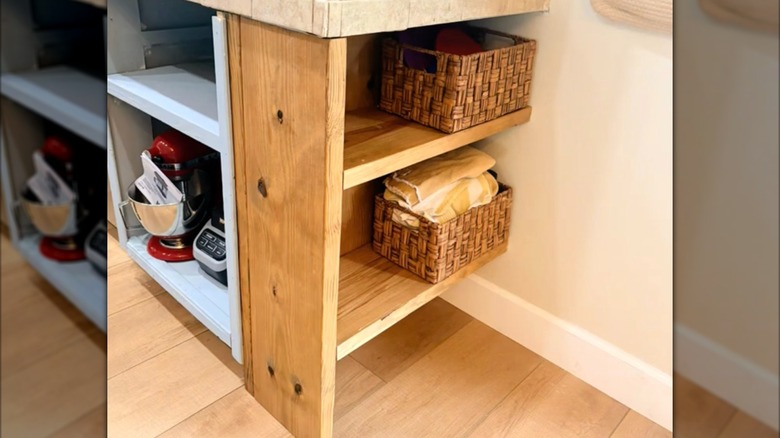
To get started, remove the trim and baseboard, if present, from the gap area where you're going to install your shelves with the oscillating multi-tool. Next, measure the area beneath your countertop to determine how tall and wide your boards should be. You'll need enough 2x12s to cover the side of your cabinet, plus a board that juts out vertically from the edge of your cabinet to enclose the shelf area, and the two shelf boards themselves. If you have an outlet in the area of the shelf, like the TikTok creator, make sure to cut a hole for access. You can also paint or stain your boards so that they match your cabinets, or give your shelves more personality after installation with contact paper.
Dry fit the boards on the side of the cabinet before drilling them into place. For the vertical board that's going to sit perpendicular to the others — you could first use wood glue and clamps to keep it in place for added stability before drilling. Next, attach your metal brackets to your shelves. Then, with the help of a level, affix the shelves to your cabinets with long wood screws that run through the vertical 2x12s. You could also attach the shelves to the vertical side board, for added strength. For better aesthetics, use wood filler to cover up the holes you create when drilling. You could also hide the contents of the shelf with a cafe-style curtain hung from a tension rod. This project is just one way to turn underutilized kitchen space into practical storage.