

Cover Old Glass Jars With Wood Blocks To Turn Them Into Unique Storage
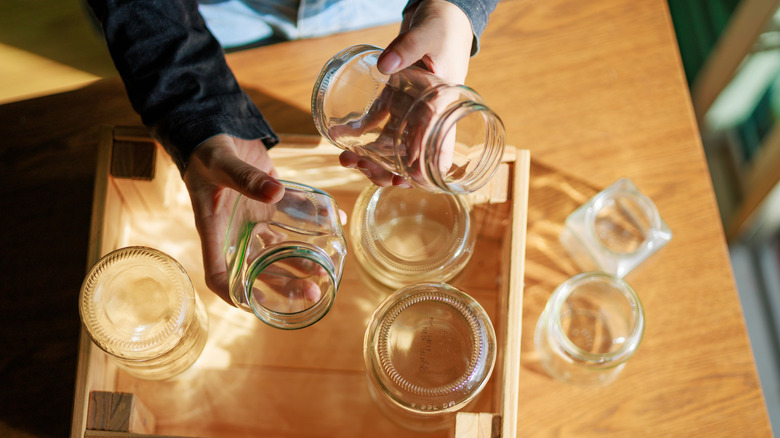
Stop browsing the aisles of those overpriced home stores when you need more storage. There's a simple (and inexpensive) solution lingering in your recycling bin. Grab those empty pasta sauce and pickle jars, give them a good scrub, and repurpose them as storage. Don't worry, first you can give them a makeover with wooden blocks! The idea is to glue rectangular blocks in an alternating pattern to create a basket-style surround. A coat of paint transforms the look and completes this simple DIY.
Using a glass jar as the structure of this container makes for a sturdy, nonporous storage solution, which means it's suitable to hold a wide variety of items. If you save the lid, you can use the upgraded container as a pantry storage solution to protect food. And if you don't want covered storage, try other ways to use the old jar lids. This project works with nearly any size of jar. You just might have to adjust the layout of the blocks slightly to fit them around the outside well.
You can use old ones, but you can also upcycle Dollar Tree storage jars for this project. If you need blocks, Dollar Tree has an affordable option. The Tumbling Tower Game gives you 72 blocks for $1.75. It comes in a light wood option or a set with both dark and light wood blocks. The one you choose only matters if you're leaving the wood as-is. If you're painting the finished container, the base wood will be completely covered.
Stack wooden blocks around a jar for cute storage
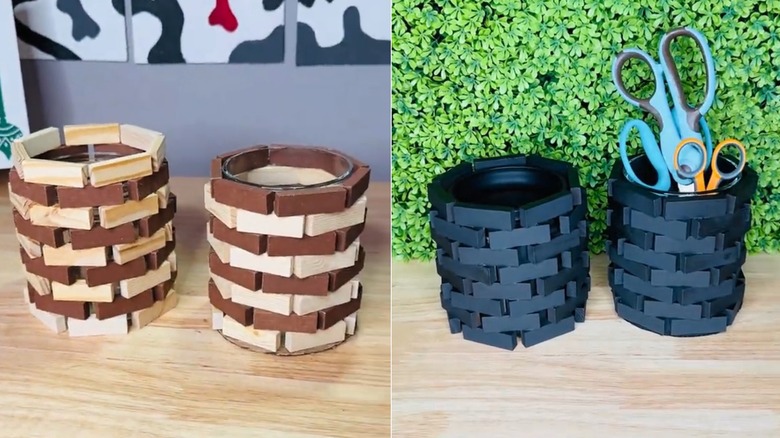
Before you turn recyclable trash into useful countertop storage, decide how you want the blocks to look. For a solid color, spray painting the entire piece after it's assembled is the easiest option. To maintain the wood tone, either leave the blocks as they are, or stain all sides of them before assembling the container. This method gives you better coverage.
Do a test run on the first row to get the positioning correct for the blocks. The ends will stick out from the jar, but the center of each block should touch the jar. Glue those pieces in place by moving one at a time and gluing it. On the next row, stagger the blocks so the center sits where two blocks in the bottom row meet. Glue those blocks in place. Continue creating rows, staggering each one until you get to the top. The top row might be taller than the jar. If you want to keep the lid on the jar, you may need to stop the blocks below the rim to make room for it. Spray paint the lid and add a wood bead or drawer knob to decorate it.
For the finishing touches, spray paint the container, inside and out, if you chose a solid color. To elevate the jar, add a round wood piece or small blocks of wood to the bottom as feet. Adding wooden beads or thick rope along the top edge varies the shapes and creates a consistent finished edge. You can also add faux flowers, ribbons, or other embellishments.