

Glue Clothespins Together To Make Easy Countertop Storage
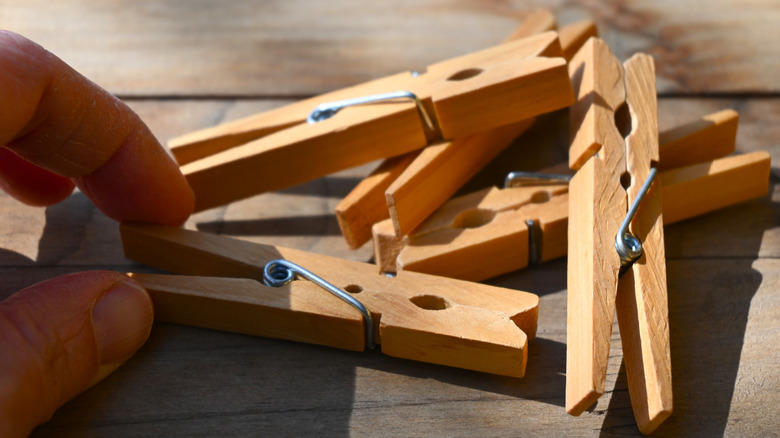
There are all sorts of miscellaneous items that can create clutter on your kitchen countertops, from snacks and dishes to small appliances and phone chargers. One small thing that's often overlooked, however, is your collection of patterned paper napkins. They're great for guests and seasonal get-togethers, but if you just leave them out in a corner, they won't exactly add to the aesthetic appeal of your space. A napkin holder should be enough to keep them both accessible and tidy-looking — but not everyone has one of these decorative fixtures lying about. The good news is, it's easy to make one yourself. All you need for such a DIY is a handful of wooden clothespins and some hot glue.
When you attach the narrow edges of your clothespins together, they'll naturally fan out into elegant half-circles that have a somewhat floral appearance. You'll need to make two of these half-circles for this project– they'll serve as the two sides of your napkin holder. You'll also need a few extra clothespins for joining the two side pieces together at the base. The natural wood aesthetic of the finished project allows it to blend in neatly with all sorts of kitchen design styles and countertop materials. Ultimately, it's just as much of a decor piece as it is a DIY storage solution for keeping countertops clutter-free. You don't even have to use it for napkins — you might find that it's perfect for unsorted mail or bills, or perhaps a couple of kitchen towels. The fixture should pair well with some of Martha Stewart's top countertop organizing tips, too.
Making a countertop-friendly napkin holder with clothespins
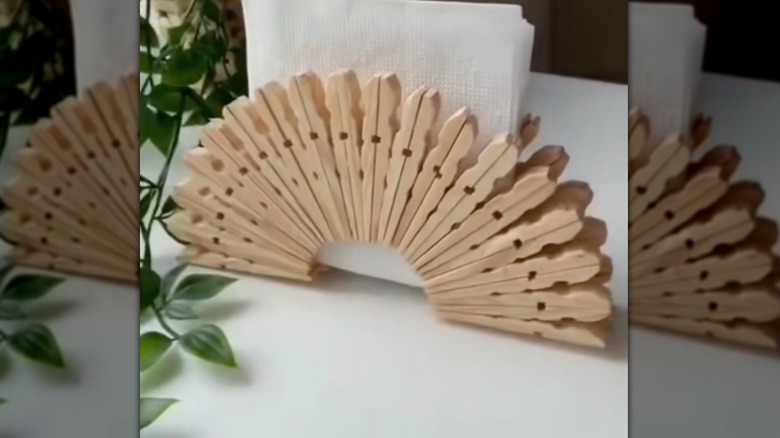
To prepare your clothespins for this DIY, you'll first need to take them apart and get rid of their metal springs. Then, you'll need to glue the two halves of most of your pins back together along their longer, flatter edges. One of the ends of your reconstructed pins should be narrower than the other — and that's the point at which you'll join most of your pins together so that they naturally fan outwards in a circular arc. Use hot glue to complete this process. Attach enough pins together to form two half-circles, and use flat-edged halves of clothespins for the ends.
Once that's done, you can begin assembling your napkin holder's base. All this requires you to do is take the divided halves of two clothespins and adhere them to one side of the outermost pins in your semi-circles, with the flat sides down. Join the two larger components of the napkin holder together to complete the project. You could easily paint or stain the pins if you don't like the light-wood look they bring to your countertop.
There are two ways you could make this napkin holder project more stable. The first is to use a stronger adhesive than hot glue, such as E6000 or wood glue. Note, however, that both of these products will increase drying time. The second is to cut a sturdy wood plank and use it as the napkin holder's base, beneath the flat clothespins on its bottom. After completing this project, you can continue tidying up your kitchen with stylish countertop storage finds from Dollar Tree.