

She Grabs Old Jar Lids And Turns Them Into A Stunning Decorative Storage Solution
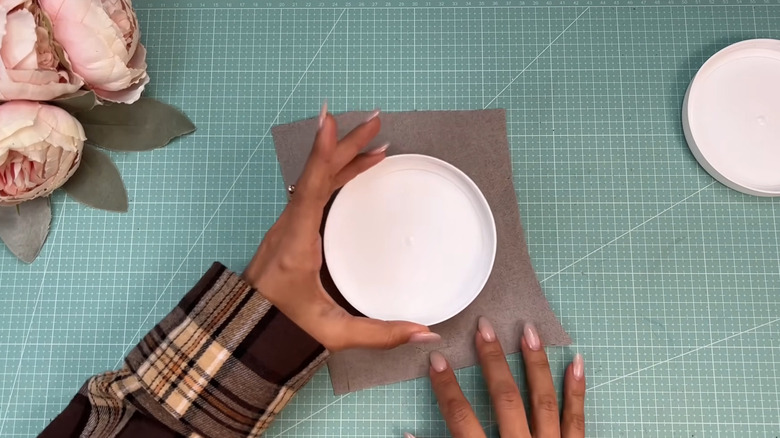
Your aesthetic leans toward vintage, boho-chic goddess, but your budget is closer to dollar store diva. And that's why we DIY! The DIY Home Decor YouTube channel shared a cute, compact storage solution that starts with jar lids — one of many genius ways to use lids from old jars. Those lids create the ends of a round mini storage container that you can construct with items you might already have, including cardboard and craft sticks. The container even has a lid that rolls over the opening.
Because you're using recyclable materials, you can create a low-cost (or even free) countertop, desktop, or shelf storage container. It also means you have less waste going out of your house, while consuming fewer new materials, so it's eco-friendly, too. You can adjust the length of the container by cutting the cardboard to a specific length, which gives you more control over the end result.
In the original, the creator uses large plastic lids, but make sure you choose a lid that's rigid and sturdy, rather than flimsy and flexible, since it supports the storage container. The diameter of the container is the same as the lids you use, so consider how large you want your storage bin to be. Both lids need to be the same size. To complete the body of the container, you'll need corrugated cardboard, craft sticks, nonslip liner or fabric, and a hot glue gun. To make it decorative, grab some fabric, lace, ribbon, rope, gemstones, and other embellishments you want to use.
Assemble your jar lid storage container
Find two jar lids that match the diameter you want for the container. Lids from old food jars work well — and don't worry about the empty jars, there are several genius ways to turn old jars into home treasures. Clean the lid in warm, soapy water or soak it in diluted vinegar to remove food remnants and odors. Wrap fabric around the lids, pulling it over the edges to the inside. Then, cover the inside of the lid with fabric, twine, yarn, beads, or other materials to create a finished look. The original creator also glues pieces of paper doilies and thick, braided trim around the outer lid edge.
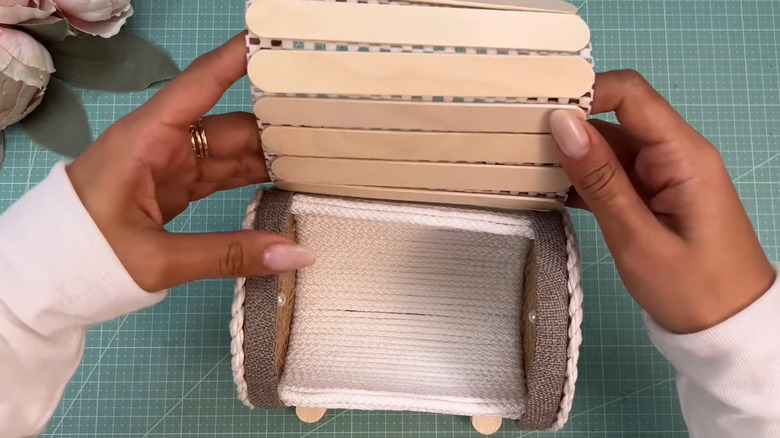
To create the storage compartment, cut a rectangle of corrugated cardboard as wide as you want the container to be. The length should allow the cardboard to curve around the lids about ⅔ of the way. Fold or roll the cardboard, so it curves to fit the shape of the lids. Cover it with decorative rope, yard, or cord. Glue it to the insides of the lids to form the basic shape.
For each support, glue small wooden beads between two craft sticks — the original uses five wooden beads between the sticks. Glue the supports to the bottom of the rounded cardboard to create two legs that stick out the front and back. Then, create the lid by gluing craft sticks to a piece of nonslip shelf liner, lace, or fabric. The sticks should run horizontally across the fabric. When that's done, glue one full stick to the edge of the cardboard, and secure the ends of one or two more sticks to the lids. The rest of the lid flips over the opening to conceal what's inside.
Personalizing the jar lid container
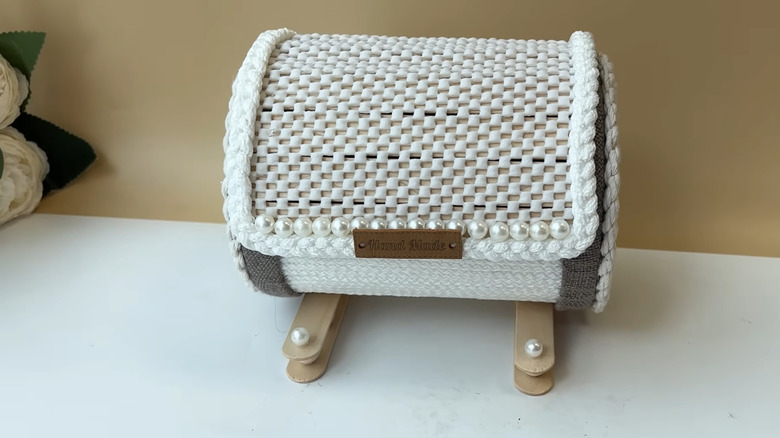
Turning recyclable trash into useful countertop storage leaves plenty of room for customization. Starting at the bottom, the support options can be changed. On a smaller container, two legs should be enough. If you create a longer one, add a third support in the center. To change the look, paint the craft sticks, or cover them in fabric to make them look less like craft sticks. You can also swap them out for blocks of wood or two large wooden beads that sit mostly underneath the container.
For the flap, you can use something other than craft sticks as the supports. Wooden dowels or thin, narrow pieces of scrap wood will work. The support pieces need to be as wide as the opening. You can find some jumbo craft sticks that are almost 8 inches long. When it comes to finishing off the flap, the original DIY uses faux pearls and braided trim, but you can choose other decorations that better fit your aesthetic. Thick rope instead of the braided trim creates a simpler look. You could also use shaped beads or small faux flowers as accents. Or, skip the flap completely and leave it as an open container.
You can also change up the configuration of the storage by making multiple compartments that you glue together into a longer storage unit. Or divide a single storage container by cutting circles of cardboard, covering them with fabric, and gluing them inside the compartment vertically.