

Put Down The Gel And Paint: Update Plain Cabinets With An Oil Solution
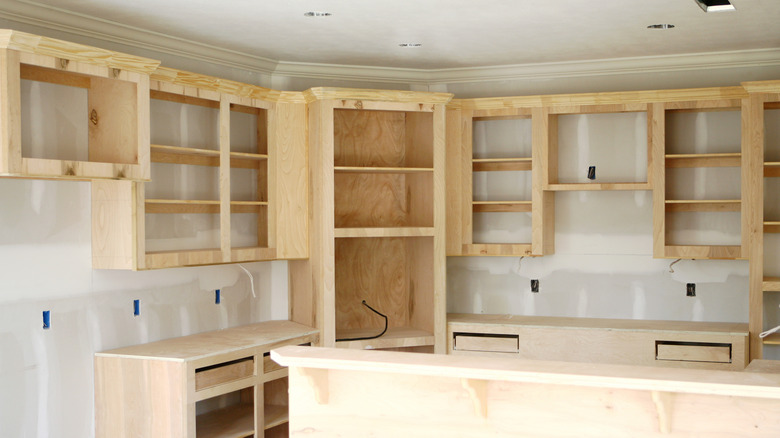
We may receive a commission on purchases made from links.
Ever since people started building things from wood, they have been coloring it and applying protective coatings to enhance its usefulness, durability, and looks. Through my over 40 years as a professional woodworker, applying a finish — be it oil, gel, paint, or stain — has become a specific area of my expertise. The fact is, wood treatment options are complicated, even for many experienced DIYers. Newbies sometimes use "stain" as an all-inclusive name for a finish ... for both the stain (which colors the wood) and the topcoat (the protective film finish). It's understandable, as some finishes confusingly contain a colorant and a final finish in one product. That complexity and confusion can often lead to a DIYer to default to an opaque gel or paint. But when a professional woodworker talks about an oil stain, it is much more likely to be something like Minwax Wood Finish.
Products like this stain suspend pigments in an oil solution. When wiped onto raw, prepared wood, the oil stain colors the wood and accents its figure, or the grain pattern. I love the beauty and detail that an oil stain like this Minwax product brings to wood cabinets. It is so satisfying to enhance the natural beauty found in wood. The benefits of oil stains like Minwax wood finish are that they are easy to apply and achieve even color coverage, even on a big job — like a whole set of cabinets. Although it contains the word "finish" in its name, this oil stain is only one step in a complete finishing process. After the stain has dried, a couple of coats of polyurethane or similar product needs to be applied for further surface protection.
How to apply an oil stain finish like Minwax
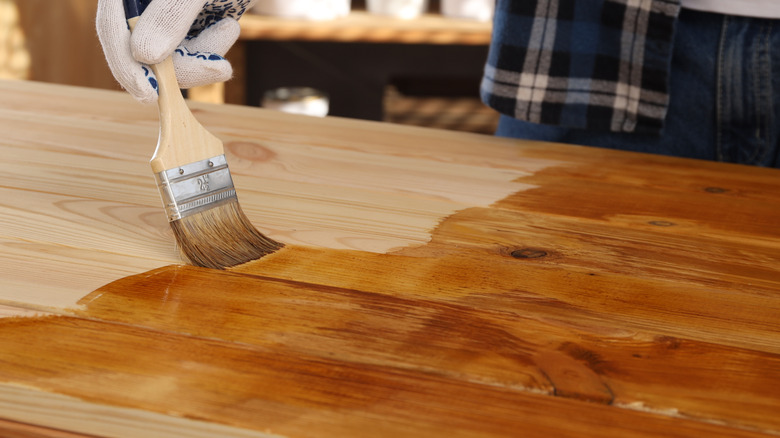
While a pigmented oil stain can be applied over an existing finish (a technique called glazing), what we are talking about here is applying it to plain wood. The question is, how do you actually apply a wood stain? The application process starts with surface preparation. Take the doors off of the cabinets and remove all of the hardware. Wipe off any dirt or grime and make sure you're sanding correctly. I usually start with 60- or 80-grit sandpaper and work my way up through the grits to a minimum of 220-grit.
After sanding, use a tack cloth to remove the sanding dust. When using the Minwax wood finish, my preference is to flood the stain onto the prepared wood with a paintbrush, getting the color into corners, cracks, and decorative moldings. Then, wipe it off with a cotton cloth or shop towels. Take care to apply it evenly for uniform color. I keep parts I've stained first, like cabinet doors, close at hand so I can compare the color as I stain. Use mineral spirits to clean up after an oil stain. Allow the oil stain finish to dry completely and follow it up with at least two coats of polyurethane, either water-based or oil-based. Any cloths or rags that have become saturated with the stain need to be laid out flat and allowed to dry to avoid a fire hazard. When dry, they are landfill-safe.
A well prepared, sanded, stained, and top coated finish on a cabinet is a beautiful thing to behold. It brings the beauty of nature into our homes. I personally do not like painting wood. In my view, we should let wood be wood. An oil-stained finish like Minwax is superior to paint (and gel) in every regard.