

Don't Throw Away Plastic Bottles: Use Them For Clever Countertop Storage
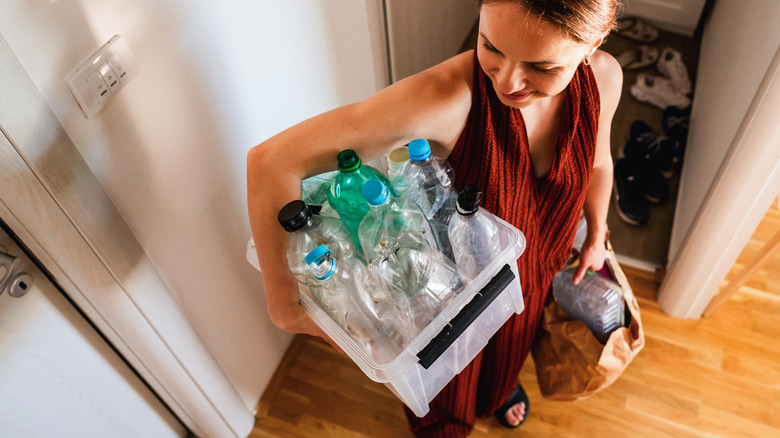
Do plastic bottles go straight into the recycling bin in your home? Most curbside recycling programs accept them, so it's an easy solution. Or, you can upcycle those bottles into creative storage. This idea, shared by Mana Creative Corner, uses water bottles cut in half lengthwise as the sides of a countertop storage basket. It's cute, creative, and inexpensive!
You may already have everything you need to make this storage container at home, making it a free DIY. Besides lots of water bottles, you'll need a large cardboard circle for the base, and glue to hold it all together. Water bottles aren't the most attractive material on their own, so you'll also want fabric or a similar material to cover everything. You could make it one of the ways you use old towels instead of tossing them, for example. Thrift stores often have fabric, or you can repurpose an old sheet or curtain as the cover. Collect any additional decorations you want to add, like bows or ribbon trim.
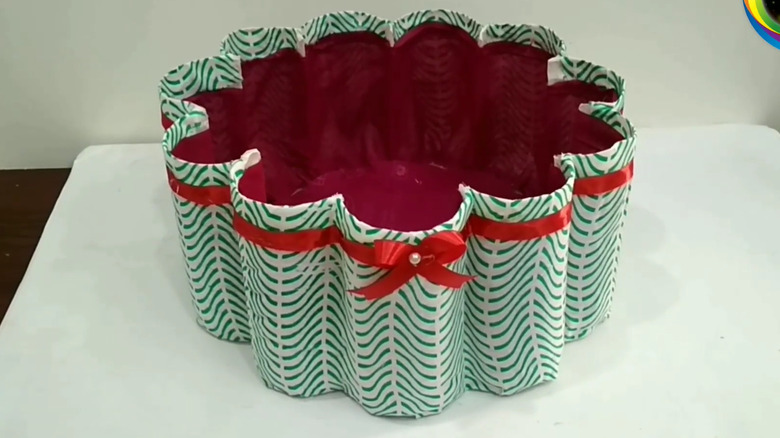
Not only is this upcycled water bottle container functional, but it's also an attractive addition to your countertop. Since you're connecting the bottle halves into a circle, you get a fluted design that looks a bit like a flower from above. Adapting the covering material to fit your bathroom or kitchen décor helps this storage solution fit in aesthetically. And you're making something beautiful out of plastic you would normally recycle — this project proves there are many smart ways to reuse water bottles.
Assemble an upcycled water bottle countertop storage bin
Create a base for your countertop storage bin by cutting a thick circle of cardboard. You can also play with other shapes, like squares, rectangles, and ovals, but you may need to adjust how you position the bottles. Then, cut the tops off the water bottles, below where they start to angle in. Slice each bottle in half from top to bottom to create half-circle tubes. Cut the bottoms off, leaving a little of the bottom edge to use for gluing it to the base. Alternatively, skip the vertical cuts and leave the bottles whole if you want individual compartments around the edge for items like pencils or cosmetics.
To assemble the basket, glue each half circle to the cardboard base and along the side to connect it to the bottles next to it. Adding masking tape on the inner seams where the bottles meet and along the top edge adds stability. To create clean edges, cut the cardboard around the curved bottom edges to match the shape of the storage basket.
The original creator glues fabric to the inside and outside to cover the plastic and cardboard. You can also decoupage paper to the bin, although any ridges in the water bottle might make it look bumpy. Using peel-and-stick wallpaper is another clever way to give your craft a nice finish. Glue ribbon, beads, or decorative trim along the top to hide any uneven edges. Then, add other decorations, like bows and ribbon. To accentuate the fluting, glue contrasting cord or twine vertically in the indented seams. You can also glue in fabric-covered cardboard dividers or add a handle made of fabric-covered cardboard.