

Woman Turns IKEA Picture Frames Into Stylish Storage With A Clever DIY
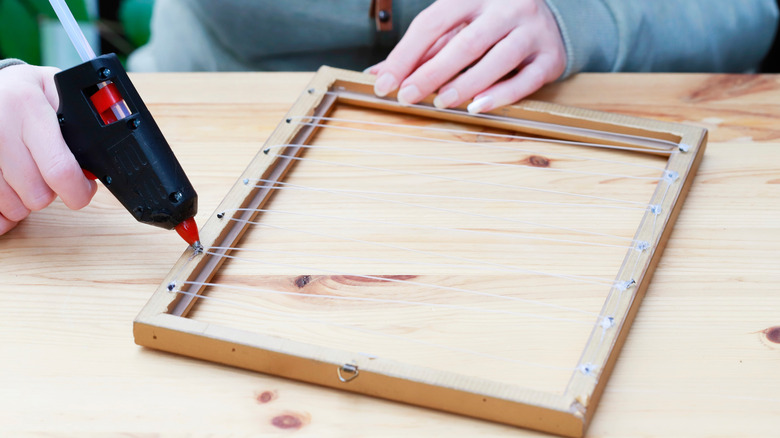
Oftentimes, the best storage solutions are those that provide your space with an aesthetic facelift, instead of just a boost in functionality. They can help you display items in a tasteful manner, which essentially makes it easier to add personal touches to your interior decor. Instagram user interior.with.sabi has a stunning example of this principle. In a short video, the creator links two of IKEA's SANNAHED oak effect picture frames together, and turns them into a chic magazine and book display for her wall. She cuts down an inner piece from one of the frames to make rails for each level of the shelf, and attaches them to the insides of the frame's outer boxes with a couple of small screws. The two picture frame shelves sit one on the top of the other, and together have a pleasant, natural wood appearance that could match up neatly with many of this year's top living room colors.
The simplicity of interior.with.sabi's DIY makes it flexible in terms of both design and function. The simple wood look can be personalized by painting, staining, or adding embellishments like rhinestones or decoupage. You could use it for cookbooks in your kitchen, magazines in your bedroom, or vinyl records in your living room. You can separate the two frames, or keep them linked together as a single unit, or use a third frame to extend the size of the shelf. Assembly isn't overly difficult — in terms of tools, all you'll need is a pair of pliers and a drill. The finished product can stand as a decorative piece on its own, but will definitely also look nice alongside one or more Dollar Tree DIYs that make stunning wall art on a budget.
Building a book display with IKEA picture frames
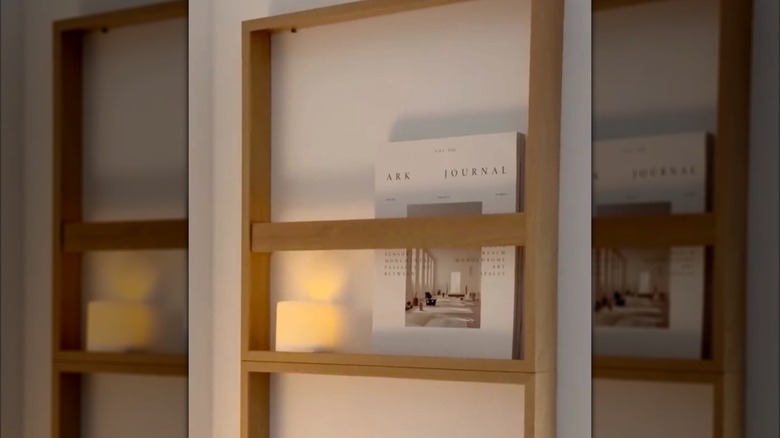
IKEA's SANNAHED picture frames have a number of layered components, but for the purposes of this DIY, you'll only need the two box-frame-like pieces that come with each product. Set the larger, outer frame pieces down on the ground to begin. Then, take one of the slighter smaller inner frame box pieces, and hold it vertically within one of the larger boxes. Use a pencil to mark the inner frame at the points where it meets the larger frame. Then, flip the inner frame over, and make the same markings on its other side. Cut the wood along all four lines, and you should be left with two C-shaped railing pieces that you can attach to the inside edges of the larger frames with your drill and a couple of small screws. All that's left is to remove the metal hardware from the picture frames with your pliers, and link the two shelves together with more screws.
To increase the strength of your book display, you might want to consider using some wood glue around the joints in addition to screws. Only use sawtooth picture frame hangers to put this shelf up on the wall if you're going to be storing lightweight objects on it. A couple of L-shaped brackets connecting the upper inside edges of the frames to your wall studs will provide more stability. For a similar DIY, try transforming an old picture frame into a gorgeous floral display.