

Transform An Old Glass Jar Into The Most Stunning Flower Vase
We may receive a commission on purchases made from links.
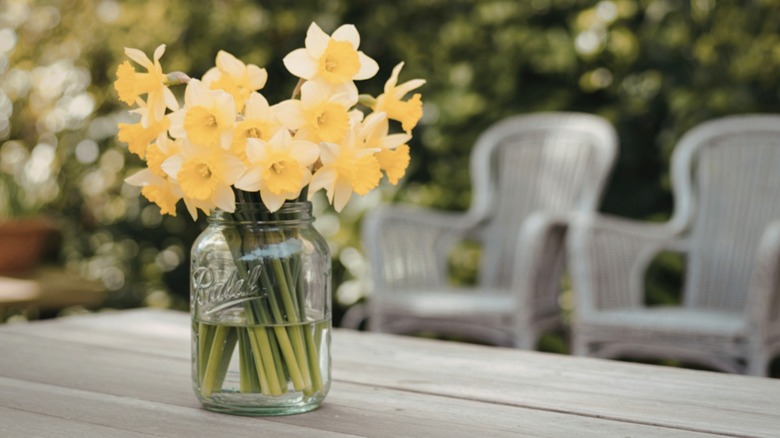
Vases are a dime a dozen — in your cabinets from all the bouquets you've received and on the thrift store shelves. Those vases all look the same though. So, how about you make one from any jar you have, instead? Evrim Taşer Yılmaz shares a truly unique way to decorate a simple jar to make it a stunning flower vase. The secret ingredient? Non-slip rug backing (the thin, grippy type with little holes in it)! It creates a net-like look over the jar, giving it texture and contrast — perfect for drawing attention to your favorite flowers.
Any jar works, so grab a Mason jar, an empty marinara jar (washed thoroughly, of course), an empty candle jar, or any another glass container. If you don't have anything useful available, head to the thrift store or Dollar Tree — this DIY is an easy way to give Dollar Tree vases a trendy update. You can also use this strategy to upgrade a simple straight-sided vase, like this wide cylindrical vase. If you don't have non-slip rug backing, this idea could also work with non-slip shelf liner, like this Songrey Non-Adhesive Drawer and Shelf Liner.
Then, grab two colors of paint. The original uses white for the background and brown for the overlay. You can cover the entire jar with the non-slip material or add a graphic to the jar, like the original creator does. Vinyl cutouts, free-hand painting, stencils, decoupaged images, and air-dry clay shapes are all examples. Don't forget the materials for any finishing touches you want, like ribbon or rope trim around the rim. And you'll need hot glue to attach the embellishments.
Add texture to jar vases with nonslip rug backing
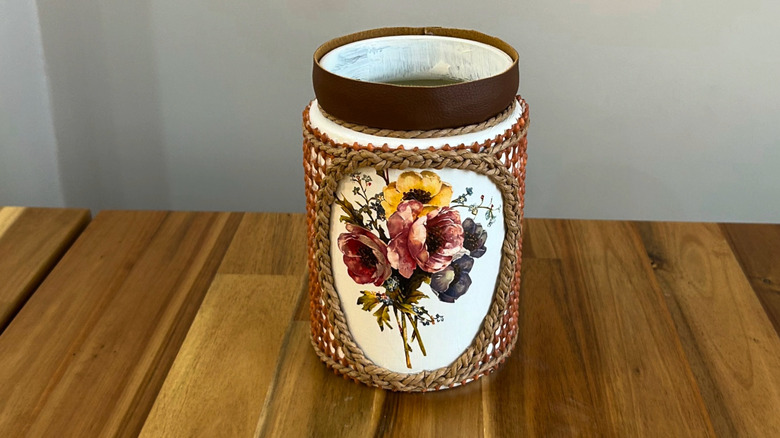
Start by removing the lid — you won't need it, but save it for one of the genius ways to use lids from old jars. Clean the glass container and remove any labels on the outside, so you get a smooth finish. Paint the jar in your base color — lighter colors let any embellishments you add show more prominently. Or you could switch it up by painting your jar in a dark color and your embellishments would be in lighter hues. You can also add a design to one side, like the flowers in the original idea, or place it so it covers the entire body of the jar. That way, it gives a continuous design when covered with the non-slip pad.
Prep the non-skid pad by cutting a piece that will go around your jar. If you added an image in the middle, cut out a circle or square the size of that design. Then, dab paint onto the pad to cover it completely. If you want it to have a natural, wicker or net-style appearance, use a brown hue. Or, choose a bright color for a more eclectic vibe. And if you want subtle texture, paint it the same color as the jar.
Then, hot glue the edges of the painted backing to secure it to the jar. If you cut out a section for a design, you'll want to glue on trim to hide those cut edges. You can also attach trim detailing around the top and bottom edges and around the jar rim to create a finished look. To elevate the vase, glue four small wooden beads to the bottom. And when this DIY becomes your favorite way to display flowers, you can repurpose your old vases to handle clutter.