

Goodbye Orange Stain: A More Elegant Way To Update Wood Cabinets & Furniture
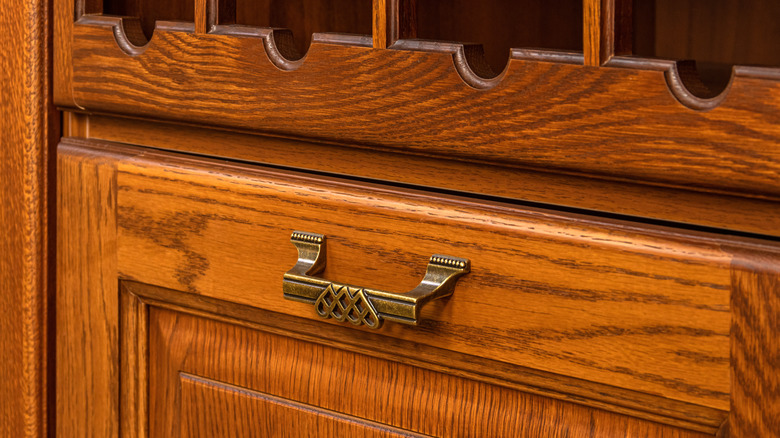
Oh, that orange-stained furniture! Early in my woodworking career, I recall it was the coolest of cool looks. Now, it's the orange-headed stepchild, to corrupt a phrase. Because it was once so popular, there are many substantial and beautiful pieces of furniture around today whose only flaw is their too-orange-hued stain.
Is there an elegant way to update that furniture to something more desirable and trendier? As an expert woodworker, my answer is yes. Stripping a piece of furniture and modernizing its look is a DIY project that almost everyone can take on and get great results. I know that to some this may sound like an overwhelming project, but taken step-by-step, you can do it. (Just don't start on a grand piano...)
The first thing to do when considering refinishing furniture is to examine the prospective piece and determine if it is worth the effort. Are all its parts there? Is it falling apart? If so, can you easily secure the loose pieces? I personally don't refinish furniture with a strong cigarette smoke odor as it's so hard to get rid of. I also look for insect infestation; you don't want to bring that home. This is especially critical with upholstered furniture as bed bugs have become a serious problem in some parts of the country. The good news is that even with that long list of concerns, their occurrences are rare and will likely not be a problem, but taking the time to protect yourself is always a good idea.
The step-by-step process of removing that orange hue
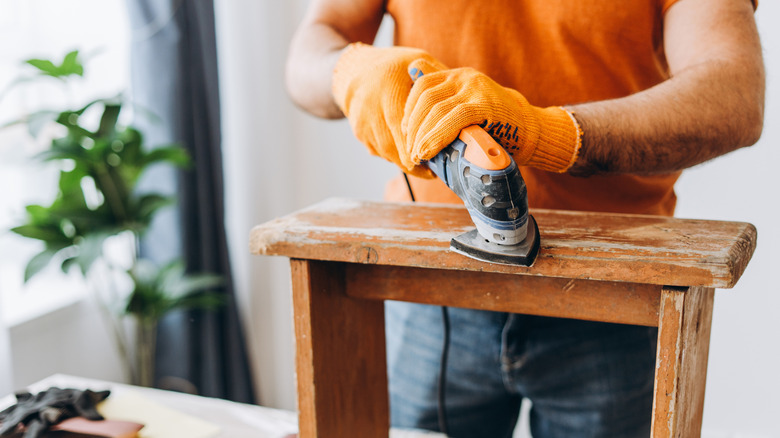
Start by setting up a workspace for your project. Using chemical strippers and perhaps oil stains, it is important to have good ventilation, and you want good lighting as well. With any DIY project, protect your ears, eyes, and lungs with appropriate safety gear. Then, take any doors or drawers off or out of the piece, remove the hardware, and then do a deep cleaning pass with something like TSP. Wipe it down with a cloth and clean water when you are done. Now, it's time to apply stripper. Stripper is a product you slather onto the furniture piece, where it breaks down the finish. Then, you scrape it off the piece. Most, but not all, of the existing paint or varnish finish will simply slough off.
When you've removed all the finish you can using the stripper, it is time to remove the rest via sanding. The trick is to use a proper sanding technique and start with 60-grit (very coarse) sandpaper to remove all of the remaining finish, getting down to "fresh" wood. Then, continue without missing a grit: 80-, 100-, 120-, 150-, 180-, and on to 220-grit. Use a random orbit sander where you can. Move the sander only about 1 inch per second, allowing it to do the work.
You'll not save time or effort by skipping a grit. Once all the old finish is gone using the 60-grit paper, the only goal of each new grit is to remove the sanding marks from the previous grit of sandpaper. It will go much faster than you think it will. Once you've finished with the 220-grit, remove all the swarf (dust and debris), vacuuming and wiping it away with a damp cloth.
Finally, add a non-orange finish
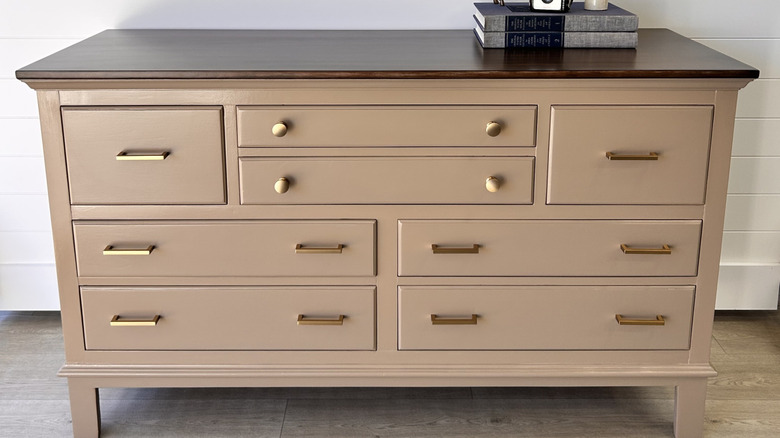
Now, you're finally ready to apply a color that you'll like! Light browns and grays have come to the fore with many designers recently, but there's a broad spectrum of stain colors available to you. The key to success is to apply the stain evenly, flooding it on and wiping it off systematically. I apply stain with a paint brush, then remove the excess stain with a "dry" brush — wiping the brush clean with a cloth. I find it gives me excellent control, achieving an even stain color. Pay attention as you work to prevent uneven coverage. As a side note: combining discrete painted areas with stained sections on furniture is a trend gaining in popularity. It might work for you.
When the stain has cured, you need to apply a finish coat. Stains (with the exception of products like PolyShades) only add color to the wood; they are not a protective coat. For that, you need something like polyurethane, lacquer, shellac, or a traditional varnish. My suggestion for your first refinishing project is to apply three coats of boiled linseed oil. It's super easy to use and lays down a beautiful finish.
Flood it on, wipe it off, and let it dry for at least 48 hours, then apply another coat. It is a little stinky, but so easy to use that you'll be assured of great results. Dispose of the oily rags properly. Lay them out flat and allow them to dry completely. (If you leave a wad of them lying around, they can spontaneously catch fire!) Then, they are landfill-safe. Finally, move your refinished piece into your home and get ready to brag about your project!