The Space-Saving Tomato Cage You Can DIY On A Budget
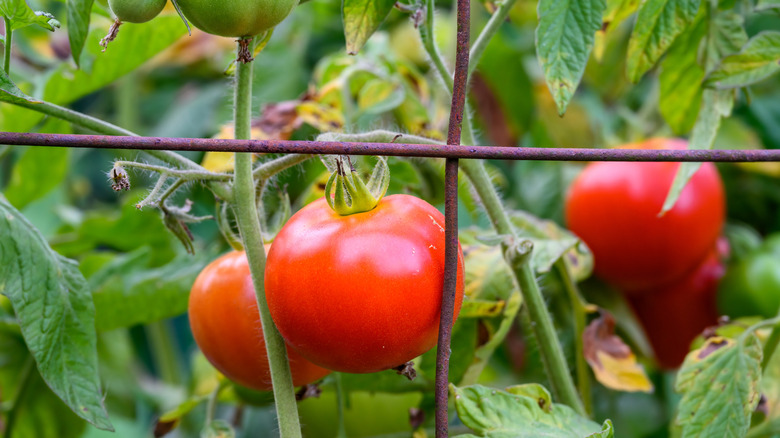
If tomatoes ever vanish from storefronts, it's good to know how to grow your own. One of the things you will learn very quickly is that tomatoes need support to keep the fruit off the ground and create better air circulation. Tomato cages are the go-to for this work, but the ones you get at garden centers are often too flimsy to offer any real support. Instead, you can build your own budget-friendly, DIY tomato cage out of cattle panels that not only support your plants, but can actually save you some space if you garden in tight corners.
Speaking from personal experience, I've used cattle panels to build both tomato cages and a tomato trellis arch. The cage is definitely the way to go if you're looking to maximize the vertical space of your garden. Cattle panels are built from heavy-duty galvanized steel wire and commonly come sized 16 feet long and 4 feet high with 8-inch by 6-inch mesh, plus two skinny rows at the bottom.
The chief downside to these is that they are fairly expensive at $35 per panel (in 2026). However, depending on how you make your cages, you can easily get two out of one panel. The other issue is that, unless you have a pickup truck or trailer, the panels won't fit into your vehicle unless you cut them down at the store. You can also purchase them online and have them shipped to you if need be.
How to get started on your cattle panel tomato cage
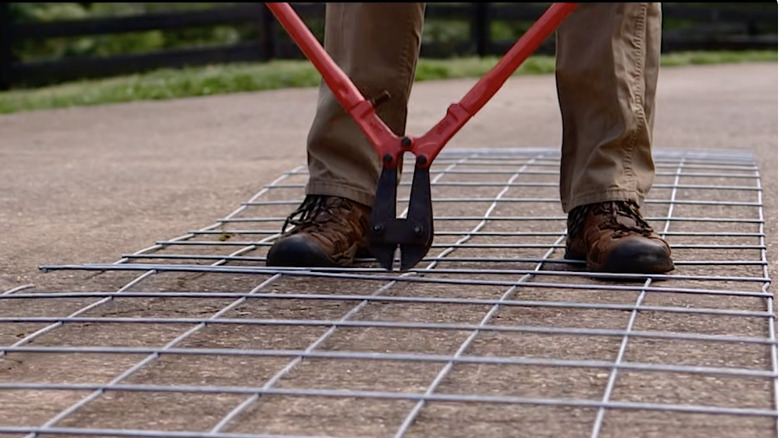
I adapted my cattle panel tomato cages from instructions by Joe Lamp'l of Growing a Greener World. The tools required for this job are a set of bolt cutters, a piece of lumber that is as long as the cut panel sections, a hammer, and some zip ties.
Lamp'l recommends laying the panel down on a flat surface and counting down the width of the panel by six squares, then cutting off the remaining three. I differ from this by keeping the bottom squares. This way, I had an extra 6 inches of height for my taller tomatoes. The cross sections of the bottom squares get cut away to create 8-inch-long stakes that will be pushed into the ground once the tomato cage is finished. From here, running down the length of the panel, count nine squares and cut just above the horizontal cross-section on the bottom of the ninth square. Repeat from the other end of the panel. You'll have two sections to work with.
Now, if you want to create a collapsible version of the tomato cage, cut the panel into smaller 16-inch-wide sections. This will yield eight sections that you can then tie together into two skinnier, collapsible cages. These are excellent if winter storage is a major priority and if you want to save space in a garden area.
Finishing touches and stylish alternatives
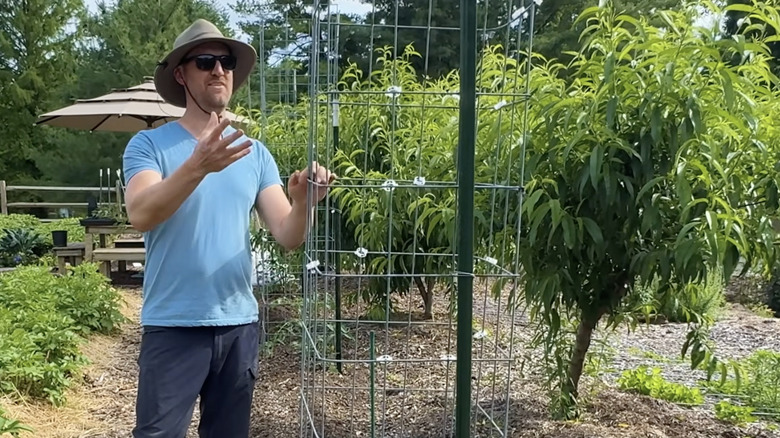
The final steps on the cattle panel tomato cages are only necessary if you are not making the aforementioned collapsible version. Lay that lumber across the center of your cut panels and use it as an anchor jig to bend the panel into a rounded corner. If you want to make a true right angle, straighten out the wire using a hammer. Repeat the process with the cut section, and you'll have the sides that will become your square cage.
Once you install the two sides over your tomatoes, zip tie them together so they form a single cage. The 8-inch stakes created from the bottom squares should be more than enough to keep the cage upright and sturdy against wind.
Now, if you have a little more space in your yard, you could also build a tomato trellis with a single cattle panel and four T-posts. This is a two-person job because wrangling a full 16-foot cattle panel is not easy. You bend the panel lengthwise so it creates a tall arch and secure the sides together on the T-posts. You can adjust the width and height of this arch based on how much space you have, but I will say this one is the more aesthetically pleasing one, as it creates a really cool tunnel effect with your tomatoes. After you're done, you can repurpose your old tomato cages into some stylish patio tables.