Skip The Foam And Expensive Covers: There's A Smarter Way To Update Wire Shelves
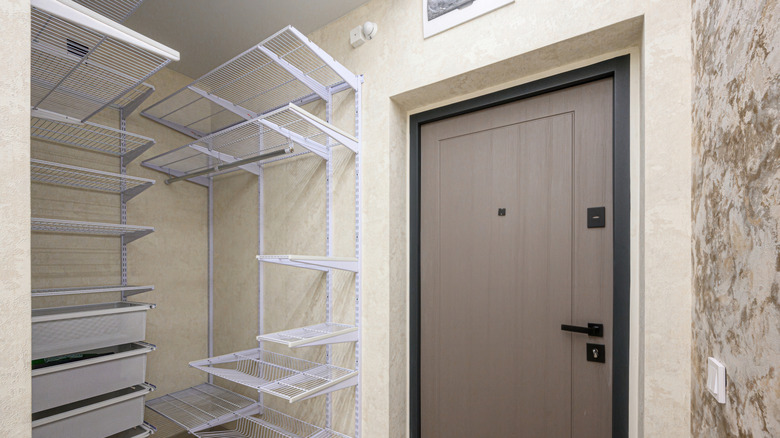
Who decided coated wire shelving would be the go-to option for everything from bedroom closets and coat closets to pantries and linen storage? It definitely wasn't someone with much interior design sense or even a lot of practicality. The gaps between the wires make it impossible to sit smaller items on the shelving without them tipping or falling through the cracks. While they're sturdy, affordable, and good for airflow, wire shelves often aren't desired by homeowners.
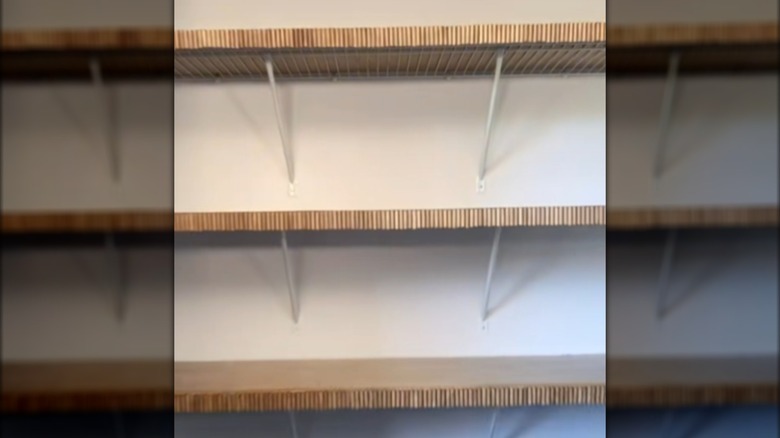
That's why wire shelf covers are so popular — it's an easier way to upgrade the shelving without completely replacing it with custom closet systems. Since premade options are expensive, resourceful homeowners look for options like this affordable DIY to hide ugly wire shelves using foam board. But on TikTok, the.handsome.home shares an even more upscale option: a plywood cover with a DIY fluted wood front. It's not as expensive as it sounds since the "fluting" is made using wooden dowels.
To prep for the project, pick up enough thin plywood to cover all of the shelves and create front pieces to cover the shelf edges. You'll also need lots of dowels — the size depends on how wide you want your fluting to be. To finish the project, you'll need paint or stain. For tools and fasteners, have a saw, screws or nails, wood glue, and painter's tape on hand. Now you're ready to try a stylish DIY way to cover up wire shelves.
Construct plywood covers with wood dowel fluting
The fluted version starts similarly to this genius DIY to upgrade dated wire closet shelves with an L-shaped plywood cover. Measure each shelf's top surface to get the dimensions for your plywood top. Then, use a board or plain trim piece to fit the length of the front lip of the shelf. Paint or stain all of those pieces, depending on what color or finish you want.
Next, cut a lot of dowels into small pieces. The pieces should be the same height as the front shelf cover piece. Using wider dowels will make this task move faster, but the size really depends on how you want it to look. Hold several dowels next to one another at the store to get an idea of the differences. Or glue several longer sections horizontally, with smaller sections of shorter vertical dowels to change up the look and save time. The original creator found that a hand saw and a miter box worked best for cutting without splitting the dowels, so you may need to experiment with what you use.
When all the dowels are cut, carefully glue them to the front piece in the desired pattern. If the pieces aren't exactly the same length, you'll get a wavy look along the top and bottom — that adds to the charm. Once the glue is dry, stain or paint the dowels to match the rest of the cover. Lay the plywood piece on top of the shelf and glue the front piece to the plywood, using tape and clamps to hold it until it dries. Alternatively, you could nail the front piece to the plywood before gluing on the dowels.