Ditch The Traditional Bookshelf For This Stylish And Modern DIY Solution

We may receive a commission on purchases made from links.
One of the very first pieces of furniture I ever made (50 years ago) was a bookcase for my then-girlfriend and later wife. As a professional woodworker, I have continued to make many versions over the years, nearly all of them still doing their job in someone's home. Some projects are more difficult than others. But this small wall-mounted bookcase is a fun little project that nearly anyone can DIY.
It's made from an 8-foot-long 1-by-8 select pine board that you can pick up at your local big box home improvement store like Lowe's or Home Depot. You'll need a handheld drill or driver and a saw of some sort. The most convenient would be a chop saw, but a handheld circular saw or even a sharp handsaw would do the job well.
The center board of the shelf is made of 1-by-8 pine (with a full width of 7 ¼ inches) cut to a length of 25 ¼ inches. There are two shelves (7 ¼ inches wide by 18 inches long), four shelf backs measuring 5 ⅜ inches long by 7 ¼ inches wide, and finally, four shelf ends, each 5-inch-wide squares — a total of 11 pieces to make what I consider a clean, modern, and perfectly styled bookcase.
Cutting the bookshelf parts to size
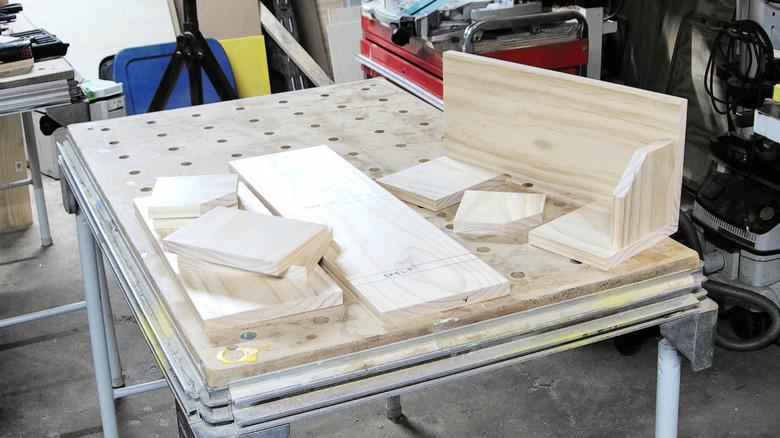
Select pine boards are smooth and knot free. Ask for "select" by name; you don't have to feel intimidated while shopping if you stick to the lumber options we recommend. You should be able to get all your parts from one 8-foot board. Start by cutting the center board and the shelves to length. It is critical that the crosscuts be square — 90 degrees to the edge of the board.
You'll need to square one end of the board before you start making the parts. Square cuts are why a chop saw is handy for this project. But if you don't have one, use a pencil and a square of some sort, like a framing square, to mark each cut. Then, carefully make the cut with whatever type of saw that you have. Accuracy is more important than saw type or speeding through the job.
Next, make the shelf backs and the shelf ends. I chose to shape the shelf ends with a 45-degree cut on one corner; I liked the graphic shape it made on the ends of the shelves. You could choose to leave them square or cut a rounded corner on the shelf ends if you prefer. It's your bookshelf, so customize it to please your taste.
Putting the pieces together
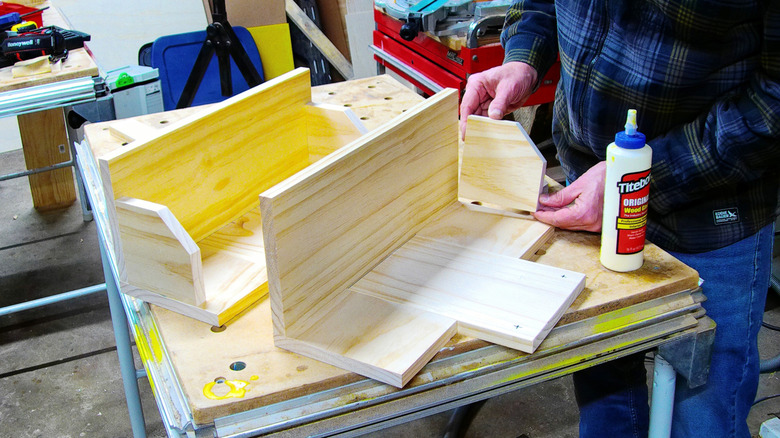
The parts of this project are screwed and glued together. I began by attaching the shelf backs to the shelves. Predrill two ⅛-inch diameter screw holes through the shelf backs. Align the edge of the shelf back to the end of the shelf. Put a small bead of yellow wood glue on the edge of the shelf, and then drive #8 by 1 ½-inch drywall screws through the holes (there's no argument over screws vs. nails here). The two pieces should make an L-shaped configuration with the back behind the shelf. Assemble both shelf subassemblies.
Next, attach the shelves to the center board. I located the upper shelf 10 ½ inches down from the top edge of the center board and 21 ¼ inches down for the lower shelf. I predrilled three screw holes per shelf, using glue and the same screws to secure the shelves in place.
The final pieces to install are the shelf ends. You have some options here. I have access to clamps, so I simply put a bead of wood glue on the mating edges of the shelf ends and clamped them in place. After the glue was cured, they were rock solid. If you don't have clamps handy, don't worry. Simply glue and screw them in place as you did with the other pieces.
The last details on your DIY design
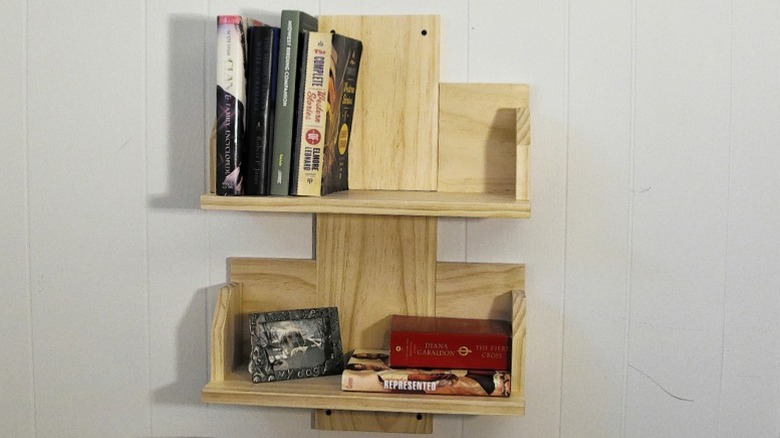
At this point you need to drill four screw holes, one on each corner of the center board. You'll use these to mount the self to the wall. Now, get busy sanding the bookshelf to prepare it for whatever finish you choose to apply. I like to see the wood grain, so I chose a clear shellac finish. Why ruin the beauty of natural wood with paint? With that said, if this shelf is going into a child's room, a colorful paint job might be just the ticket (despite my prejudice). I've found that kids love to paint things that will end up in their room, which could be a great option — let them help with the design.
Mounting the shelf to the wall should be done with some care, as a collection of books can get heavy. There are four mounting holes. If possible, get two of the screws driven into a stud in the wall, as that will provide a more secure mount. If that does not work out, use some substantial wall anchors, such as TOGGLER plastic toggle drywall anchors, to secure the shelf to the wall. Better safe than sorry. With the mounting done, your DIY bookshelf is ready to rock and roll.