How To Paint Window Trim The Easy Way
A DIY paint job is only as good as the details — and when you paint an interior room, one of the most important details is the window trim. Painting window trim seems like it calls for more prep work than painting walls and other woodwork, but the opposite is true. One reason is that window glass is very forgiving of paint, and if you just let the paint dry, it will scrape right off without leaving a trace.
In fact, painting a window can be a serene and enjoyable home improvement project, and it's satisfying too because fresh paint on the windows immediately upgrades the appearance of the room. To do any paint job properly, you need the right paint, the right supplies, and the right tools, but when it comes to windows, the list of tools and supplies isn't very long. You don't need rollers, roller trays, respirators, or goggles, and if you are reasonably careful, you can often get by without purchasing a drop cloth (although if you already have one, spreading it on the floor under the window can't hurt).
One thing you do need is a 6-foot step ladder because you need to be standing on something solid while you work on the upper parts of the window. A stray piece of furniture won't do because besides providing solid footing, a step ladder gives you a place to put the paint can so you can focus on the job at hand without worrying about spilling paint.
The Best Paint for Painting Window Trim
The paint you need for painting window trim isn't the same paint you use for walls. The best paint to use is an acrylic latex interior trim enamel. It has more body than wall paint, and it flows out more slowly, which is important for avoiding drips. It isn't heavy enough to allow you to get by with a single coat, however; you'll probably need two coats, especially if you're changing colors. Use paint appropriate for the window frame material. Also keep in mind that vinyl and aluminum frames need different kinds of paint than wooden frames.
Window trim is no place for a matte finish. You need either semigloss or full-gloss paint to make the windows stand out and to make the trim easy to clean. You could conceivably use an oil-based enamel for windows, but there's no reason to subject yourself to the fumes because acrylic latex products perform just as well, and they dry more quickly and clean up easier.
The Right Paintbrush and Tape
If you want the job to go as quickly as possible with a minimal number of "oops" spots that have to be cleaned up, use a high-quality 2 1/2- or 3-inch angled paintbrush. Because you're using water-based paint, the brush should have synthetic bristles since natural bristles (which are usually some type of animal hair) absorb water and get floppy and unmanageable.
You'll also need painter's tape when you paint window trim, and while a generic blue tape will do the job, consider spending a little extra for a high-quality brand, such as ScotchBlue or FrogTape. You want the tape to be low-adhesion while still providing a positive seal on the edge that prevents paint from seeping underneath. Definitely do not use generic, tan-colored masking tape. It will pull paint off the walls and leave gummy residue on the window glass.
Do You Need to Prime?
As a rule, you only need a coat of primer when the material you're painting is unfinished, but there are several other instances in which priming can be beneficial. One such instance is when the old paint is in poor condition, and scraping off the loose material leaves a bare surface. Another is when you're painting over oil-based paint; a good shellac-based primer acts as a buffer between oil paint and latex enamel and improves adhesion.
You might also consider using a primer when you're changing the color of the trim from a dark hue to a light one. Benjamin Moore Advance primer is one of the most highly recommended products on the market, and the company also makes semigloss and gloss interior paints you can use for a topcoat. You can tint primer to a hue close to that of the paint you're using, and when you do that, you may be able to get by with a single topcoat.
Things Needed
How to Paint Window Trim
You can paint window trim when it's raining outside, but it's best to do it on a dry day. Moisture in the air increases the dry time of the paint, and that increases the possibility of drips. When drips do occur, brush them out as soon as you notice them because they are more difficult to remove when the paint stiffens. If you notice a drip after the paint stiffens, wait until the paint dries completely before scraping it off with a razor scraper and touching up.
1. Prepare the Space
There's no need to take furniture out of the room when you paint window trim, but you should move furniture near the window out of the way so you have room for your ladder. If you spread a drop cloth under the window, it's best to use a canvas one that won't slip or tear when you put your ladder on it.
2. Scrape Off Flaking Paint
Use a putty knife to remove any flaking or bubbling old paint. If the window panes are separated by mullions or muntins, be sure to scrape paint from the lower inside corners because this is where condensation tends to collect and where paint is usually in the worst condition. If the window has a wood frame and some of the wood is discolored, make sure it isn't actually wet. If it is, put a fan on it and let it dry out before you proceed.
3. Clean, Fill, and Sand
Mix an ounce of dish soap with warm water and use the soapy water to clean the trim. Pay special attention to oily or greasy areas since any oil or grease on the trim will prevent paint adhesion, and you'll be left with lifting or bubbling paint. Rinse with a damp cloth and dry with a dry one. If the trim is wood, fill any holes or defects with fast-drying spackling compound. If you're painting trim on a new window that is being painted for the first time, use the spackling compound to fill nail and screw holes.
Tip
If window painting is part of a larger home improvement project that involves drywall installation, you can use drywall joint compound in lieu of spackling compound.
When the filler dries (some brands change color to tell you when they are dry), sand the filler flat with 150-grit sandpaper. Scuff the rest of the trim with 220- or 320-grit sandpaper to roughen up the surface and give it a little "bite" to improve paint adhesion. Wipe off the sanding dust with a slightly damp rag.
4. Caulk the Outside of the Window Frame
Windows that have been previously painted usually don't need caulk, but if the window is new or the existing caulk is in poor shape, apply a bead of paintable acrylic latex caulk around the outside of the window frame to seal it to the wall. It's also a good idea to caulk the edges of the window stops and any other areas where you see gaps. Let the caulk set for about an hour before proceeding.
5. Mask Off the Glass
Lay painter's tape around the outside edges of the window glass and press down on the edge against the trim with your thumb. A good way to apply the tape is to tear a small piece off the roll at an angle, discard that piece, and press the angled end of the roll into the top corner of a pane. Unroll enough tape to reach the bottom corner and then press the tape into the corner with a utility knife and tear it off. This creates a ready-made angular piece that you can use for the next edge.
6. Apply Primer if Necessary and Then Apply Paint
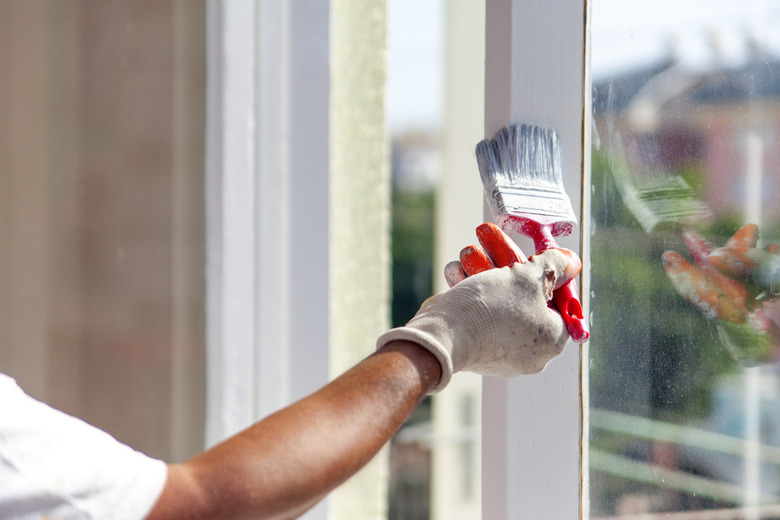
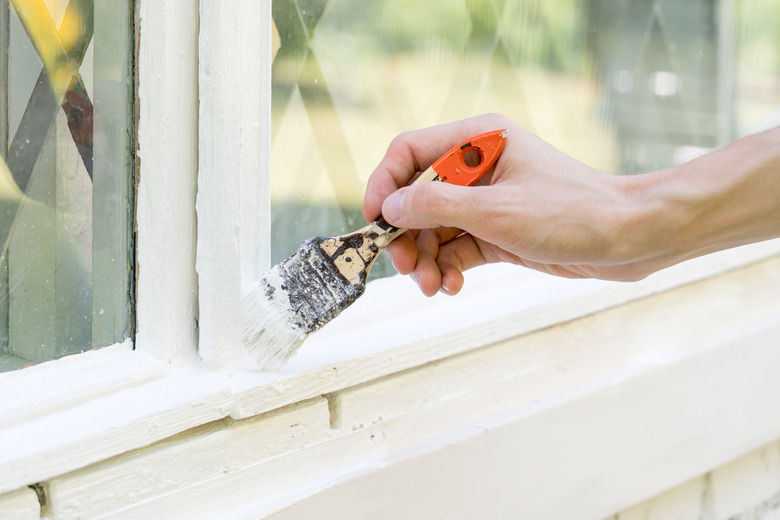
Using an angled trim brush, start painting at the top of the window and work your way down. Do the inside edges of the trim before you do the outside. Load up your brush and then scrape one side against the lip of the can to remove excess paint while leaving the other side loaded. Use the loaded side for painting. Brush in even strokes along the length of the trim piece you're painting. You can do cross strokes to get more paint on the trim but always follow these up with a long sweep to smooth out the brush strokes.
When working in tight corners, it helps to dab paint into them with the leading edge of the brush and then stroke away from the corner to even out the paint. Don't overload the corners or the paint will drip.
Tip
Keep a slight upward angle on the paintbrush at all times if possible. This prevents paint from flowing back toward the handle and eventually making a mess on the brush.
Some people like to lay masking tape on the wall before painting the outside edge of the window frame, but this is time-consuming, and if you have a steady hand, you don't need to do it. Just press the brush into the corner of the frame and stroke downward, keeping a bead of paint just in front of the bristles that are in contact with the edge. Stroke smoothly and slowly and you'll get a perfect line. If you do get paint on the wall, wrap a rag around the tip of a putty knife and use the knife to dab the paint.
Tip
If you plan to apply two coats of paint, wait for the first coat to dry and then scuff it lightly with 320-grit sandpaper. This guarantees the smoothest-possible paint finish, especially on wood trim.
7. Clean Up
Clean up your brush as soon as you are finished painting, even if you plan to apply another coat of paint of the same kind. This prevents the brush from getting overloaded and keeps it supple. The best way to clean the brush is to immerse it in a bucket of warm water and work the paint out with a wire brush. When most of the paint is gone, hold the brush under running water and then shake it vigorously into the bucket to get out all the paint.
8. Remove the Masking Tape From the Glass
Wait for the paint to dry before removing the masking tape from the window glass. Run a utility knife between the edge of the tape and the trim to cut the paint and then pull the tape gently at a 45-degree angle. If you got any paint on the glass, it will come off easily when you scrape it with a razor scraper. Hold the scraper at a low angle to avoid scratching the glass. If any of the paint is still wet, you can remove it with a rag soaked in warm distilled vinegar.


