A Beginner's Guide To Installing Security Cameras
We may receive a commission on purchases made from links.
Although security cameras aren't typically capturing anything as interesting as in the movies, the fact is that it's easier than ever to set up a miniature TV studio inside or outside your home than it has ever been. If you go for DIY installation, you can do it for a few hundred dollars. You have a number of decisions to make regarding the type of home security system you install, where you place the cameras and how you store the footage, and those decisions will be based on what you want to record and where.
Not everyone wants to monitor potential burglars, although that's one of the main reasons for installing home security cameras. Some people just want to keep an eye on the kids or pets. Others may want to watch the front door for deliveries or be able to identify visitors before answering the door, and still others may be interested in monitoring the movements of wildlife around the property. Modern surveillance cameras can do all this and more, often while being perched in an out-of-the-way spot so as to be practically invisible.
It wasn't that long ago that indoor and outdoor surveillance cameras were analog, which meant that resolution was low, and images had to be stored on videotapes, but those days have gone the way of the Blockbuster franchise and the dial-up connection. Modern digital surveillance cameras can achieve high resolutions, making it possible to zoom in on important details, and they can store data in the cloud. Because most modern systems are Wi-Fi enabled, they can be monitored remotely, and although some systems run on batteries, the most reliable ones are wired to power.
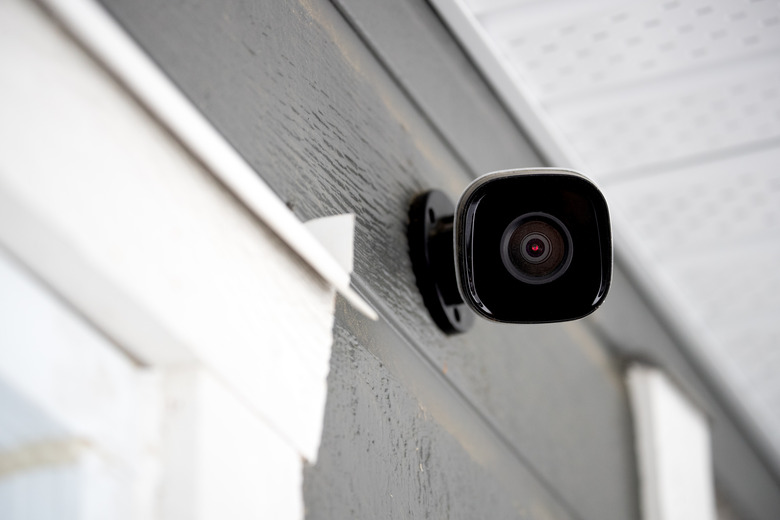
Best Locations for Security Cameras
Best Locations for Security Cameras
If you're installing your security camera system primarily to protect your home from burglars, you want to place cameras both indoors and outdoors at the places where intruders are most likely to enter. Cameras should always be installed on your own property, never on that of a neighbor. Common outdoor locations include:
- Outside the front door and other ground-level doors and windows, often mounted on a soffit to keep the camera out of reach
- Overlooking gates on security fences. The camera can be mounted on a high post or in a tree.
- Locations that offer wide-angle views of the yard, such as on top of a fence post or on the side of the house
- Outside the garage, mounted on the soffit or the siding
Indoor locations usually don't include bathrooms or bedrooms for obvious reasons of privacy, but they should monitor places in the house where intruders who make it into the house can't avoid going, such as:
- Large open rooms, including the living room and basement
- The main stairway and hallway as well as the basement stairway
- Common areas, such as the kitchen or main eating area
- Any room in which you store valuables
You may not always be able to place a camera exactly where you want it. If your camera has to be connected to power, for example, it will need to be within range of a power source, and some locations are too obstructed or have the wrong lighting to provide a useful view. Moreover, the type of camera you install may dictate the best place for it. A camera that offers a 360-degree field of view can be useful indoors, but it will be difficult to find a suitable outdoor location for it. Keep in mind that it isn't always desirable to mount the camera out of view because the mere sight of a security camera can be a deterrent to burglars.
 ronstik/iStock/GettyImages
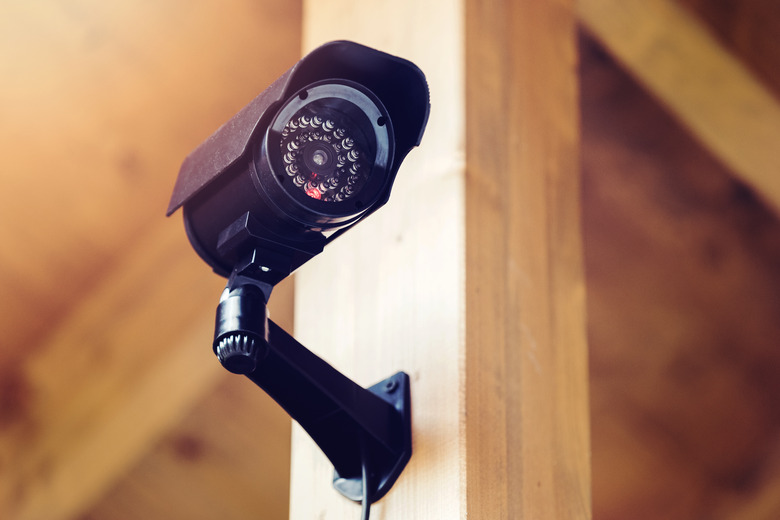
Fixed vs. Adjustable Security Cameras
Fixed vs. Adjustable Security Cameras
The simplest security camera isn't adjustable, and once mounted, it stays focused on a particular area, while a pan/tilt/zoom (PTZ) camera can rotate both horizontally and vertically and can zoom in on any object in its field of view. In comparison to a PTZ camera, a fixed camera may seem like it lacks functionality, but you don't need the ability to change the field of view if you just want to monitor the front door or keep an eye on the living room while you're away, and because the field of view never changes, you never have to worry about adjusting it. A 360-degree camera, which can be a bundle of fixed cameras enclosed within a dome or a single camera that rotates, offers a complete picture of what's happening in the space, although it may be a low-resolution one.
One of the easiest-to-install fixed cameras is a video doorbell. As the name implies, a video doorbell takes the place of your regular doorbell and is able to transmit images to your smartphone or laptop via a Wi-Fi connection. A security camera that takes advantage of the internet in this way is known as an IP camera, where "IP" stands for internet protocol. It functions like a webcam, but it's a standalone unit with its own IP address, and like a printer, it connects directly to the internet without relying on a router.
A PTZ camera that you can control from your laptop or mobile device can be handy when details are important. For example, you may be monitoring your yard to identify the pesky animal that is eating your flowers and find out how it's getting through the fence. You can equip a PTZ camera with night vision and a motion-detection sensor that activates the outdoor security camera when the animal arrives and sends you an alert, allowing you to identify the animal on your device screen and follow the animal's movements around the yard.
Wired, Wireless and Wire-Free
Wired, Wireless and Wire-Free
A wired camera is one that has to be plugged into a power outlet and physically connected to a recording device, while a wireless camera — such as a Nest or an Arlo — connects wirelessly to the recording device or to the cloud but still has to be plugged in. A wire-free camera is one that needs no wires for power or for connectivity.
A wire-free camera is the easiest to install and can be located virtually anywhere, but it isn't always the best choice because it runs on batteries that need to be changed periodically. Wired cameras or wireless ones that are plugged into power are more reliable and won't fail at crucial times because they've run out of power, and professional installers tend to favor them. In a situation in which power is unavailable, such as in the far corner of a large property, a wireless security camera may be the most practical option because you can install it without having to run long stretches of electrical or Ethernet cable.
Video Surveillance Storage Options
Video Surveillance Storage Options
Video surveillance footage isn't very useful unless you store it somewhere, and most modern systems sold for DIY installation come with a cloud storage package. Even though cloud storage requires a monthly fee of $3 to $6 per month or more, it's more convenient than a hard storage device, such as a DVD recorder. Video footage takes a lot of hard drive space, especially if the camera records continuously, and if you use local storage, you either have to change DVDs frequently or record over existing footage. Limiting storage to only clips recorded when the motion-detection sensor switches on the camera is the most common way to optimize space.
If you want to protect a large property with a network of interconnected cameras, such as a closed-circuit TV (CCTV) network that displays video on a split-screen format on a central monitor, it may make sense to store the data on a physical hard drive. Having the data in your hands makes it less likely that in the case of a break-in, you'll lose important clips before you have a chance to submit them to authorities. Because of the complexity of running wires for a CCTV system, professional installation is usually recommended.
 3D_generator/iStock/GettyImages
How to Plan and Install a Security Camera System
1. Plan the Security Camera Installation
Walk around the area to be monitored and look for good places to hang cameras. Approximately 80 percent of burglars enter through the front and back doors or street-level windows, so you'll place cameras to monitor these areas, and they should be high enough to be out of reach. The soffit is usually the best place, but if the doorway has a porch that blocks the view from the soffit, you may have to mount the camera in the porch ceiling. In that case, consider surrounding it with wire mesh to prevent tampering.
While you're considering camera placement, you should also be planning the routing of cabling to connect the cameras of a CCTV security system to each other and to the data storage device and the monitor. This also has to be out of reach to prevent someone from disabling the system by cutting it, so you'll probably have to drill holes in the siding and the interior drywall at strategic points.
2. Choose and Prepare the Cameras and Data Storage Device
A security camera bundle complete with eight cameras and eight-channel hard drive with 2 TB storage space and motion sensors that can distinguish human movements from background flutter is inexpensive, costing about $300. Nothing prevents you from mixing and matching components if you want to spend more or less than that; you may simply be interested in a single camera that watches the front door. Choose the system that works best for you.
Unpack the system and test it before you install it. Make sure you have enough cabling to reach all the areas you want to monitor and if not, purchase more. If you have to mount any of the cameras in exposed places, purchase compatible weather shields to protect them.
3. Install the Cabling
Use the mounting templates that come with the camera system to draw an outline of the mounting plate for each camera on the surfaces on which it will be mounted. Drill a 5/8-inch hole in the middle of the outline using a drill and spade bit and feed the cable through this hole. Run the cable to the data storage device. It's usually easy to pass cable vertically through a wall cavity without cutting drywall and to feed it horizontally through the attic or basement.
You don't need to run cables if you're installing a wireless device, but you may need to install an electrical cable. If you're installing a video doorbell, the existing doorbell wires can be used to power it.
4. Mount the Cameras
Affix the cameras to walls, soffits and other surfaces using the fasteners that came with them. If you don't have fasteners, you can usually use wood screws to affix the cameras to wood and drywall surfaces, although you'll first need to install wall anchors to hold the cameras to drywall.
5. Make the Connections and Power Up the System
Connect the cables to the cameras and to the data storage device and then plug in the storage device and connect it to your laptop or mobile device, following the instructions supplied by the manufacturer. You may have to install supplementary software on your computer, and if so, the package may contain a disk and instructions for using it. If you installed an IP security camera system, record the IP address of each camera so you can monitor them individually directly from your web browser.
References
- Security.org: Where to Place Your Home Security Camera
- Consumer Reports: Home Security Camera Buying Guide
- PC Magazine: The Best Indoor Home Security Cameras for 2021
- Perk It: A Beginner's Guide To Security Cameras
- The Home Depot: Security Camera Installation
- Reolink: Top 5 Tips on Where to Place Home Security Cameras (With Video)