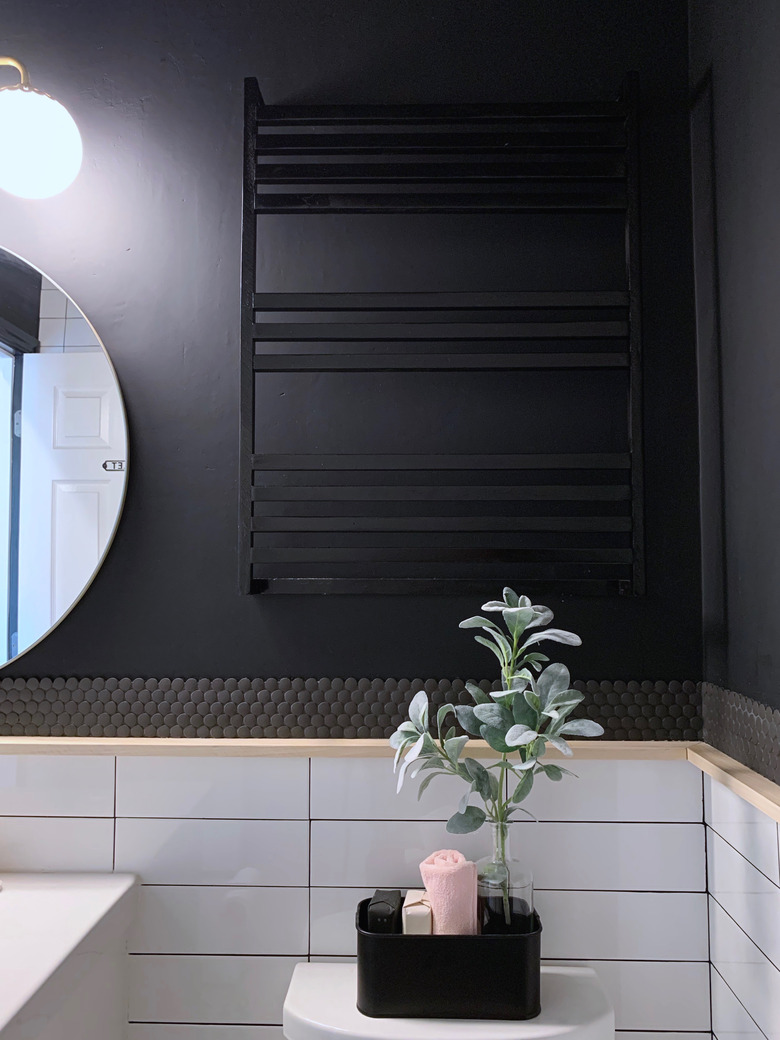
DIY Modern Towel Rack For Minimalist Bathrooms

 Monica Chavez
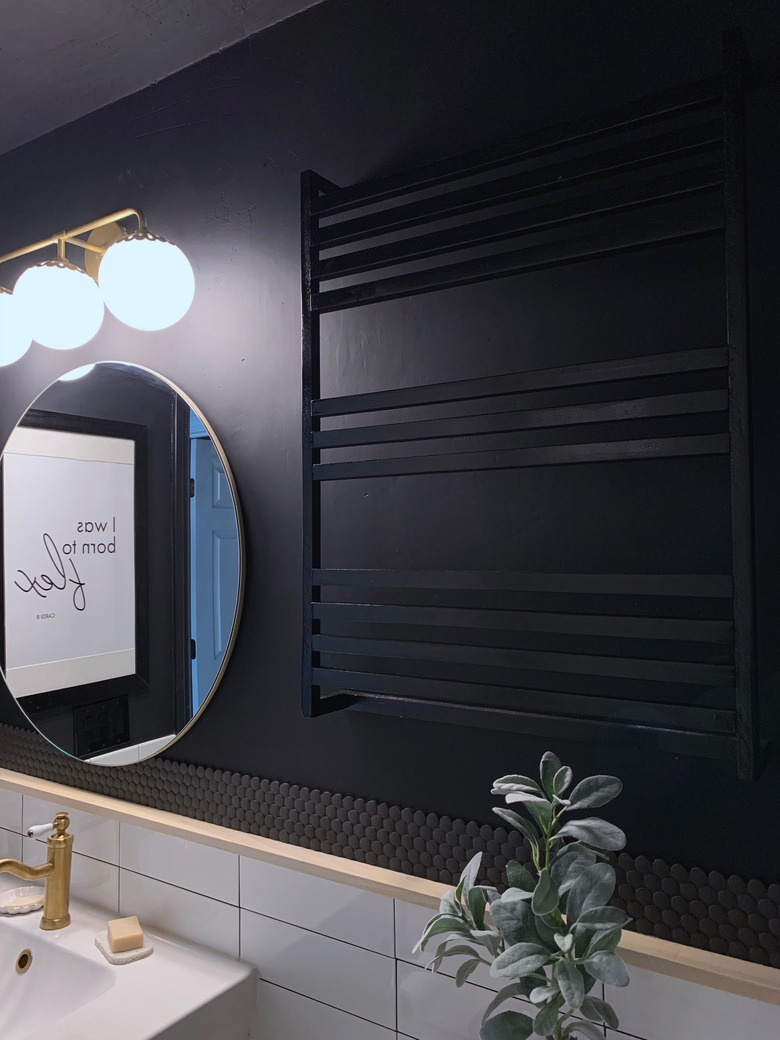
No more throwing wet towels on the floor! Monica Chavez, the creative force behind House of Esperanza, shows us how to build a modern towel rack for the bathroom ... so, no more excuses. As a lifelong DIYer, Chavez shares unique home projects along with smaller budget friendly updates on her blog. For this tutorial, she shows us how to make a large towel rack (31 inches by 24 inches), however it can be made in any size depending on the size of your space. Paint it, stain it ... have fun with it!
 Monica Chavez
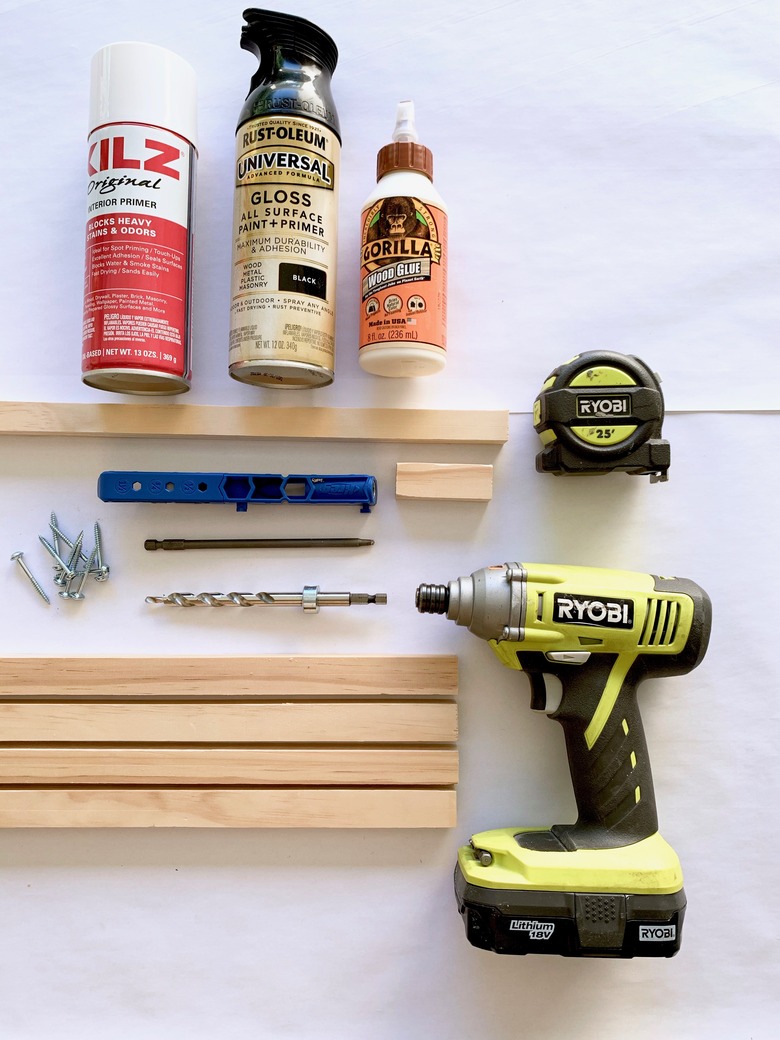
Things Needed
-
20 square wood dowels, 1 inch by 1 inch by 36 inches, cut down to length (see note below)
-
Wall mounting hardware of choice
-
Drill
 Monica Chavez
You'll need to cut the wood dowels to these lengths (or, ask your local hardware store to cut for you):
- 12 wood dowels cut to 22 inches long (for the horizontal boards)
- Two wood dowels cut to 31 inches long (for the vertical boards)
- Four wood dowels cut to 3 inches long (for the back mount)
- Two wood dowels cut to 22-inches long (for the back mount)
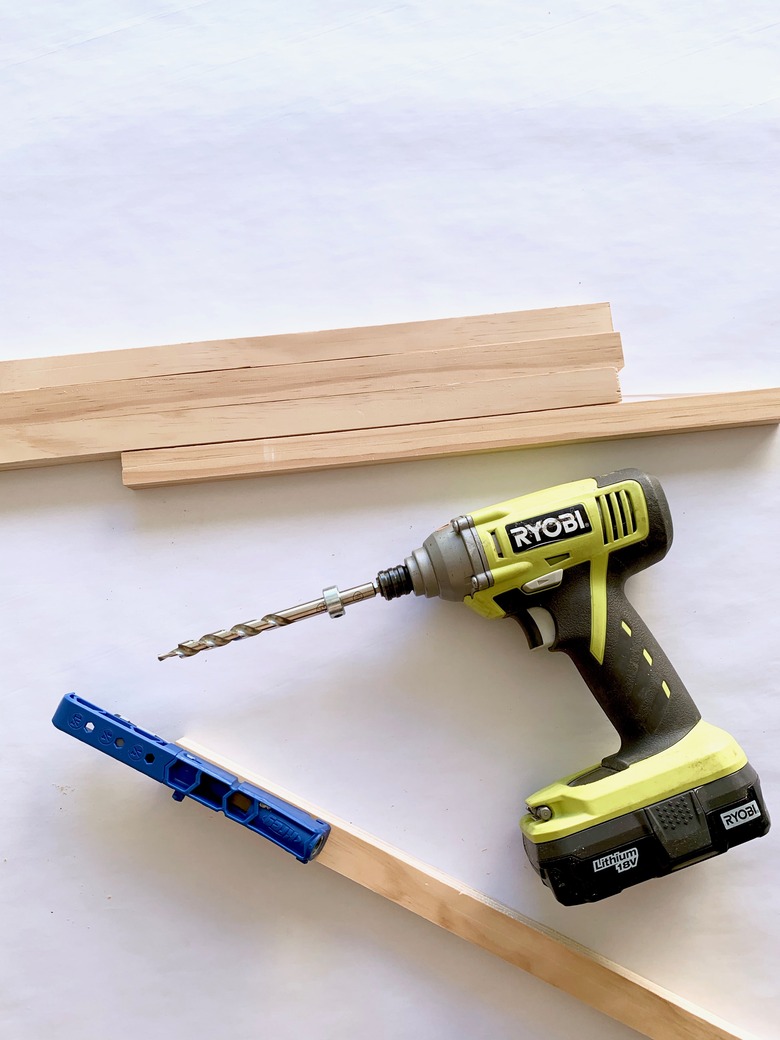
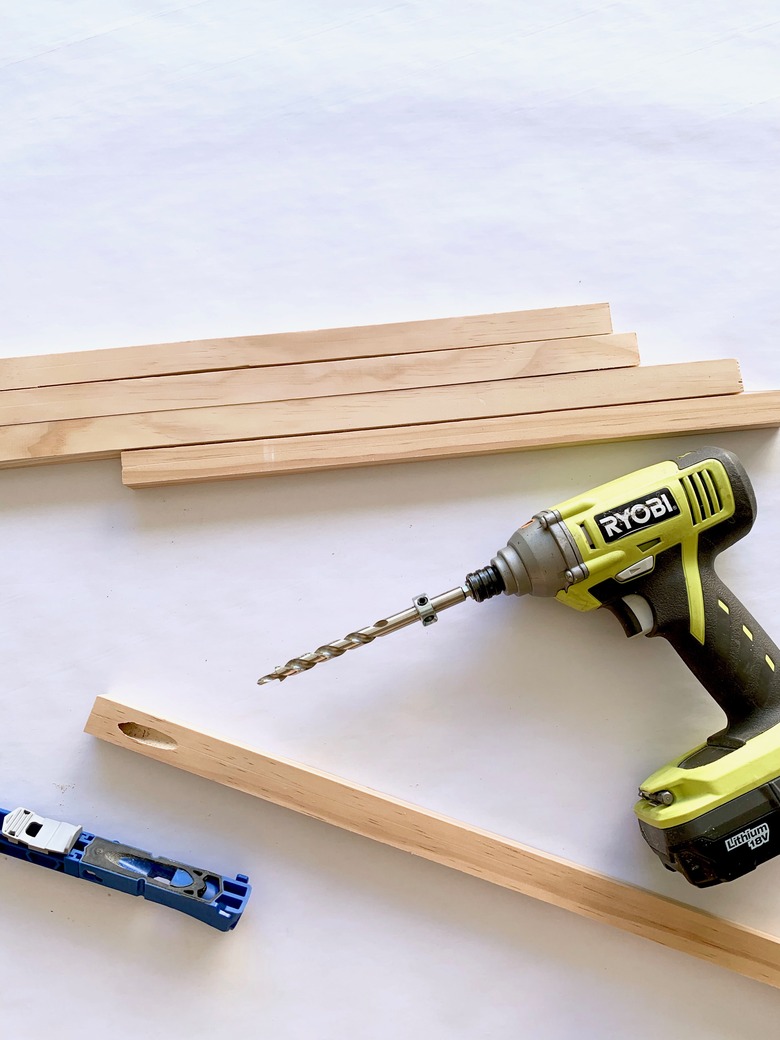
Step 1
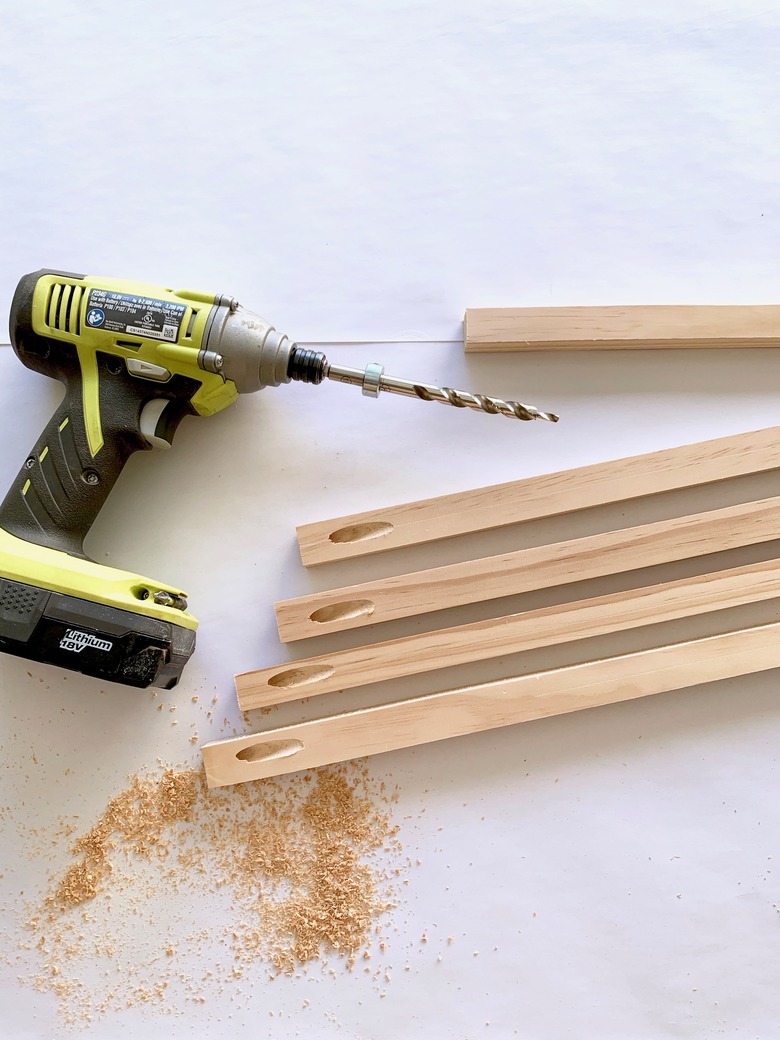
Add pocket holes to both ends of all the 22-inch boards. And then, add pocket holes to one end of the 3-inch boards.
Note: No pocket holes will be added to the 31-inch vertical boards.
 Monica Chavez
 Monica Chavez
 Monica Chavez
 Monica Chavez
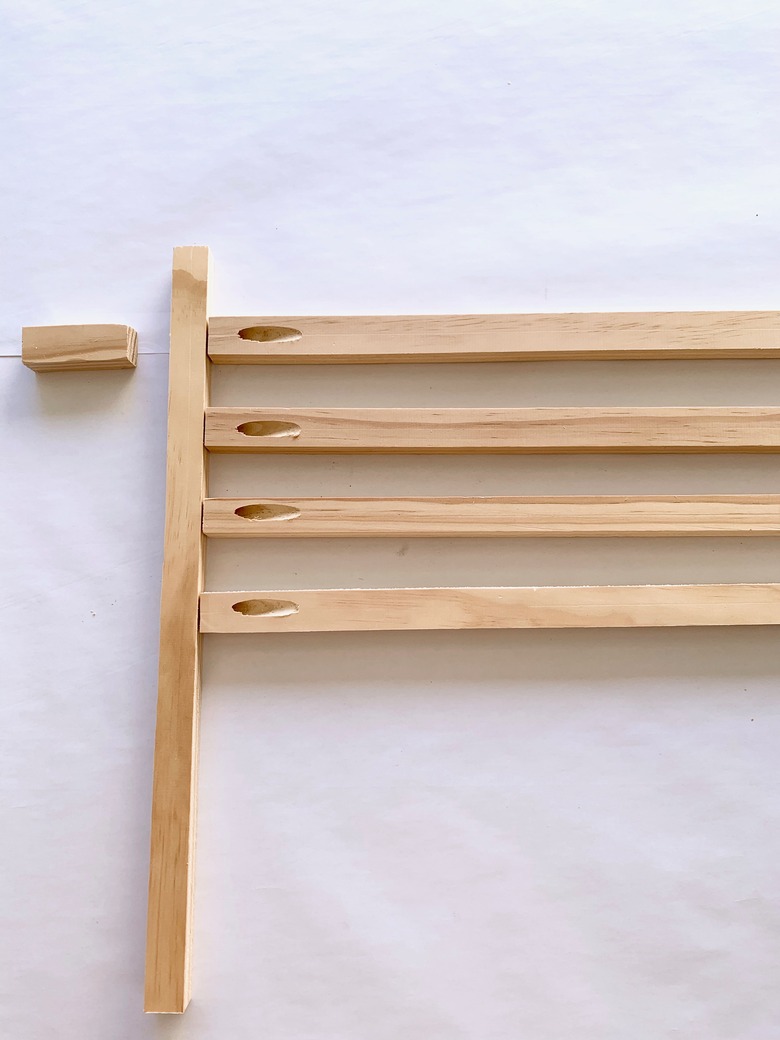
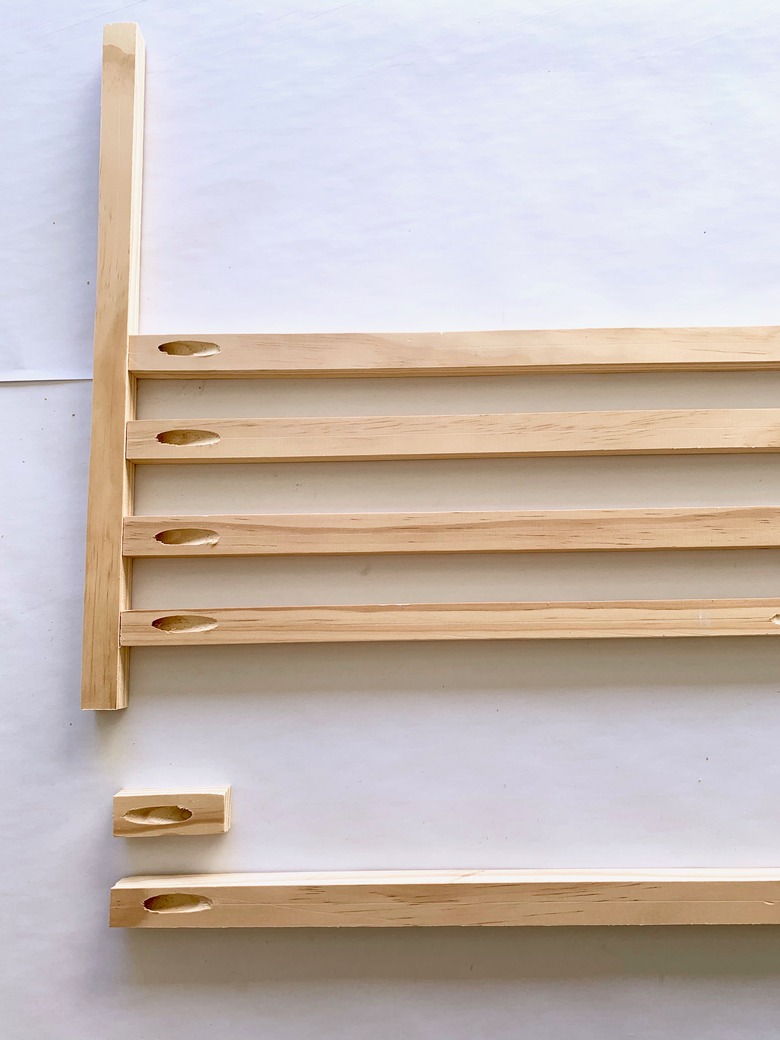
Step 2
Decide on the spacing of horizontal boards. This is a personal choice, so figure out what feels best to you.
 Monica Chavez
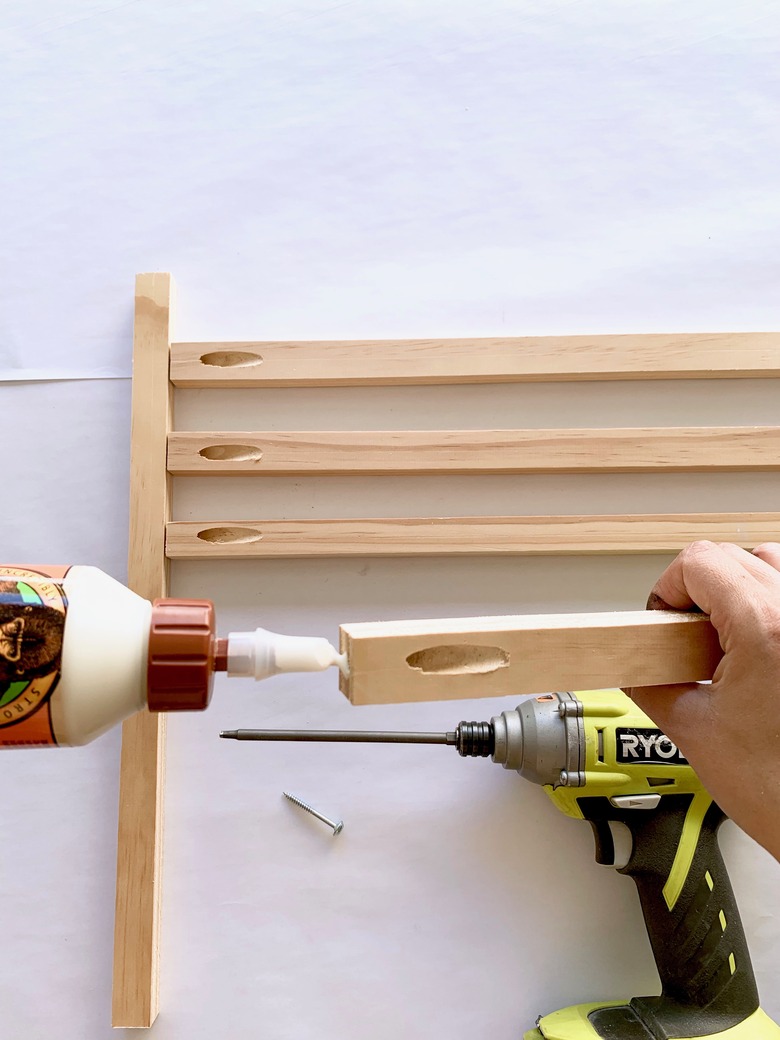
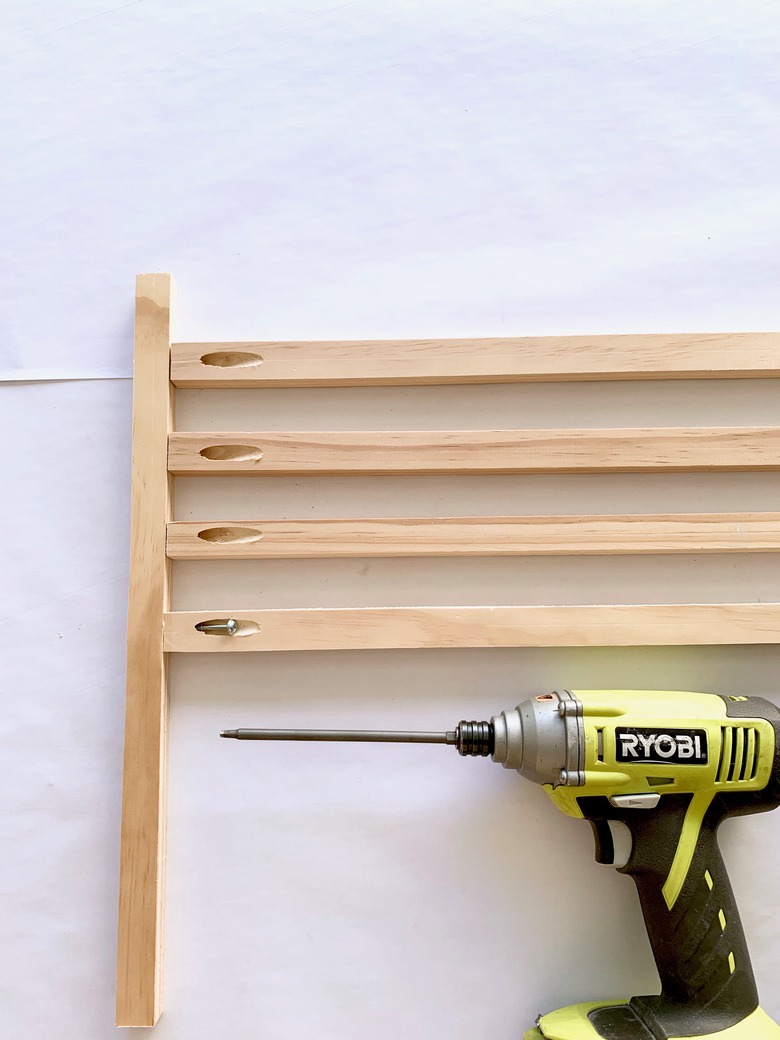
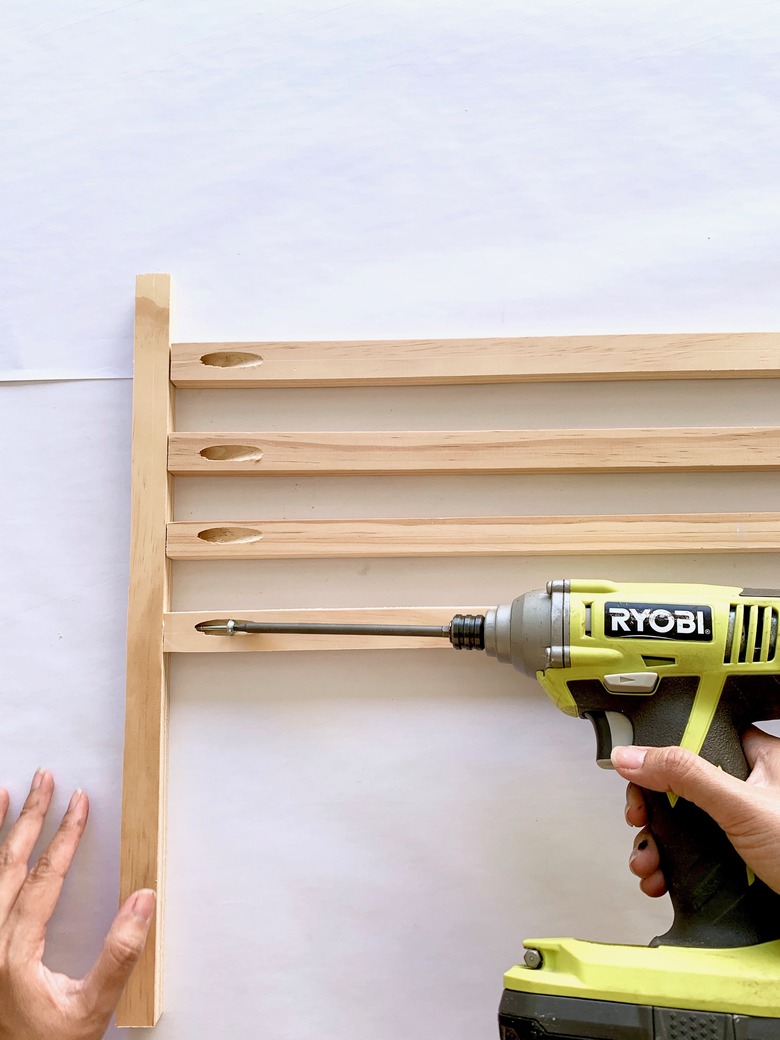
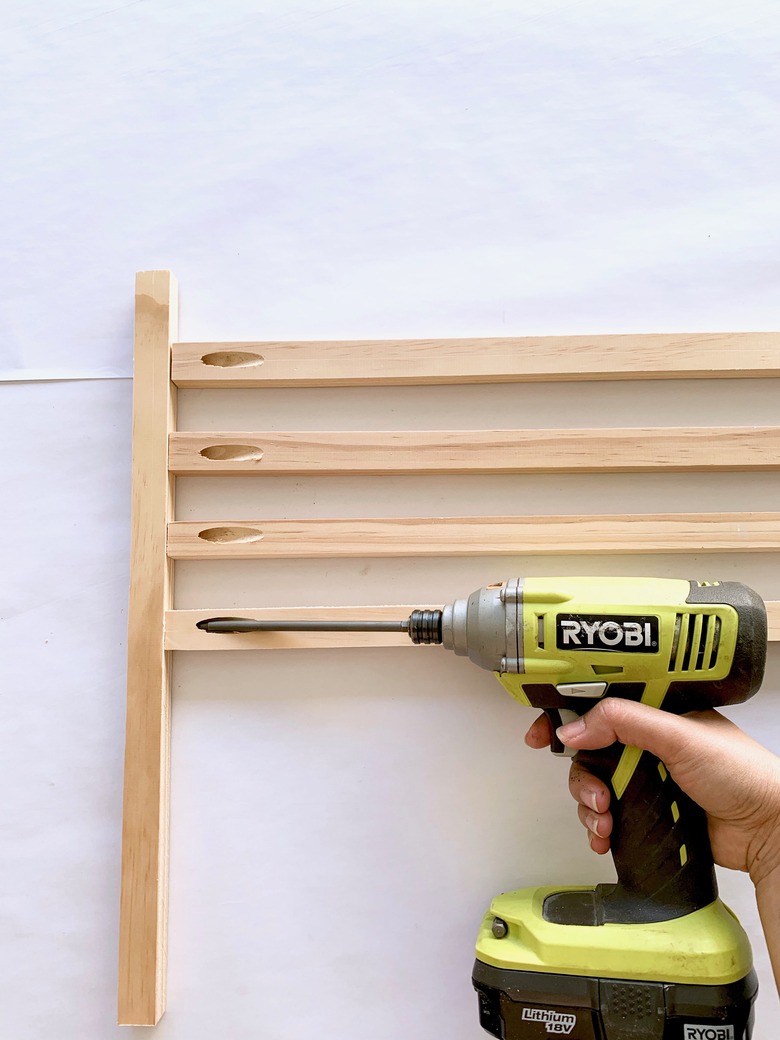
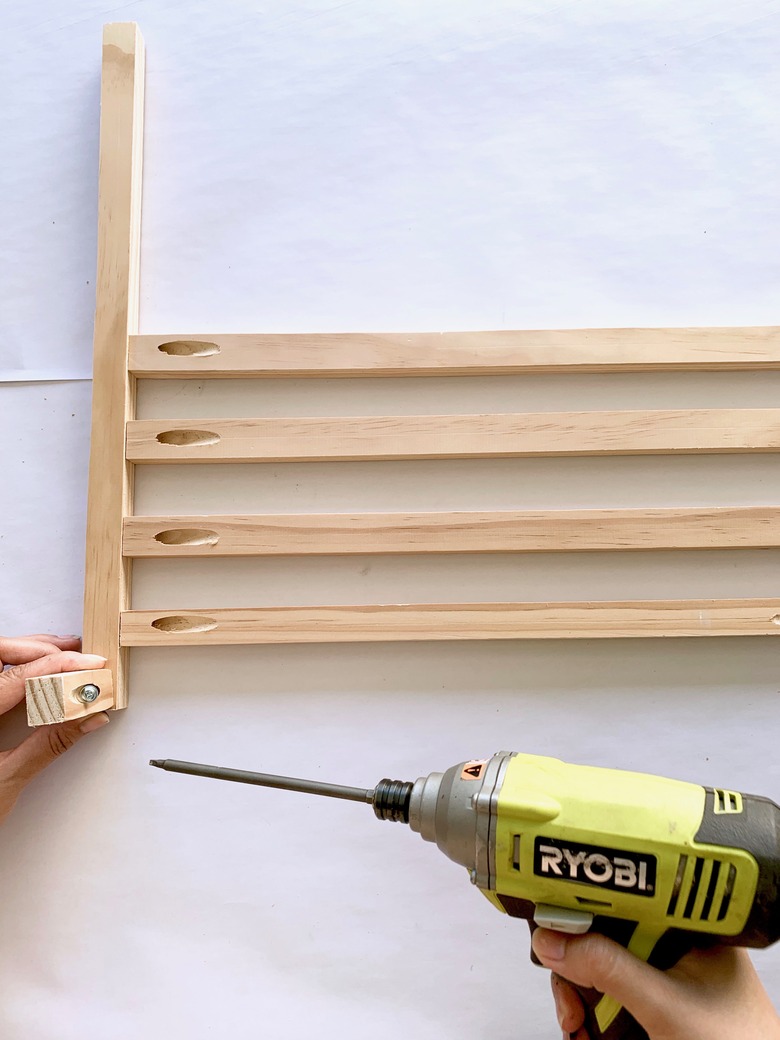
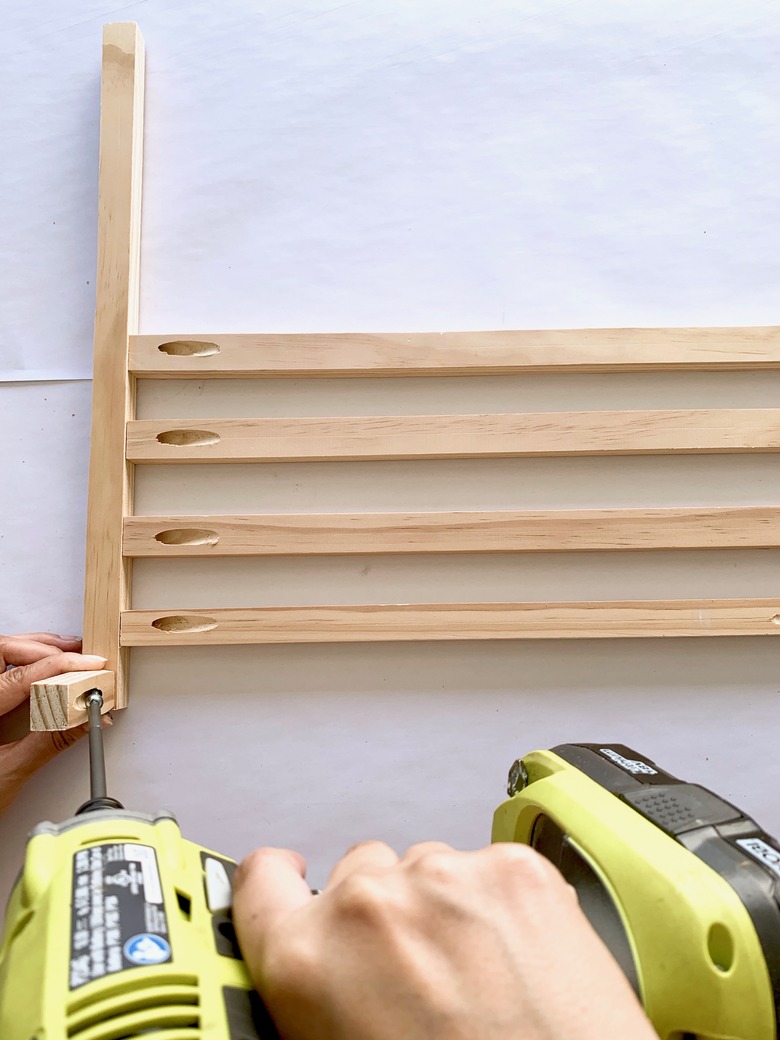
Step 3
Apply wood glue at the joints, and then screw the vertical boards to the long horizontal boards using pocket hole screw.
 Monica Chavez
 Monica Chavez
 Monica Chavez
 Monica Chavez
 Monica Chavez
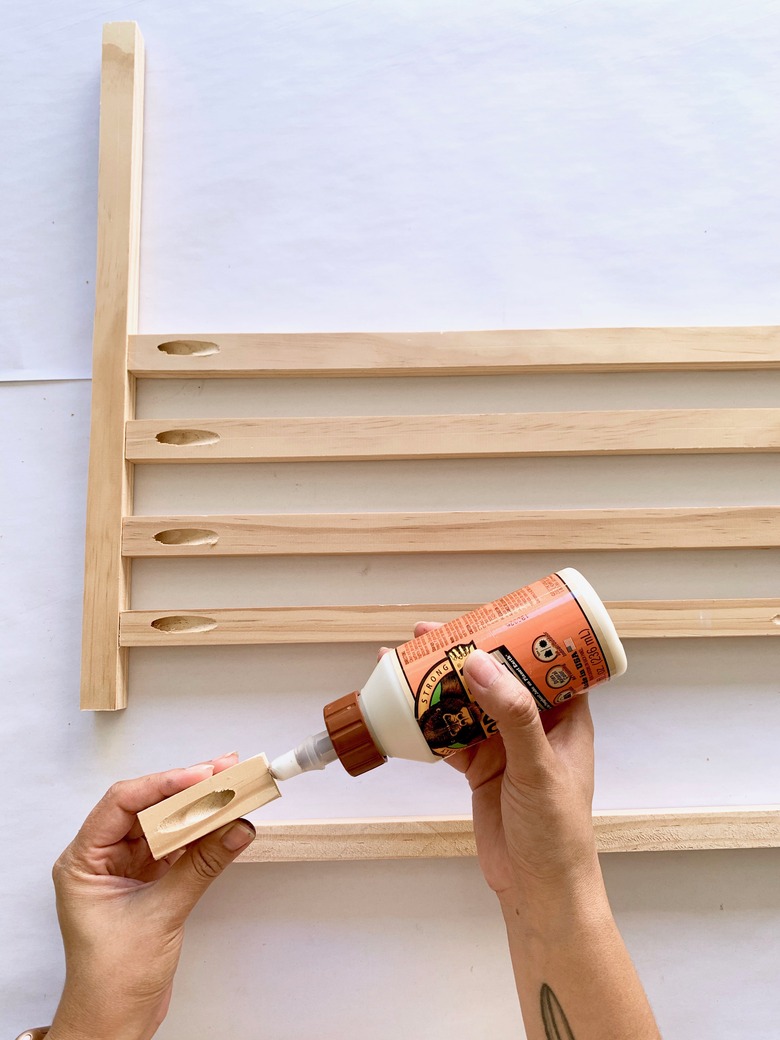
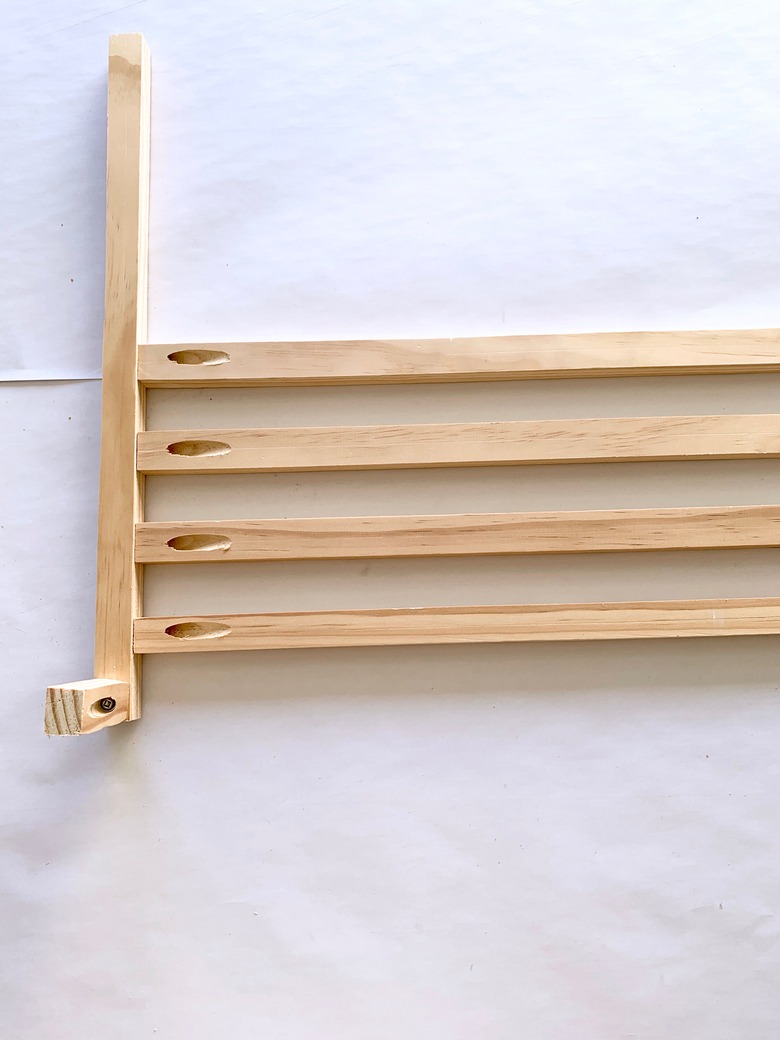
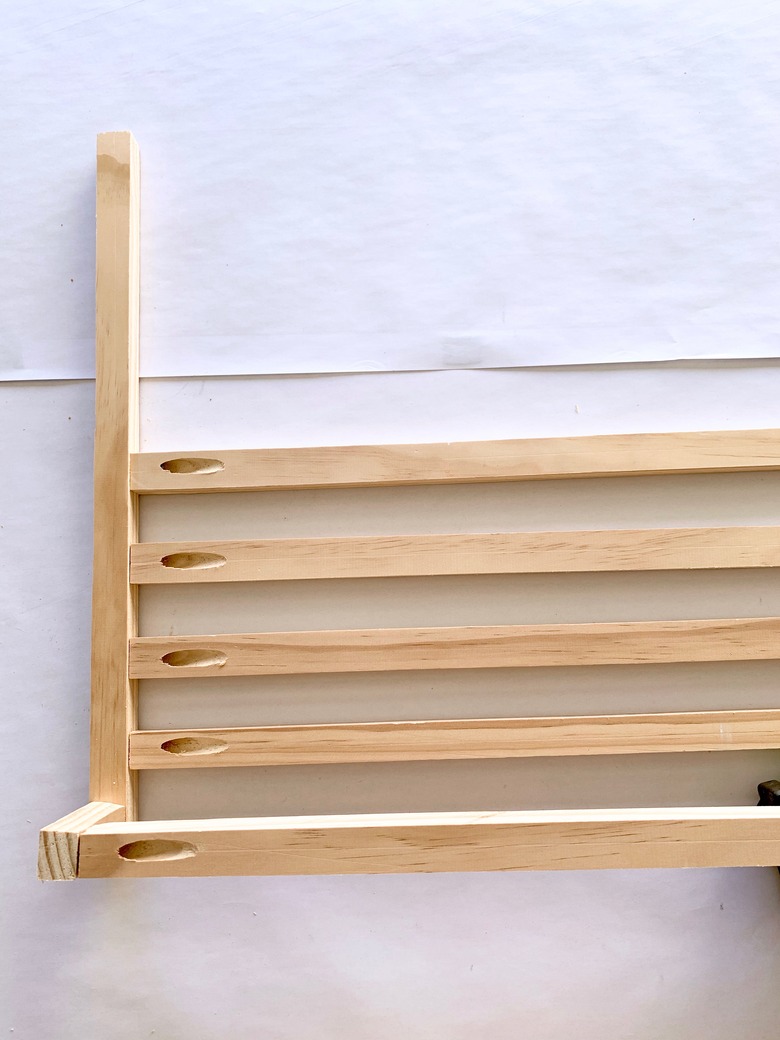
Step 4
With the 3-inch pieces, apply wood glue and then screw these pieces to the back of the assembled frame at a 90 degree angle, at all four corners.
 Monica Chavez
Then, to secure the 22-inch horizontal back boards to the 3-inch pieces, apply wood glue and then screw together using the pocket screws.
 Monica Chavez
 Monica Chavez
 Monica Chavez
 Monica Chavez
 Monica Chavez
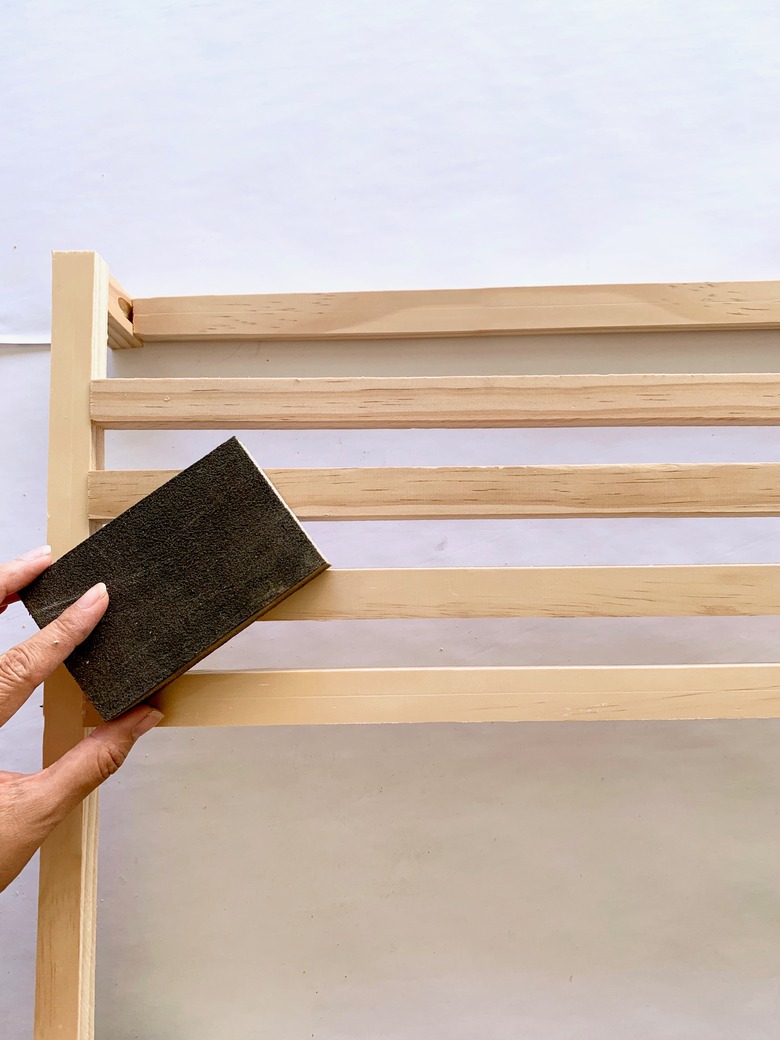
Step 5
Lightly sand the entire assembly in order to remove any rough spots or wood splinter.
 Monica Chavez
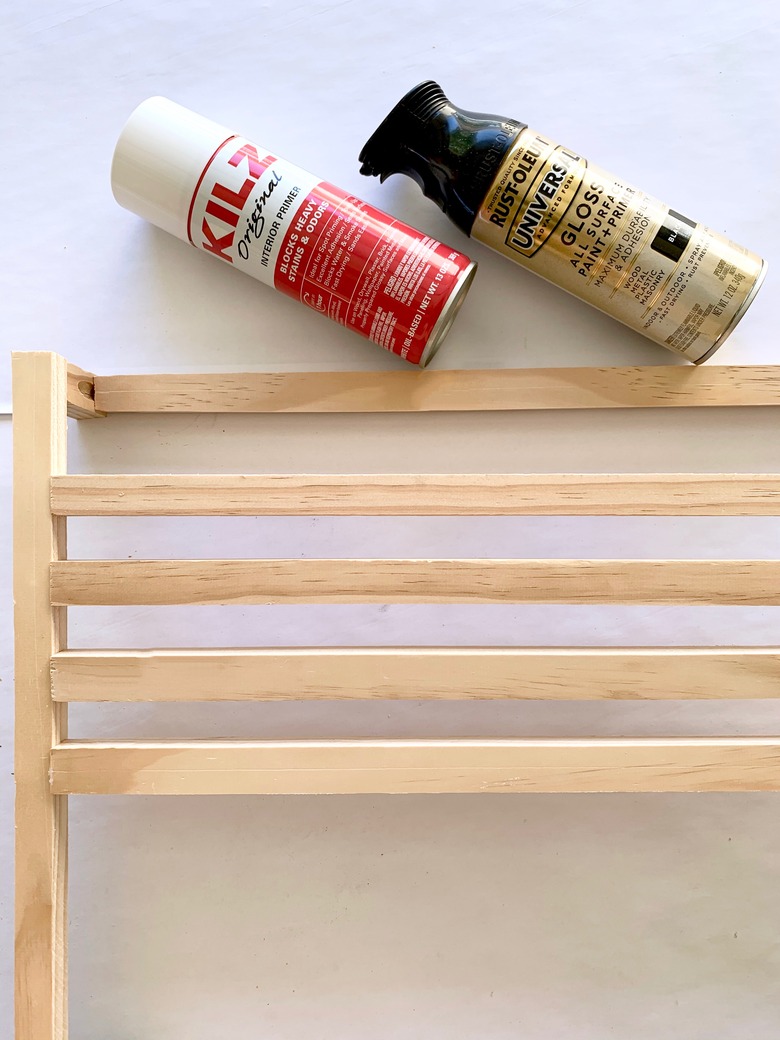
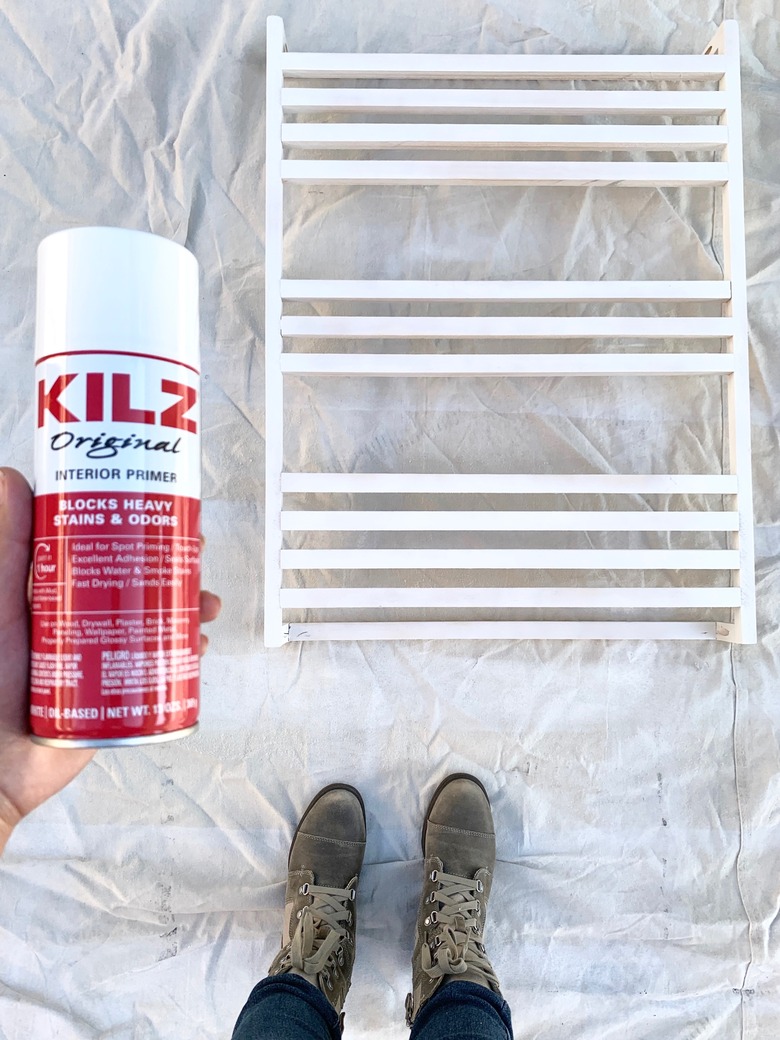
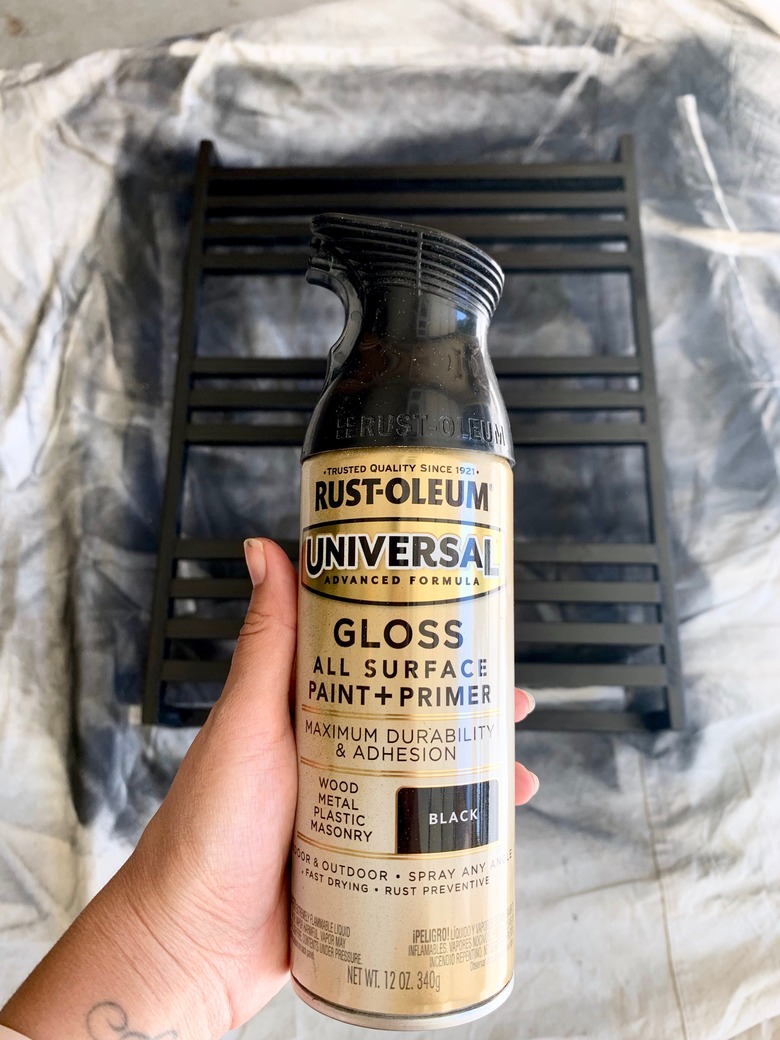
Step 6
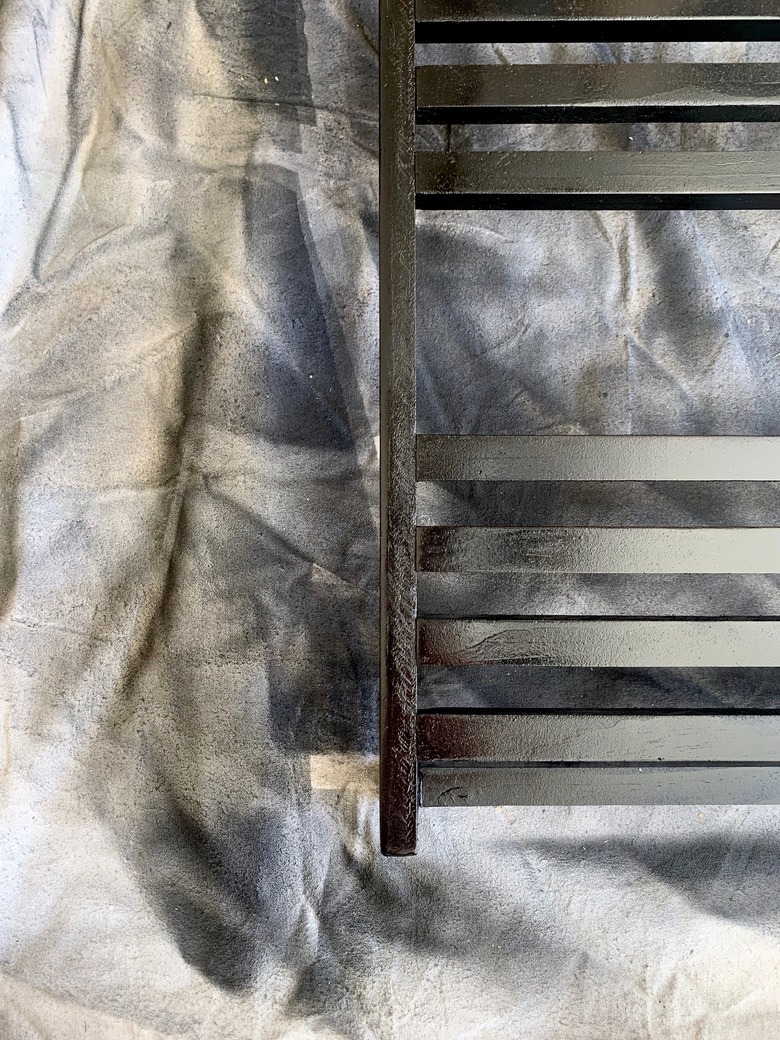
Apply your desired paint, stain, or finish as per the product instruction.
 Monica Chavez
 Monica Chavez
 Monica Chavez
 Monica Chavez
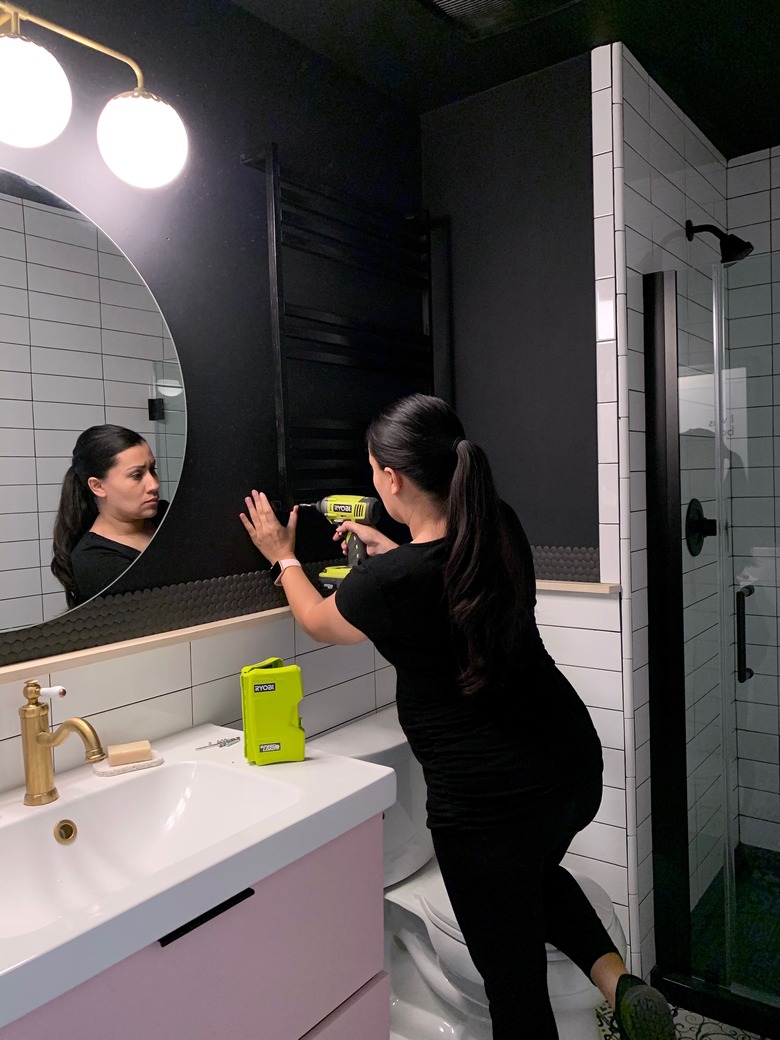
Step 7
Mount to wall with appropriate hardware.
 Monica Chavez
 Monica Chavez