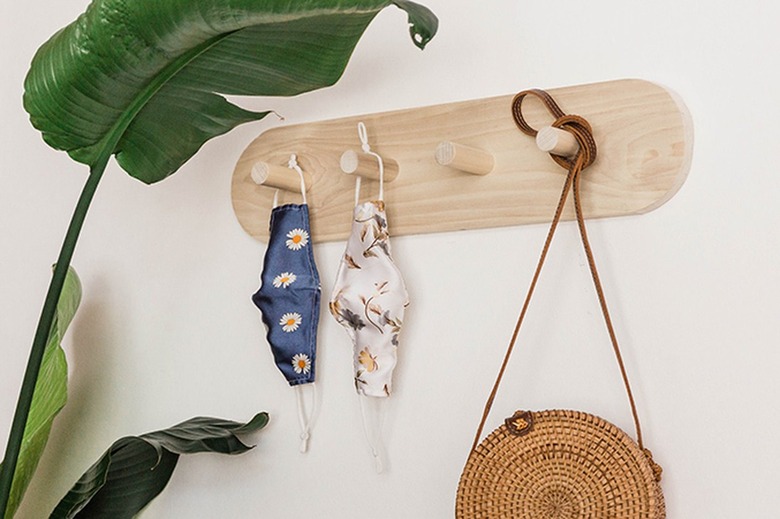
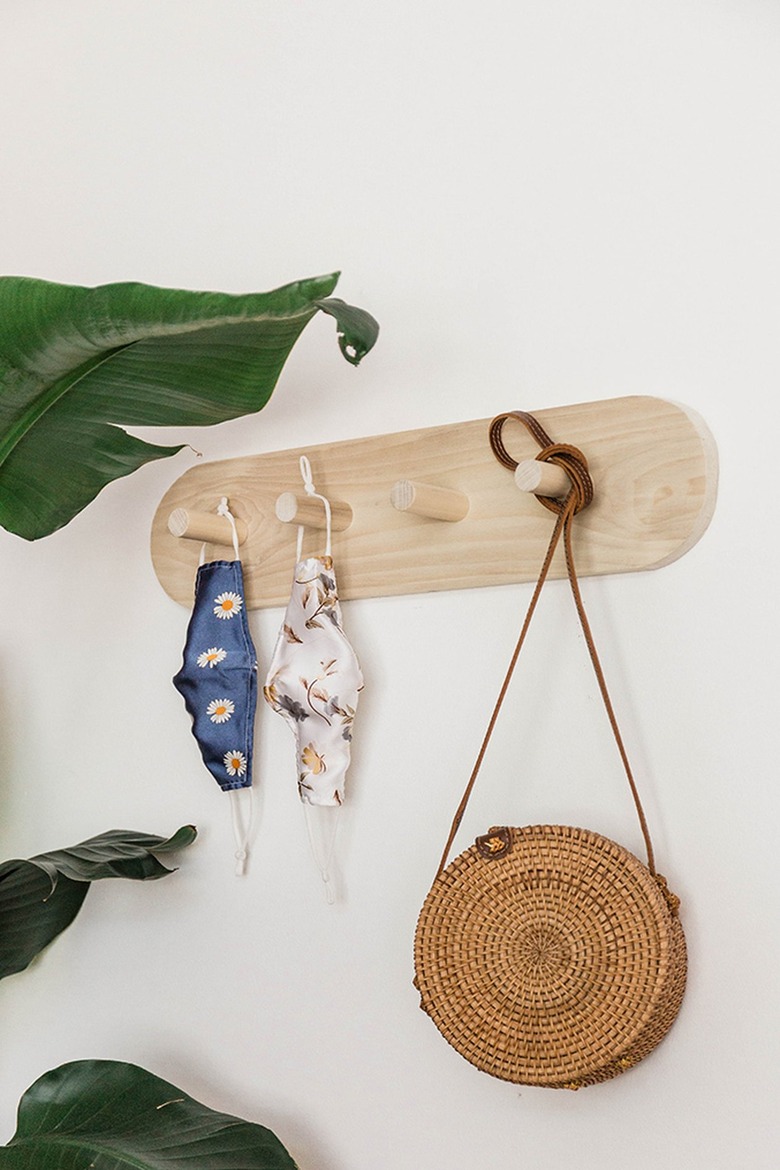
Organize Face Masks With A DIY Wall-Mounted Holder
We may receive a commission on purchases made from links.
Never did we imagine — at one point not so long ago — that our entryways, baskets, purses, and bags would be overflowing with face masks. Yet, here we are. In order to get your face mask collection under control, we suggest hanging a minimalist DIY holder with peg hooks next to (or nearby) your front door.
This project takes under two hours to pull off — and it can also be used for hanging hats and keys for when the day comes when masks won't be such a day-to-day necessity. (Here's hoping, anyway!)
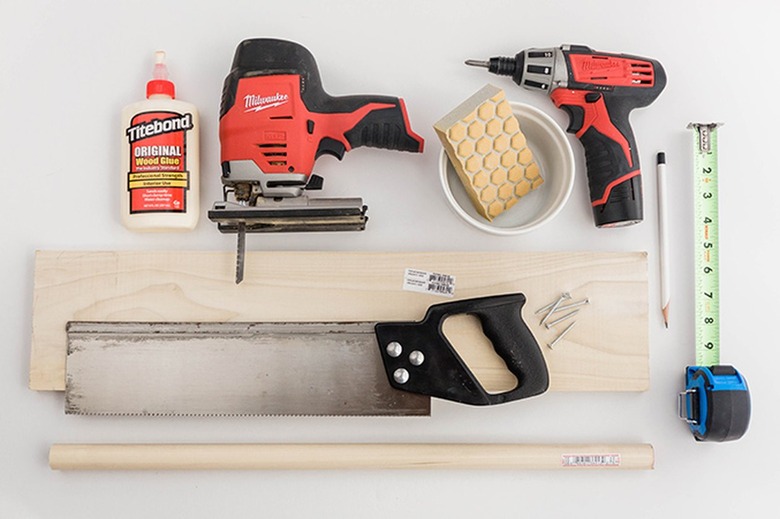
Things Needed
-
Ramekin, bowl, or plate (for tracing)
-
Pencil
-
Screws
 Carrie Waller
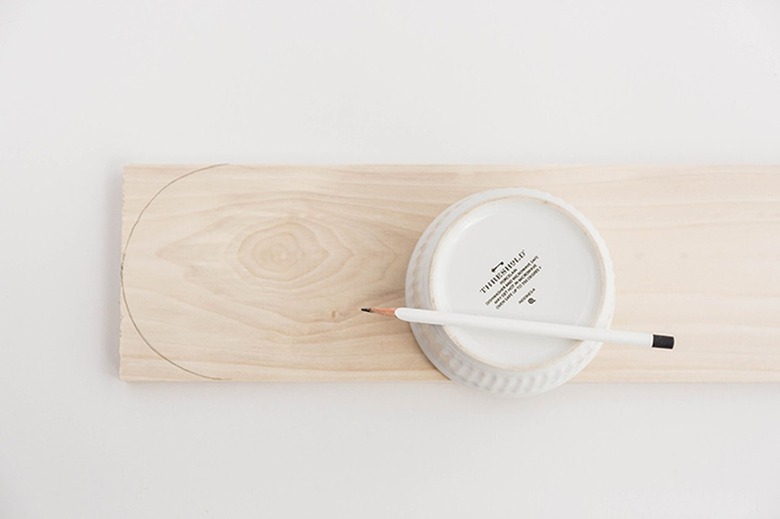
Step 1
Lay your ramekin, bowl, or plate on one end of the wood board, and trace around the edge to create a curved arch shape. Repeat on the other end of the board.
 Carrie Waller
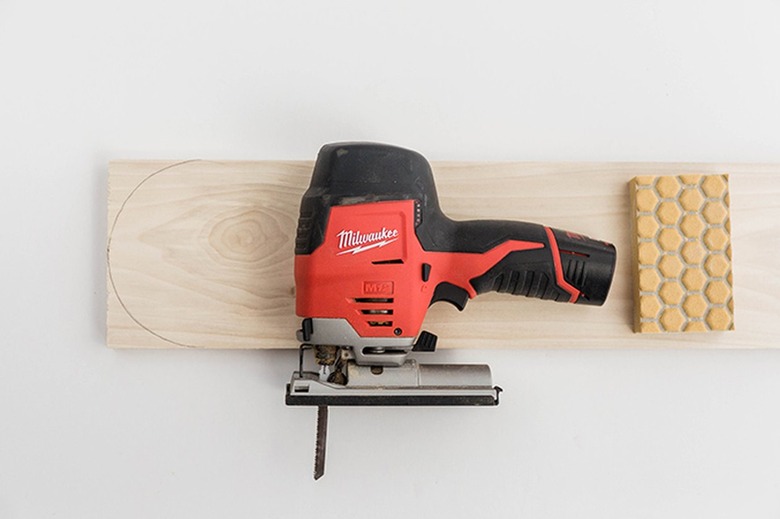
Step 2
Cut out both traced arches using a jigsaw. Sand the cut edges smooth with sanding sponges. Start with a coarse grit sanding sponge, then work your way down to a finer grit to create a smoother surface.
 Carrie Waller
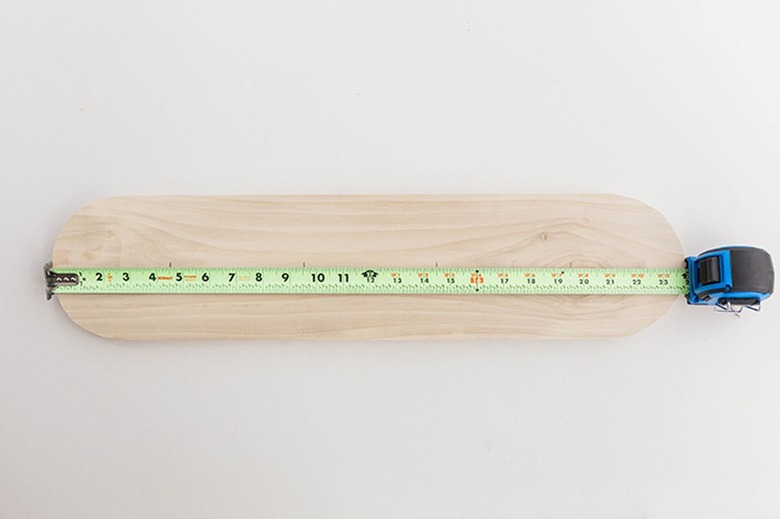
Step 3
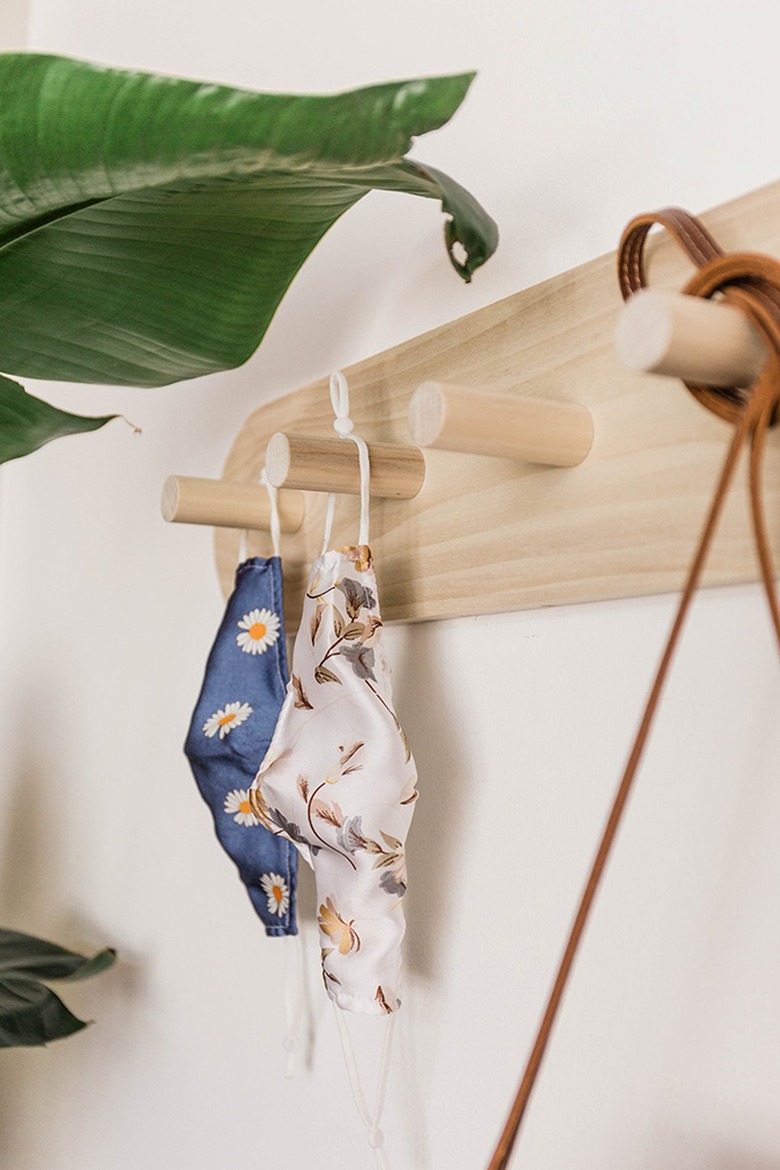
Measure and mark wherever you want your dowel rod hooks to go. Remember that you'll be marking for the center of each 1-inch dowel rod hook, so account for space on either side. We spaced ours out every four inches to give the face masks plenty of room to hang without touching each other.
 Carrie Waller
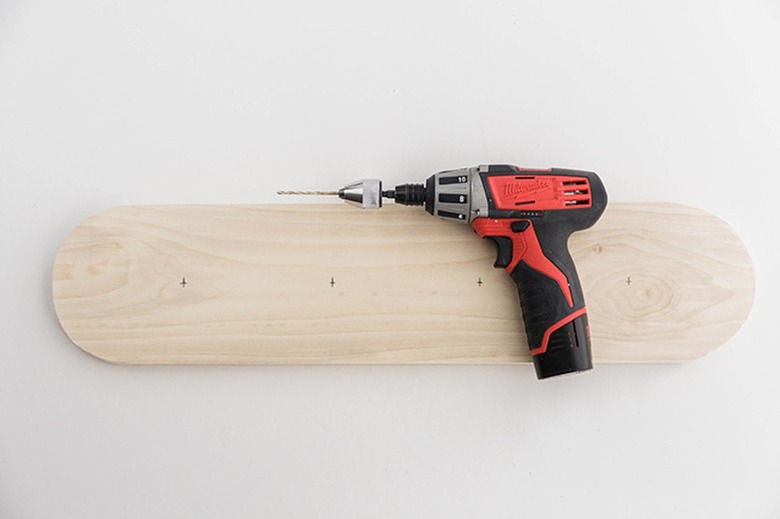
Step 4
Screw through the marks you made in the wood board using a drill and drill bit sized to match whatever screws you plan to use for the project (we used screws we already had in our toolbox).
 Carrie Waller
Step 5
Measure and mark the dowel rod into 3-inch sections using a pencil, then cut them to size using a hand saw and miter box, or compound miter saw. Sand the edges of the cut rods smooth.
 Carrie Waller
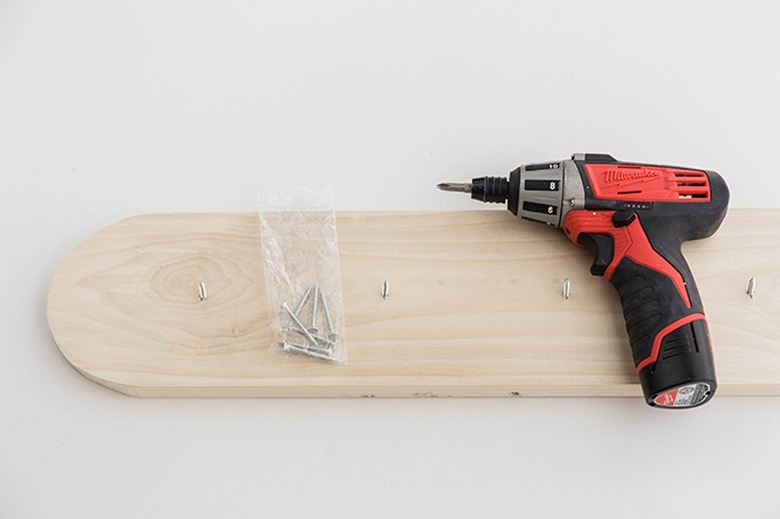
Step 6
Drill screws up through the back of the wood board. Drill them all the way in so the head of the screw is flush with the back of the wood board.
 Carrie Waller
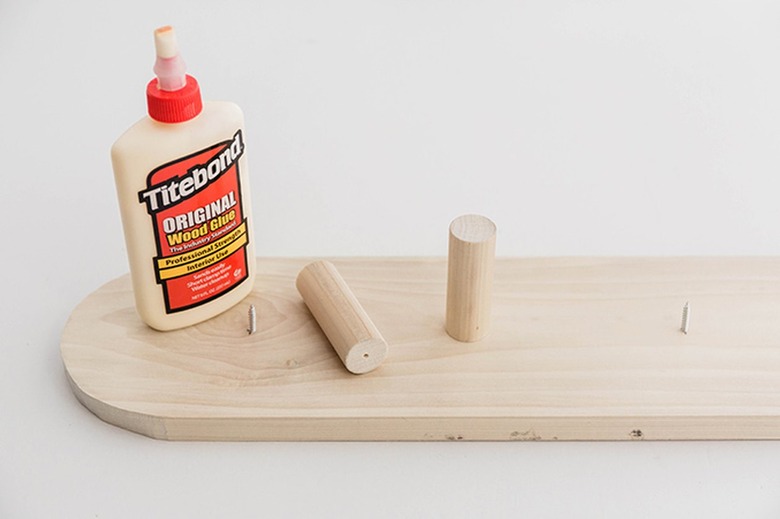
Step 7
Pre-drill holes in the back end of each dowel rod hook you made, and hand-tighten them over the screws. Add a bead of wood glue to the back of the rods before screwing them in if you want added strength.
 Carrie Waller
Step 8
Hang your finished peg holder on the wall using sawtooth hangers and nails.
 Carrie Waller
You can use the rack to hang your favorite fabric masks now, and then change to hats and purses post-pandemic.
 Carrie Waller