How To Remove And Install A Bathroom Sink Faucet
We may receive a commission on purchases made from links.
Removing a bathroom sink faucet and replacing it with a new model is a common part of bathroom remodeling at almost any level. Along with other cosmetic fixes, installing a new bathroom faucet is an easy way to make your bathroom noticeably nicer without the investment in time and money that goes with a more rigorous bathroom remodel. Even though it's a modest DIY project, there are important considerations when choosing and installing a new bathroom faucet for your remodel.
Mounting Variations for Bathroom Sinks
Mounting Variations for Bathroom Sinks
The nationally known bathroom fixture company Moen advises that the first step in replacing a bathroom faucet is to examine the sink and countertop — specifically, the configuration of the holes where the faucet will be mounted.
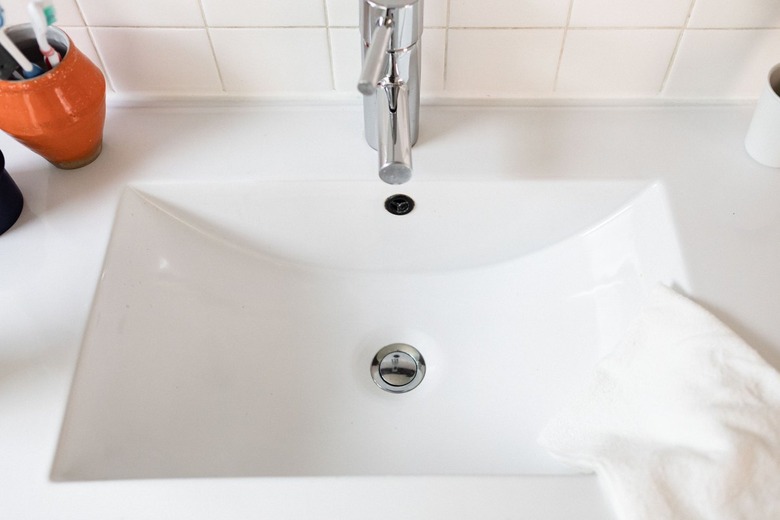
- With most drop-in sink styles, the holes for the faucet are drilled into the back flange on the sink itself. Typically, most sinks have three holes set 4 to 8 inches apart.
- With undermount sinks, the holes for the faucet are usually drilled into the countertop rather than the sink.
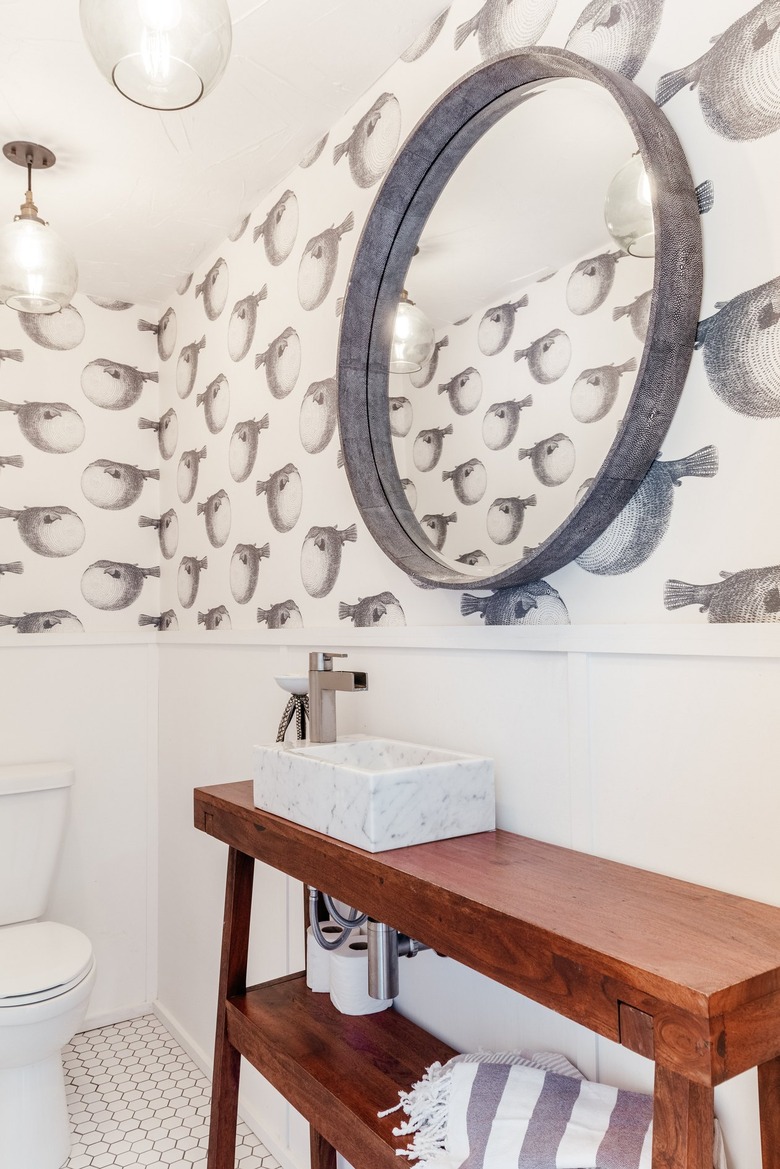
- With vessel sinks, the faucet is often a single-handle countertop faucet that requires one hole in the countertop. Faucets for vessel sinks usually have an arching, high-rise spout. Alternatively, the faucet for a vessel sink can be a wall-mounted model.
- With farmhouse-style (drop-apron) sinks, the faucet is usually mounted on either the wall behind the sink or in holes in the vertical backsplash portion of the sink.
When replacing a bathroom sink faucet, the best strategy is to buy a new faucet that matches the hole configuration of the old faucet. That way, you are assured that the new faucet will fit your situation. Of course, you have more options if your project involves also replacing the sink and countertop, in which case you can match the new faucet with whatever sink/countertop you choose.
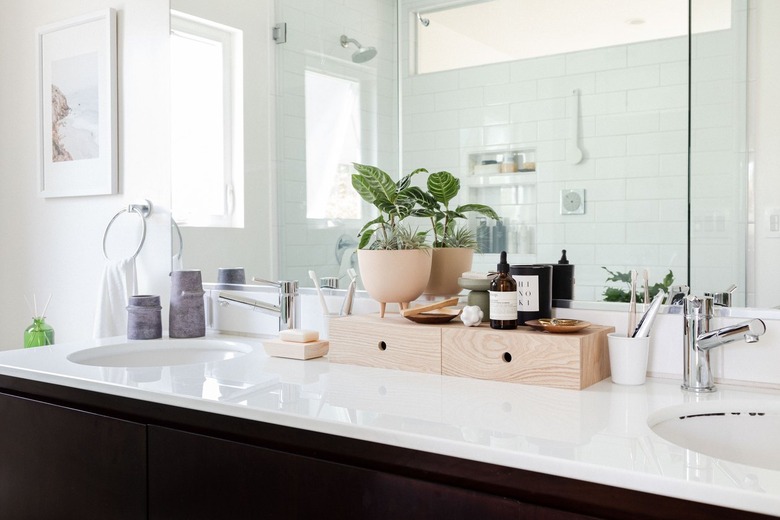 Stephen Paul for Hunker
Types of Bathroom Faucets
Types of Bathroom Faucets
There are several styles of bathroom sink faucets, and each has some installation variations that are particular to its style.
- Single-set faucet: This is a single-handle faucet that requires just one hole in the sink or countertop, although some single-handle styles have a wide base that can cover the standard three-hole openings in a sink. The hot and cold water flowing to the spout is controlled by a single lever. This is a relatively easy sink faucet to replace.
- Two-handle centerset faucet: This is a two-handle faucet that has separate hot and cold handles joined in a single body that also includes the spout. It requires three holes in the sink or countertop; the holes are normally 4 to 8 inches apart. If you are replacing this type of faucet, make sure to choose a replacement with tailpieces that match the spread of the holes in your sink or countertop. This is a fairly easy faucet to replace.
- Widespread faucets: These faucets have three parts — a center spout unit and separate cold and hot water valves. A widespread faucet requires three holes in the countertop. Depending on the style of your sink or countertop, the holes can be set as close as 6 to 8 inches or as much as 16 inches apart. While installation is not difficult, these faucets do require you to install three separate parts.
- Wall-mount faucets: This faucet is often used with vessel sinks or farmhouse sinks, where the spout arches out from the wall to empty into the basin. Most types have two valves, but there are also single-handle styles. Replacing this kind of faucet requires that you buy a new faucet of the same style. Installing one may require in-wall plumbing work that is beyond the skill level of most DIYers.
Bathroom Faucet Drain Assemblies
Bathroom Faucet Drain Assemblies
Most faucet kits come with a complete drain assembly included, which allows you to replace the drain fitting at the same time you are replacing the faucet. A few faucets, usually bargain models, do not include the drain fitting.
It's not mandatory that you install a new drain fitting at the same time you replace the faucet. If your sink's drain assembly was recently replaced, it's fine to leave it in place and install only the new faucet. Most people choose to also install the drain assembly included with the kit since doing so makes for a complete bathroom sink overhaul. It's also possible that the new faucet will have a specialized pop-up drain mechanism that will work only with the new drain assembly.
Bathroom faucet installation can vary greatly depending on the style of faucet and the manufacturer. While specific steps may differ, the basic process is similar for all faucets. Always make sure to consult the faucet manufacturer's instructions for details specific to your faucet.
Things Needed
-
Penetrating oil (optional)
-
New bathroom sink drain assembly (optional)
-
New bathroom faucet
-
Plumbers' putty (optional)
-
Silicone caulk (optional)
-
Rubber gasket (optional)
-
2 water supply tubes (optional)
-
Screwdriver (optional)
-
Cloth
How to Remove and Install a Bathroom Sink Faucet
1. Shut Off the Water
Begin by shutting off the hot and cold water supply to the sink. Normally, this will mean turning the handles on the fixture shutoff valves below the sink in a clockwise direction. If the faucet does not have fixture shutoff valves, then you will need to shut off the house's main water shutoff valve, which is usually located near your home's water meter.
After the water has been shut off, open the faucet to make sure the water is off and to relieve pressure in the water pipes.
 Tony Puerzer
2. Disconnect the Water Supply Tubes
Disconnect the flexible water supply tubes that run from the shutoff valves to the threaded tailpieces on the faucet. The configuration of these tubes will vary, but the goal is to disconnect them entirely from the faucet and from the shutoff valves. An adjustable wrench or tongue-and-groove pliers will usually do this job easily by turning the chromed mounting nuts counterclockwise off the faucet tailpieces. If you have trouble reaching the faucet tailpieces, then a basin wrench may be required.
While it's possible to reuse the old water supply tubes when replacing a bathroom faucet, it's generally better practice to install new tubes. Many faucets come with new supply tubes as part of the kit.
- Note:
On widespread faucets where the hot and cold water valves are set apart
from the spout assembly, there may be additional short water supply
tubes that link the hot and cold valves to the spout body. If so, you
will also need to unscrew these shorter supply tubes from both the
valves and from the spout in order to extract them from the countertop.
3. Disconnect the Pop-Up Drain Rod
Many faucets operate the pop-up stopper by means of a horizontal pivot rod that is raised and lowered with a vertical lift rod that slides through an opening on the body of the faucet. To disconnect, pinch the spring clip on the lift rod from below and behind the sink and then slide the lift rod off the pivot rod. Loosen the thumbscrew that holds the clevis strap (the vertical metal strip with holes in it) from the lift rod and then extract the lift rod up and out of the faucet body.
4. Remove the Faucet Mounting Nuts
From below the sink, remove the mounting nuts that hold the faucet body to the sink or countertop. This can be the hardest part of the process since these nuts can be corroded and frozen onto the faucet tailpieces. Use a basin wrench to reach up behind the sink basin from below and grasp onto the mounting nuts threaded onto the faucet tailpieces. Attempt to loosen the nuts by turning them counterclockwise. If they are stubborn, you may need to spray penetrating oil onto the nuts to dissolve the corrosion. Once the nuts are loosened, screw them completely off the faucet tailpieces.
- Note: The exact means for securing the faucet to the sink can vary depending on the style of faucet. Sometimes, there is a threaded mounting ring that is secured to the faucet tailpiece with a setscrew. This setscrew may need to be loosened in order to unscrew the mounting ring.
5. Remove the Faucet and Clean the Sink
Pry the faucet body away from the sink or countertop using a putty knife. The faucet may be stuck in place, so some force may be required to remove it. On widespread faucets, you will need to remove both the spout unit and the two water valves. Once the faucet body has been extracted from the opening, carefully clean off any plumbers' putty around the opening in the sink or countertop using a putty knife and cloth.
6. Remove the Drain Assembly
If you are replacing the drain assembly, start by disconnecting the drain trap from the drain tailpiece on the sink using tongue-and-groove pliers. Next, grip the drain assembly with a drain wrench inserted into the drain opening from inside the sink. The prongs on the drain wrench will hold the drain assembly in place as you loosen the mounting nut.
From below the sink, use tongue-and-groove pliers to loosen the mounting nut that is threaded onto the drain tailpiece. With the mounting nut removed, the entire drain tailpiece can be lifted out of the sink. Clean away any old plumbers' putty from around the drain opening using a putty knife and cloth.
7. Attach the New Drain Assembly
If you are replacing a new drain assembly, follow the manufacturer's directions for inserting the drain unit through the sink drain opening and securing it in place. The drain unit may require lining the edge of the drain opening with a bead of plumbers' putty, but other drain units make use of a rubber or fiber seal to make this joint watertight. Thread the mounting nut onto the tailpiece of the drain unit from below the sink.
Hold the drain assembly steady with a drain wrench inserted down inside the drain from above and then tighten the mounting nut onto the drain tailpiece from below using tongue-and-groove pliers. Some drain units are plastic, so be careful to not overtighten the mounting nut. Make sure the drain assembly is aligned so that the threaded opening for the pop-up stopper's pivot rod is pointed backward.
With the drain unit secured, reconnect the drain trap to the drain tailpiece.
 Sanford Creative
8. Mount the New Faucet
Prepare the opening for the new faucet body as directed by the manufacturer. This may mean placing a bead of plumbers' putty or silicone caulk around the base of the faucet, or it may mean placing a rubber gasket around the opening to create the seal between the faucet body and the sink or countertop. Insert the faucet tailpieces into the openings on the sink or countertop and align the faucet so it is straight.
Loosely thread the mounting nuts onto the faucet tailpieces from below the sink. Make sure the faucet is correctly aligned and then tighten down the mounting nuts securely using a basin wrench.
9. Attach the Pop-Up Drain Lever
Following manufacturer directions, attach the pop-up drain rod and lever to the drain unit. In most cases, this involves sliding the lift rod down through an opening on the faucet body, inserting the pivot lever into the drain tailpiece and then linking the vertical drain rod to the horizontal pivot rod using a clevis strap secured with a thumbscrew. Some experimentation and adjustment may be needed to get the pop-up stopper to operate smoothly.
10. Attach Water Supply Tubes
Attach the flexible water supply tubes from the shutoff valves to the faucet valves. (With some faucets, the supply tubes are part of the faucet kit; with others, you will need to buy the supply tubes separately.) The mounting nuts on the supply tubes are usually easy to connect to the shutoff valves and to the faucet tailpieces with an adjustable wrench. Make sure the hot and cold shutoff valves are joined to the corresponding valves on the faucet — hot to hot, cold to cold.
If you are installing a widespread faucet, also attach the short supply tubes that run from the hot and cold valves to the spout body.
With the supply tubes tightened hand-tight, give each mounting nut an additional 1/4 turn with an adjustable wrench (or with a basin wrench if it's hard to reach the nuts with a standard wrench).
11. Test the Faucet
Turn on each fixture shutoff valve and operate the faucet to make sure it works correctly. Some air may rush through the faucet until water begins to flow. Examine all water supply and drain connections for signs of leaking; if necessary, tighten the connections a bit more to stop leaks.