How To Remove And Install A Shutoff Valve For A Bathroom Sink Faucet
One vexing problem you often encounter when the time comes to replace an old faucet is that a shutoff valve also needs to be replaced because it's leaking, or it's so corroded that you can't turn it off. People living in mobile homes have a different problem: They often find that there are no shutoff valves at all under the bathroom sink, and to replace the faucet, they have to shut off the main water supply. If you're already working under the sink to service the faucet, it's a great time to replace a faulty shutoff valve or install new hot and cold ball valves to make faucet repair that much easier in the future.
In most homes, the water supply pipes are copper, and the typical supply line in a mobile home is PEX or polyethylene. You can find a supply valve for every situation, and when it comes to replacing one on a copper supply line, you have your choice of three standard types: a slip-joint one that must be soldered, a compression-style valve that you tighten with a wrench and a push-fit valve that simply pushes onto the pipe. Replacing one of these is usually a DIY task, but if you choose a shutoff valve that calls for soldering, you need to have confidence in your soldering skills to avoid an afternoon of frustration.
Difference Between a Slip-Joint and Compression Shutoff Valve
Difference Between a Slip-Joint and Compression Shutoff Valve
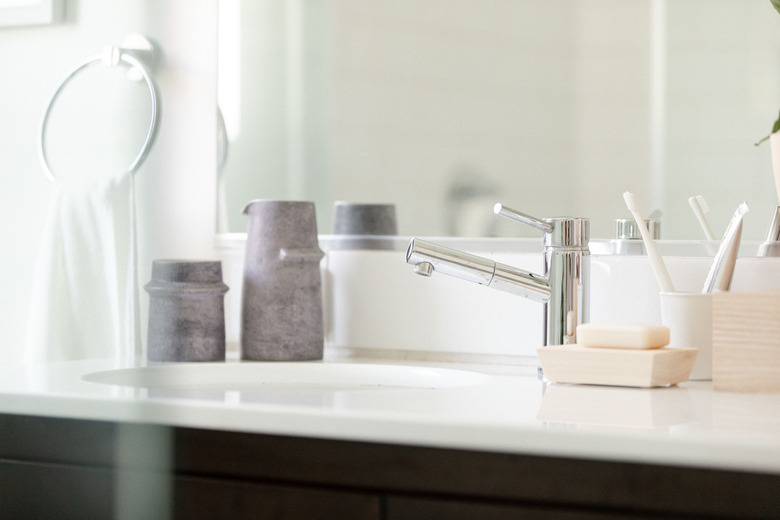
Every shutoff valve for copper pipe has an inlet port for the pipe and an outlet to which you connect the faucet supply hose. The most common outlet has threads that accept a 3/8-inch compression fitting, but you can also find valves with 1/2-inch outlets, so be sure to choose one that fits your faucet hose. Water lines for sinks are 1/2 inch in diameter, and the valve inlet is either a 1/2-inch slip joint or a 1/2-inch compression fitting.
A slip joint has no threads and is completely smooth so that it can slip over the pipe in preparation for soldering. A compression fitting includes three separate components, which all come with the valve. The first is the threaded end of the valve, the second is a hexagonal compression nut and the third is a brass sleeve that fits snugly over the pipe and gets compressed into the gap between the valve and the pipe when you tighten the nut. You can replace a slip-joint valve with a compression valve and vice versa.
 Codi Ann Backman
Soldering Is Easy if You Do it Right
Soldering Is Easy if You Do it Right
If you choose to solder on a new slip-joint valve, you should keep some key points in mind before you begin your project:
- The water pipe must be free of all remnants of the old valve, including the old compression sleeve or all the old solder. If you can't remove the sleeve or the old solder, you may have to cut the pipe, but do this only if you're left with a stubout that is at least 1 inch long.
- The inside of the pipe must be completely dry, or the solder won't get hot enough to melt.
- You must protect the back wall with a fireproof cloth or shield, or the torch could start a fire.
Soldering is one of those jobs that can take just a minute or two if you do it right, or it could take the whole afternoon if you make a mistake, as a plumbing amateur posting on Plbg.com discovered. If you don't have soldering experience, you're probably better off calling a plumber. The good news is that installing a valve with a compression fitting is always a viable alternative to soldering, and it's a job that anyone can do.
Things Needed
-
Compression valve, sleeve and nut
-
Two wrenches
-
Cotton rag
-
Torch
-
Pliers
-
Heat shield
-
Protective gloves
-
Metal file
-
Hacksaw
-
Flat-head screwdriver
How to Replace a Compression-Style Shutoff Valve
1. Turn Off the Water and Drain the Pipes
Turn off the water supply for the house at the main shutoff valve, which is usually located near the water meter. Open the bathroom faucet to relieve water pressure and then disconnect the supply hose using a wrench and wipe up any water that sprays out using a rag. Leave the shutoff valve open while you remove it.
2. Remove the Valve
Unscrew a valve with a compression fitting by holding the valve body with one wrench while you turn the compression nut counterclockwise with a second wrench.
If the old valve is soldered on, remove it by heating it with a torch while holding it with pliers. Keep outward/upward pressure on the valve, and as soon as the solder gets hot enough to melt, the valve will slip off. Be sure to put a heat shield between the valve and the wall and wear protective gloves. Remove old solder by heating the pipe with a torch until the solder liquifies and then remove the heat and quickly wipe the pipe with a cotton rag. You can also file old solder off the pipe after it cools using a metal file.
3. Remove the Compression Sleeve
Pull off the compression sleeve using pliers. If it's stuck, you may have to cut it off with a hacksaw. Make a horizontal cut across the sleeve using short strokes to avoid cutting into the pipe and then pry off the sleeve with a flat-head screwdriver. Remove the compression nut after removing the sleeve and discard it.
 Stephen Paul for Hunker
4. Install a New Valve on the Water Line
Clean the end of the pipe with a rag. It must be clean, smooth and round. Unscrew the compression nut from the new water valve and slip it onto the pipe with the threads facing out. Slide on the compression sleeve and work it about 1/2 inch up the pipe. Fit the valve onto the pipe until the pipe is fully seated inside the valve and makes full contact with the sleeve. Then, screw the compression nut onto the valve threads.
Tighten the nut by holding the valve body steady with one wrench while you use another wrench to turn the nut clockwise. Use reasonable tightening force but don't overdo it or you could strip the threads on the valve. Make sure the valve handle is in a position that allows for easy operation before you do the final tightening.
5. Test and Tighten
Turn the valve handle clockwise to close it and then turn on the water and check for leaks from the compression fitting. If you see water dripping or spraying from the fitting, tighten the compression nut until the leaking stops.
Installing a Push-Fit Shutoff Valve
Installing a Push-Fit Shutoff Valve
Push-fit valves — also called push-in, push-to-connect or SharkBite (after the common brand) — are the easiest to use, requiring no special tools for installation. You just push the barbed connector all the way into the pipe, and it automatically makes a watertight connection. Push-fit valves can be used with copper, PVC, CPVC and PEX water piping or tubing.
If you have PEX water tubing, you can choose from a wide selection of water valves. As PEX Universe explains, they come in two types: those that you crimp on with a special crimping tool and those that are the push-fit type.
If your mobile home has polyethylene water tubing, you can still use water valves intended for use with PEX tubing by using a short length of PEX and a crimp-style PEX-to-poly transition fitting. Insert the valve into the PEX tubing and then connect the PEX to the poly tubing with the transition fitting.