Laminate Flooring Repair: What You Need To Know
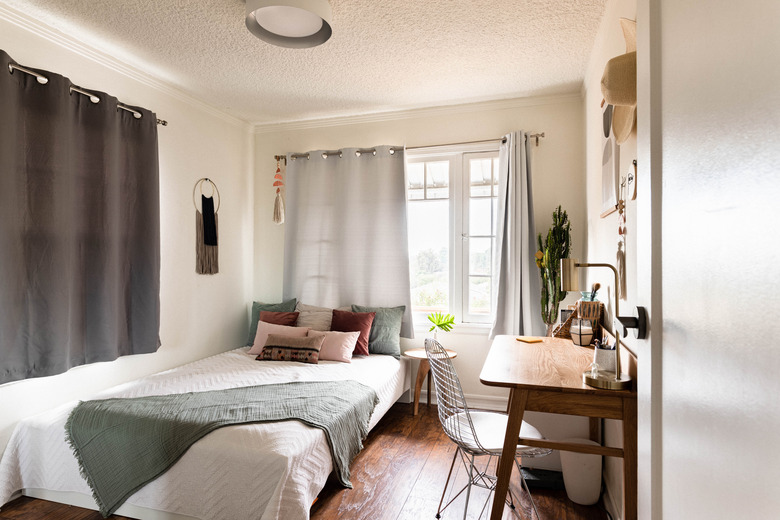
Laminate flooring is a durable, long-lasting material, but it is not damage proof. Small accidents can lead to minor scratches and scuff marks, which can be corrected with a relatively easy DIY home improvement project. However, more extensive damage may require replacing one or several laminate planks or tiles — a job better suited to a contractor or handyman.
Repairing Minor Damage
Repairing Minor Damage
Sometimes, what seems like damage is just built-up dirt that can be removed with a little elbow grease. The same is true for stains and marks made by crayons, pencils and the like. Regular cleaning goes a long way toward keeping the floors looking like new, so follow the flooring manufacturer's cleaning recommendations. If you don't know the manufacturer, consult the tips provided by the World Floor Covering Association on cleaning laminate floors.
 Stephen Paul
Unfortunately, you can't sand out minor scratches and scuffs on laminate like you can on a hardwood floor, but there are a few options to let you touch up the damage. Speciality pencils and markers come in a variety of shades designed to mimic the colors found on wood and stone and are formulated for spot repairs. You can find them at home improvement stores and hardware stores. To use the markers, color in the damaged area and then wipe with a clean cloth.
Take a sample of the flooring to the store in order to get the right shade. It is always a good idea to keep samples of any type of flooring you have installed. You will need the extras for cases like this but also to make more extensive repairs if necessary.
Using Repair Kits
Using Repair Kits
For deep scratches, you will need a laminate floor repair kit. Most manufacturers produce them. Pergo, the company that introduced laminate flooring to the U.S., sells the Pergo Floor Restore Repair Kit. As with most such products, the kit contains putty to fill the scratch, colorants that you mix together to help the putty match the rest of the floor and a clear sealant. Most kits are similar, with some including putty knives, mixing bowls and the like.
To use a kit, wipe the area around the scratch with the recommended cleaning solution and then color the putty. This is where it gets tricky: There are so many shades of laminate flooring that you will most likely need to combine a few of the tints to get the right color for the laminate floor repair. Some kits contain a color chart that shows a shade and the proportions of tints to mix together to arrive at that color.
When mixing, be aware that the putty will probably dry a little darker than when it is first mixed together. It's best to mix a batch on an index card, a piece of cardboard or a paper plate and let it dry completely before proceeding so that you can judge the results. You may have to make a few batches before you achieve the right shade.
When you are satisfied with the color, fill the scratch with the putty using a clean plastic putty knife, as a metal knife might scratch the floor. Make the patch level with the surrounding floor. If the patch shrinks once it dries, apply more. When you are satisfied, use the clear finish to protect the patch.
 Stephen Paul
Dealing With Large Problems
Dealing With Large Problems
Extensive floor damage requires more involved repairs, often by replacing damaged planks and tiles and installing new ones. Before attempting the repair or having a contractor do it, it is important to determine why the laminate floor board is damaged in the first place and correct the problem.
Some common problems include warping and peaking. Warping means conditions forcing the plank to twist so that it is no longer flat. Peaking means planks that are side by side pressed into one another, forming a peak.
Sometimes, faulty floor installation is to blame for peaking or warping. Laminate floors are floating floors, which means the planks or tiles are attached to one another but nothing else. They are not nailed to the subfloor nor the baseboards around the perimeter of the room. There should be a 1/4-inch to 3/8-inch gap between the flooring and the walls of the room. If there isn't, expansion and contraction of the planks can lead to damage.
Another common installation mistake is when the installer nails quarter-round molding to the flooring. Quarter-round is the strip of trim molding that is installed at the bottom of the baseboard. The quarter-round should be attached to the baseboard, not the flooring.
An improperly prepared subfloor can also lead to problems. If you are not sure what is causing the problem, check the manufacturer's instructions for installation. The North American Laminate Flooring Association offers general guidelines for installation, including product acclimation and subfloor preparation.
Water that seeps under the flooring from a leaky pipe or fixture can also lead to warping and other damage. Excessive moisture can also damage the subfloor. Leaks should be fixed before new flooring is installed.
 Stephen Paul for Hunker
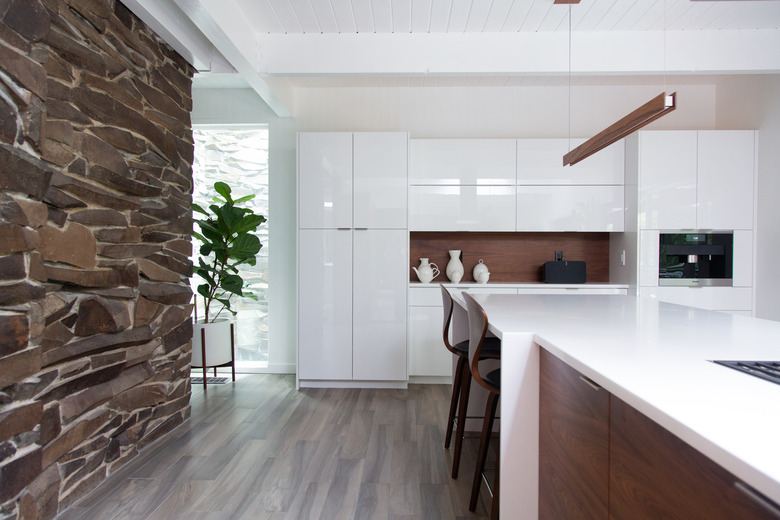
Replacing Laminate Flooring
Replacing Laminate Flooring
Whether you are doing the work yourself or hiring a contractor or handyman, there are two ways to approach replacing damaged laminate flooring. The first calls for starting along a wall that runs parallel to the laminate planks and removing the planks or tiles one by one until they reach the damaged flooring.
The first step is to remove the quarter-round or baseboard along the wall. Pry it up gently so that it can be reused when the job is finished. There should be a small gap between the last row of flooring and the wall. Because most laminate is installed with a click-and-lock system, where the tongue of a panel clicks into a groove on the next panel, they are easy to separate.
Work from the wall to the damaged area. A new panel or panels will take the place of the damaged sections. It is helpful to number the panels so that they go back together in the same order. Once the panels are all back in place, reattach the quarter-round.
 Peter Schweitzer
Older laminate panels were glued to one another. You probably will not be able to remove them without damaging them. So, if you use this method, make sure you have an adequate supply of flooring on hand.
Removing Damaged Laminate
Removing Damaged Laminate
If the damage is too far away from a wall to make this technique practical or if you are dealing with a floor where the panels were glued to one another, you can cut out the damaged flooring using a circular saw.
Contractors have their own methods for this type of repair. One method is to draw a box about 1 1/2 inches inside the edges of the panel. It also helps to drill small holes at the corners of the box and the corners of the panel. Set the blade of a circular saw to the depth of the panel and cut along the marked line and into the corners of the panel. Then, remove the center section.
With the center gone, make relief cuts from the edges of the cutout section to the panel seams. From there, the panels may be jiggled until the edges are free from the next panels. You may need pliers to remove this section. If the underlayment was damaged during the sawing, use a utility knife to trim it to the surrounding panels. Replace the damaged underlayment with an approved product.
 Peter Schweitzer
Installing New Panels
Installing New Panels
Because the rest of the floor is already in place, it may be difficult to work the new plank into position, especially in a click-and-lock system. One solution is to cut the lower lip that protrudes from the groove using a utility knife. You may have to cut away the side and/or edge of the tongue as well. You may have to make several passes to make clean cuts. If you are working with an older glued system, remove any dry glue you find on the adjacent panels.
The patch will be held in place with an approved adhesive. Apply the glue around the edges and into the groove of the replacement panel. Set the panel in place. Using a damp cloth, wipe up adhesive that rises to the surface. Put a heavy object on the patch until the glue dries.
The patch may stand out from the surrounding floor, but with time and regular cleaning, it should blend in eventually.