Repair Cork Floors: A How-To Guide

While cork floors are a resilient flooring choice, they can still be damaged: pet claws and even high heels can gouge cork, and heavy objects like furniture may cause indentations. However, repairing your cork floor is a relatively simple DIY project that handy homeowners can do.
Handling spot repairs and replacements for cork flooring can be as simple as using wood filler and sandpaper or replacing a single tile or plank. With a few easy steps, your flooring will look as good as new.
How to Replace Cork Flooring
How to Replace Cork Flooring
For large scratches, dents or general damage, your best option may be replacing your cork flooring.
First, figure out whether you have cork floating floors (also known as cork planks) or adhered cork tiles. There's an easy way to check: Cork tiles typically come in squares, whereas cork floating floors have a rectangular plank appearance.
Once you've determined whether you have planks or tiles, choose the appropriate method below. Remember, most cork planks and tiles are pretreated with sealant, but you may want to consider applying polyurethane every few years for further protection. A polyurethane finish can keep nicks and scratches at bay.
 Stephen Paul
How to Replace Cork Planks
How to Replace Cork Planks
Cork planks, also known as cork floating floors, connect together laterally and are easy to remove and replace, according to Cancork Floor.
- First, remove the floor trim of the baseboards — you'll need to reinstall it at the end, so be careful.
- Locate which edge of your floor is closest to the damaged plank. Starting at the edge, carefully remove row by row of cork plank until you reach the damaged plank (lay each plank back down where you loosened it for quicker reassembly).
- Once you reach the damaged plank, simply remove it and replace it.
- Reassemble your floating cork flooring and use a hammer to reinstall the floor trim.
- If your replacement tile is unfinished, use a clear polyurethane or another protective sealant to match the rest of the floor.
How to Replace Cork Tiles
How to Replace Cork Tiles
Replacing cork tiles is a two-step process. First, remove the existing tile, starting at the center and working your way out. Then, install a new tile.
- Use a utility knife to cut halfway down the seam of the damaged tile on all four sides. Line your knife up with the ruler to ensure a straight line.
- In the center of the damaged tile, use the knife to cut a square all the way down to the subfloor. Use a chisel and rubber mallet to remove the cutout.
- Use a chisel and mallet to continue breaking up and removing pieces of the tile until it's completely removed. A hairdryer or heat gun may help loosen the adhesive if needed, but take care not to burn the subfloor.
- Once the damaged tile is removed, use a razor scraper to remove old adhesive and create a smooth, even subfloor surface.
- Use a ruler to measure and trim your new cork tile to the appropriate size.
- Apply cork glue (check with your manufacturer for exact instructions) to both the tile and the subfloor and use a rubber mallet to secure it. Do not walk or place furniture on the newly adhered tile for at least 24 hours.
- As with floating cork planks, you will likely need to use a clear polyurethane or another protective sealant to ensure your new cork tile matches the rest of the floor.
 tagphoto/iStock/GettyImages
How to Spot Repair Cork Flooring
How to Spot Repair Cork Flooring
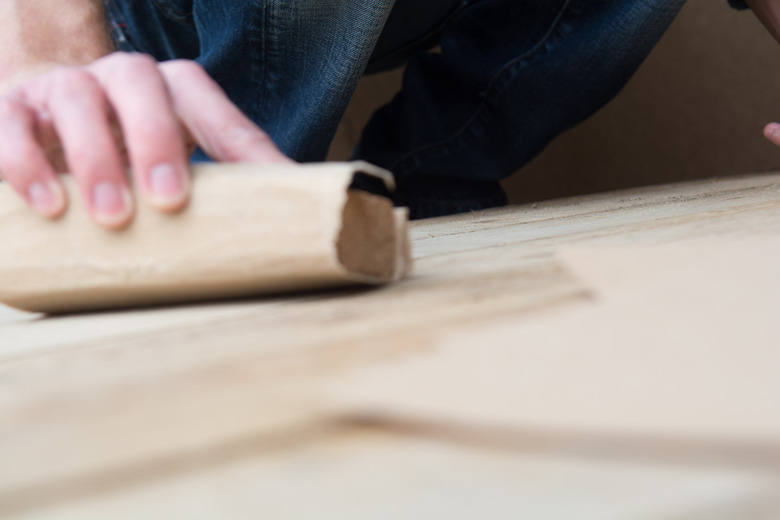
If you have small scratches or dents in your cork floor, address them with an easy spot repair using wood filler.
- Choose
a wood filler that most closely matches the shade of your existing cork
flooring. You can test the color in an inconspicuous corner. Alternatively, you can mix wood filled with a compatible stain to achieve a good color match. - Fill in any dents or scratches using the wood filler and let it dry completely.
- Using sandpaper with a fine grit, buff the wood filler to make it level with the floor.
- Once dry, touch up the filler with clear polyurethane or another clear protective finish.