Repairing Underlayment: A How-To Guide

Installing a new floor often involves making repairs to the existing substructure before the new material can be installed. Sometimes, all that is needed is to remove the old flooring and make spot repairs to the underlayment.
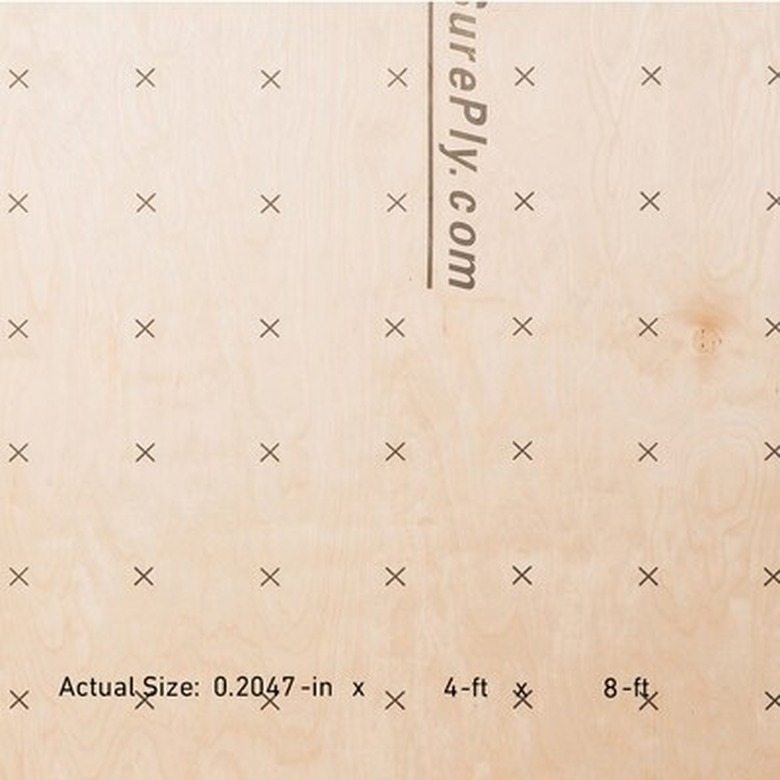
Underlayment is usually 1/4-inch to 1/2-inch-thick sheets of plywood that provide a smooth surface for the finish flooring. The underlayment is attached to the subfloor, which may be plywood or oriented strandboard. The subfloor is nailed to the floor joists. This assembly provides a rigid base for finish flooring.
If there is carpeting or resilient flooring such as vinyl or linoleum on the current floor, there is probably plywood underlayment beneath them. Hardwood floors are often installed over plywood underlayment, but not always. Ceramic tile and stone floors usually have different types of underlayment.
Choosing Replacement Underlayment
Choosing Replacement Underlayment
Not all plywood is suitable for use as underlayment. The Engineered Wood Association (formerly the American Plywood Association, or APA) has developed standards for all wood-panel products, including underlayment. Plywood designated as underlayment can resist punctures to the top veneer better than standard plywood.
The manufacturer of the finish flooring you plan to install will indicate the types of underlayment to use with its product. New carpeting and resilient flooring require the smooth surface of sanded underlayment. Underlayment for hardwood is optional, but check with the flooring manufacturer.
The Engineered Wood Association recommends that you allow the panels to acclimate to the humidity and temperature conditions of the room where the underlayment will be installed. Bring the panels into the room a few days before installation and set them on-edge. Provide a space between panels so air can circulate freely.
Things Needed
-
4 x 8-foot sheets of underlayment plywood (as needed)
-
Galvanized 3d (1 1/4-inch)
ring-shank nails or chisel-point staples
-
Dust mask
-
Safety glasses
-
Heavy work gloves
-
Knee pads
-
Pliers
-
Utility knife or carpet-cutting knife with extra blades
-
Pry bar
-
Chalk line
-
Circular saw
-
Hammer
-
Large trash can
-
Broom
-
Vacuum
How To Repair Underlayment
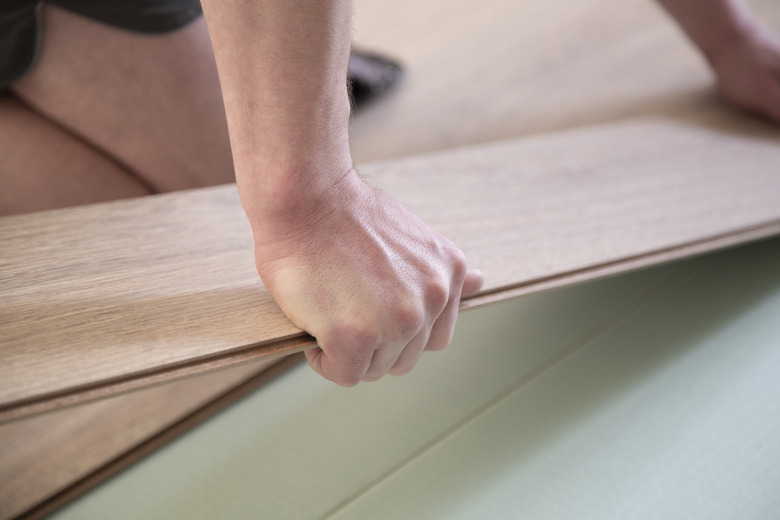
1. Remove the Old Flooring
Even if a pro will be installing the new floor, removing the old material yourself can reduce the cost of the entire project. Removing old carpeting is a doable DIY project that requires few tools. Carpeting is attached to tack strips installed along the perimeter of the room. This can be dusty work, so wear a dust mask as well as safety glasses, heavy work gloves and knee pads.
- Start in one corner and use pliers to pull the carpeting loose.
- After a few feet are pulled from the wall, cut the carpet using a utility knife or carpet-cutting knife. Change the blades often. The smaller sections will be easy to handle.
- Roll up the cut pieces for disposal.
- Use a pry bar to remove the tack strips.
- The padding is usually stapled to the underlayment. Use pliers to remove the staples.
It may be best to leave the removal of other types of flooring to the flooring contractor if one will be installing the new floor. The cost of about $25 to $30 per hour per person on the crew will be folded into the overall project bill. The contractor will deal with the mess and the disposal of the old material.
 Aleksandr Potashev/iStock/GettyImages
2. Assess the Damage
Once the old flooring is out of the way, you will be able to assess the damage to the underlayment. Usually, water is responsible for the damage and can lead to soft, squishy material. Examine the underlayment around tubs, toilets or any kitchen and bathroom plumbing.
Other types of damage are possible, such as a dent or even a gouge in the underlayment. The important thing is to fix whatever caused the damage in the first place before proceeding. Then, determine which underlayment panels or parts of panels need to be replaced.
3. Cut the Underlayment
Underlayment is held in place by nails or staples, and there are a lot of them. If you attack the underlayment with a pry bar, you will create many small pieces of material. A better idea is to cut the panel into sections and then remove each small section.
- Snap chalk lines to create a grid across the area you want to remove. The edges contain more fasteners than the interior of the panel. Snap the first line about 6 inches inboard of the edge. The chalk lines should be about 18 inches apart.
- Set the depth of the circular saw to the thickness of the panel. You want to avoid cutting into the subfloor as much as possible.
- Use the lines as guides for cutting through the panel.
Warning
Wear safety goggles and gloves when cutting through underlayment. The circular saw will safely cut through old nails or staples but will likely create sparks and can throw metal fragments.
4. Remove the Underlayment
Use the hammer and pry bar to remove the cut sections. You will find that you get large pieces this way. As you remove a section, pull up any nails or staples that pull through the underlayment and that are still attached to the subfloor. Toss small debris into the trash can and stack large pieces off to the side.
5. Inspect the Subfloor
The subfloor should be relatively unscarred from the cutting. Go over the section and remove any stray fasteners that you missed. Now is a good time to determine whether the damage to the underlayment also extends to the subfloor. If it does, the subfloor will need to be replaced. If it does not, go over the subfloor and make sure all fasteners are secure.
Check for squeaks and refasten the subfloor where necessary. Sweep and vacuum the subfloor in preparation for installing new underlayment. The area should be free of debris and should be flat and smooth.
 Lowe's
6. Install the New Underlayment
Install the new underlayment immediately before the new flooring is installed. Don't leave the underlayment exposed for long periods of time because it could become damaged. Underlayment can be installed so the panels are touching or so the panels are gapped slightly and the gaps are filled with a seam filler material. For most applications, installing the panels without a gap (no seam filler) is recommended and is easier and faster. Note that the edges of the underlayment must be offset, or staggered, from the edges of the subfloor panels, to ensure a smooth surface.
- Lay down the first underlayment panel with the smooth side facing up. Offset the long edges of the underlayment panel by at least 2 inches from long edges of the subfloor panels below. Offset the short edges of the underlayment by at least 2 inches from any floor joists and at least one joist space from the short edges of the subflooring. Finally, keep the panel 1/8 to 1/4 inch away from the walls to allow for expansion.
- Fasten the panel following the manufacturer's nailing schedule. For example, one common method is to drive a 3D ring (1 1/4-inches long) or screw-shank nails every 3 inches along the edge and every 6 inches in the interior of the panel. Fastening with staples may require closer fastener spacing.
- Lay out and fasten the remaining underlayment panels, following the same offset requirements, in addition to offsetting the underlayment's short edges from one another. Butt the edges of the panels together lightly so they are just touching; don't force them together.
- Confirm that all panels are fully fastened and no fasteners are protruding above the panel surface. Sweep the area clean to prepare for the flooring material.