How To Naturally Dye Pre-Made Macrame Art
We may receive a commission on purchases made from links.
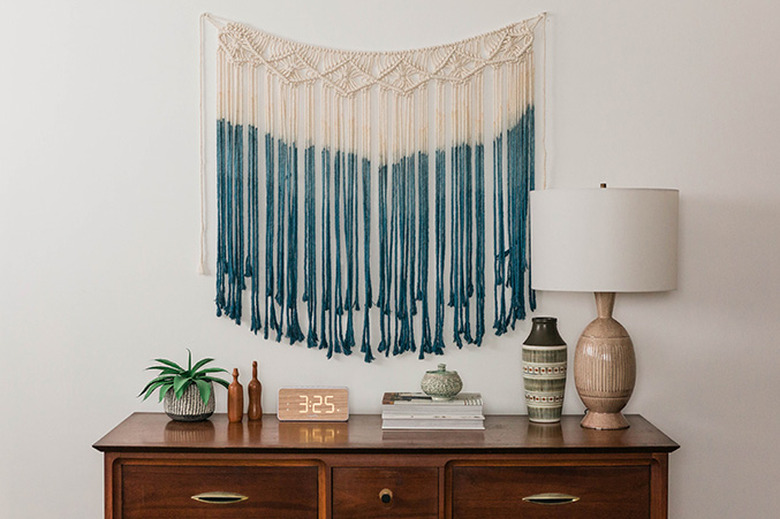
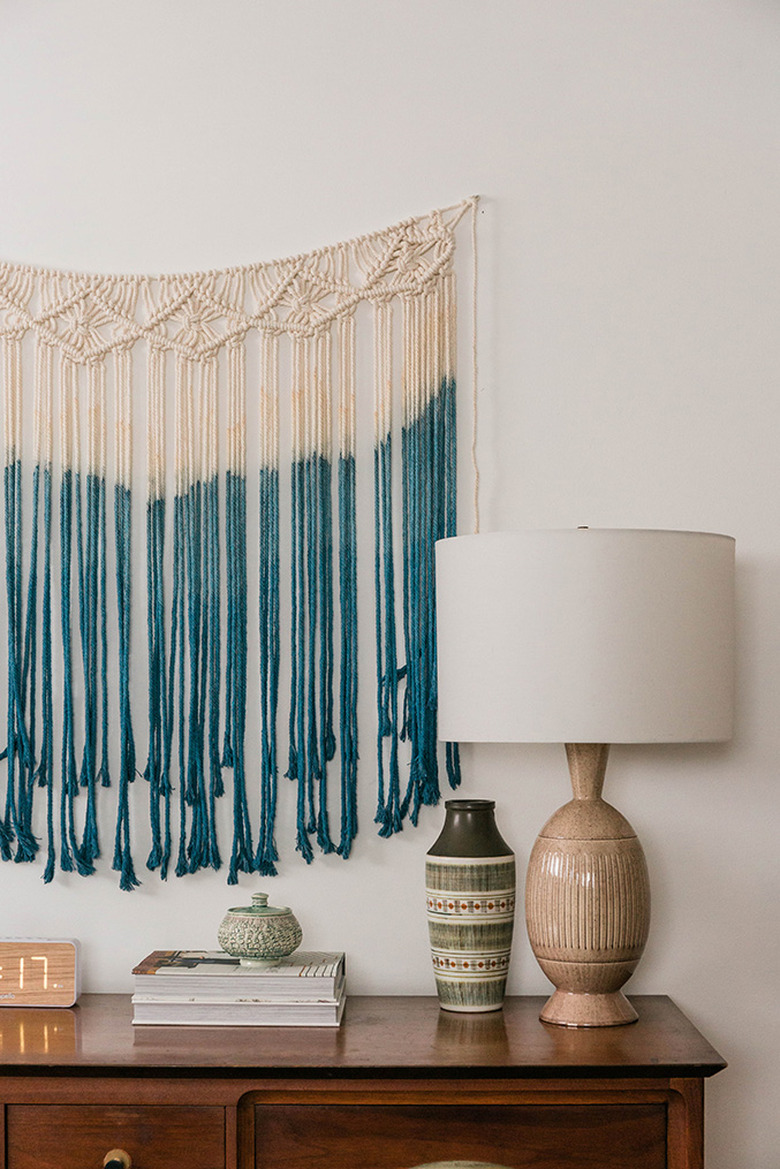
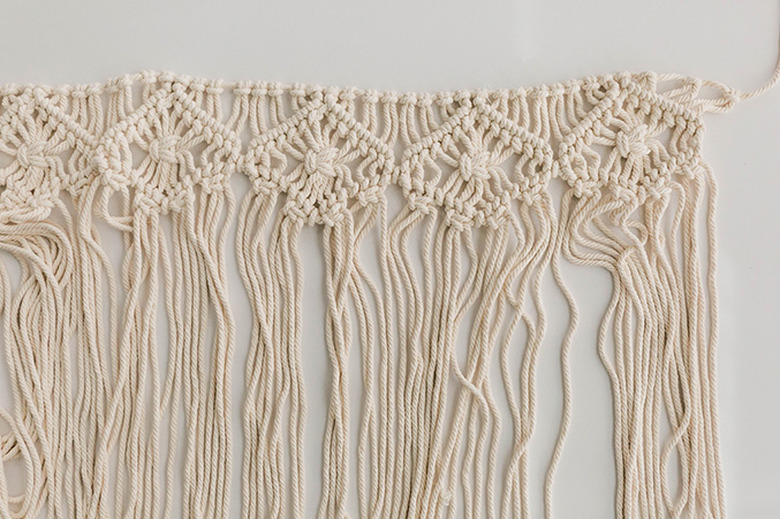
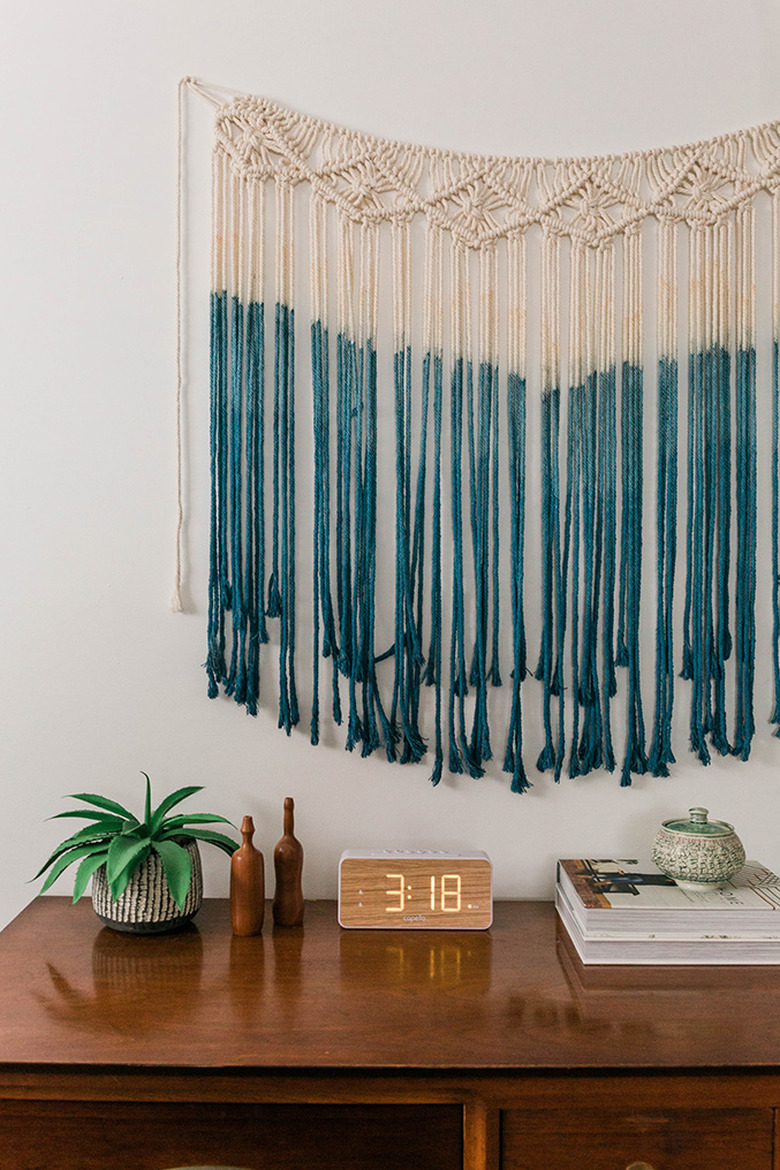
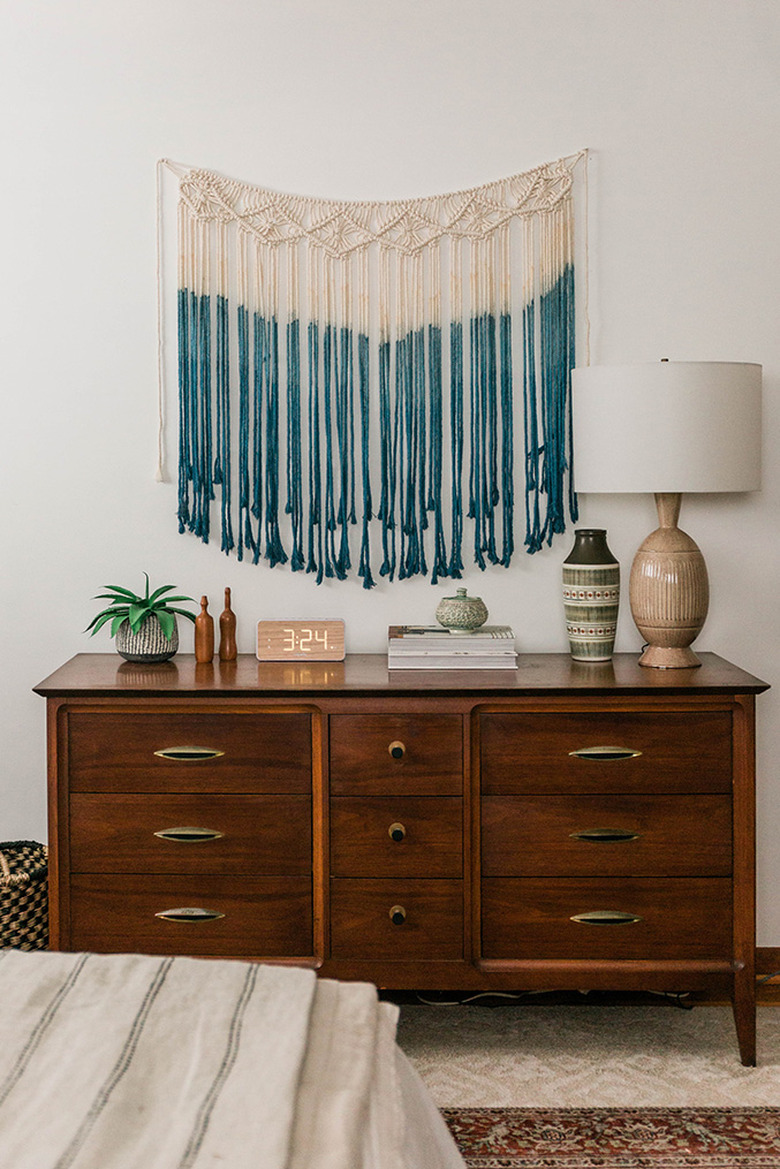
An intricately knotted macrame wall hanging is a gorgeous addition to any boho-leaning home, but an intricately knotted indigo-dyed macrame wall hanging is even better! See how we gave this pre-made piece of knotted wall art (from Amazon, of course) a whole new level of "special," thanks to a DIY ombre effect achieved with a simple natural indigo dye kit.
 Carrie Waller
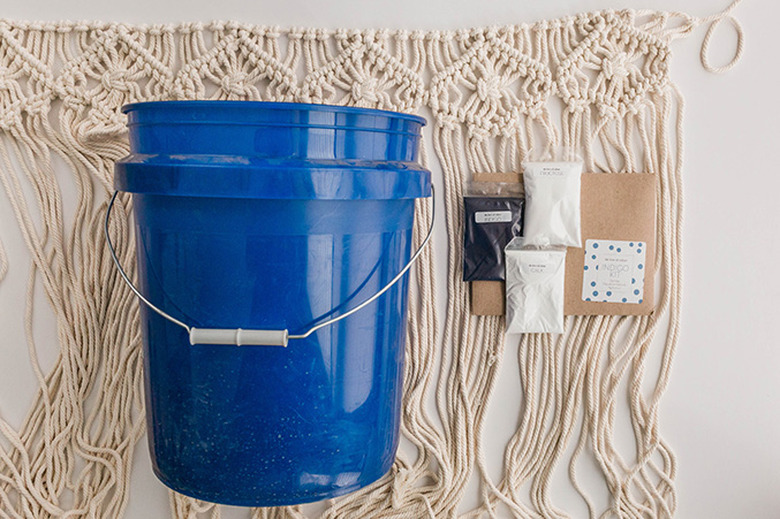
Things Needed
 Carrie Waller
Step 1
For the purposes of this tutorial, we're going to be sharing an abbreviated version of the steps specific to this particular natural indigo dye kit. Note that if you choose a different dye kit, you'll want to follow those exact instructions for creating your vat of dye.
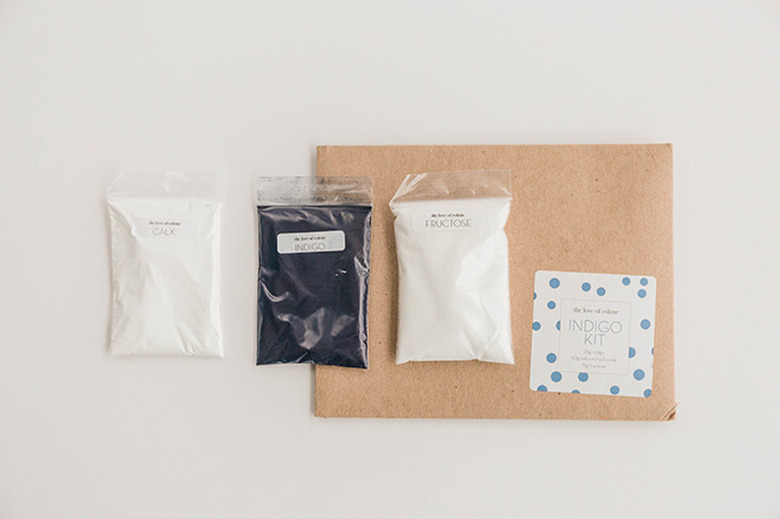
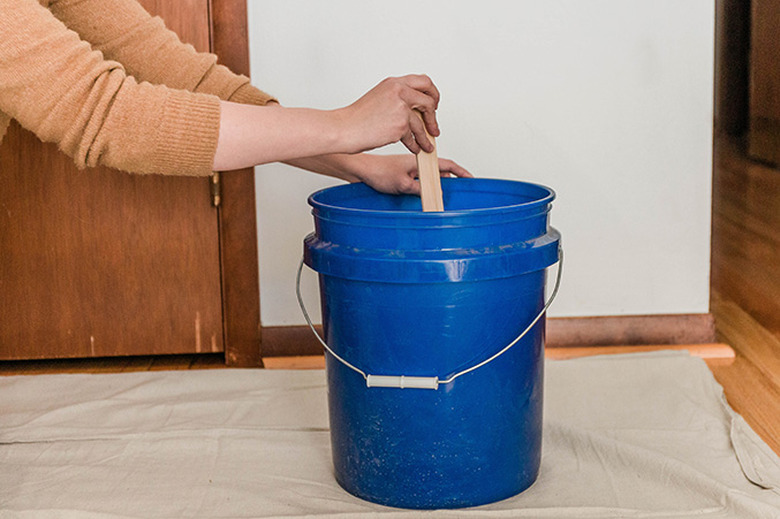
As per the directions for the dye we used, first fill a 5-gallon bucket about 3/4 of the way with hot (almost boiling) water. Then, dump all three ingredient packets (indigo, fructose, and calx) that came with your kit into the bucket.
 Carrie Waller
Step 2
Stir the dye ingredients together in a constant whirlpool motion for 2 to 3 minutes, then stir quickly again every 5 to 10 minutes throughout the next hour. Cover the vat with the bucket's lid, and allow it to sit overnight.
 Carrie Waller
Step 3
The next day, saturate your ready-made macrame wall hanging with warm water. Note that we didn't pre-wash the wall hanging as directed by the dye instructions since the fibers are delicate and we didn't want to risk damaging the macrame in the machine. The dye took well to the wall hanging in the end, so it's not a problem to skip the machine-washing step.
 Carrie Waller
Step 4
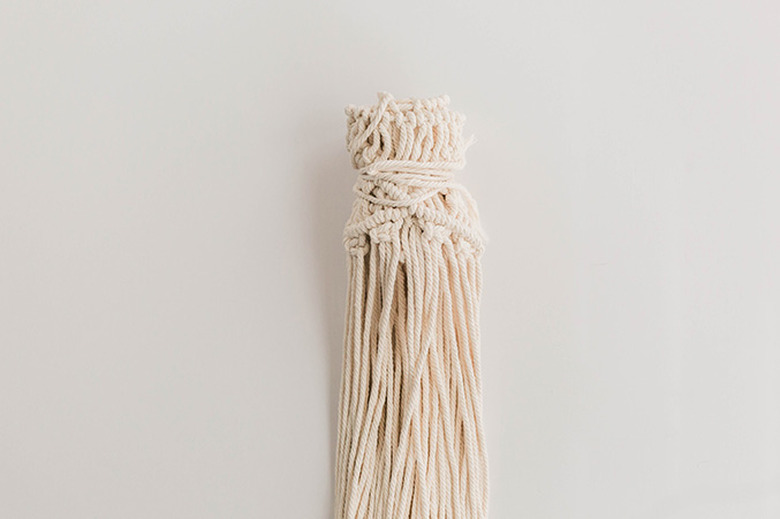
Roll the macrame up into a tube shape, and tie the ends of the macrame around the top of the tube shape to keep the macrame together. This will make dipping easier in the following steps.
 Carrie Waller
Step 5
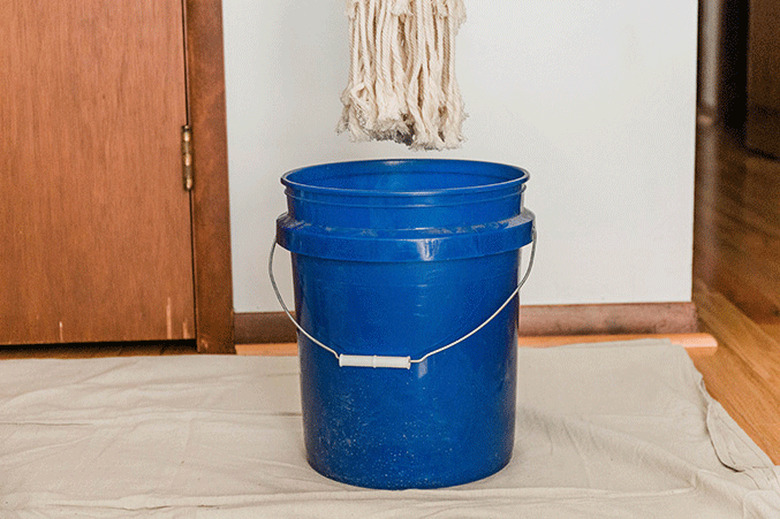
Stir the vat of dye, then dip the rolled macrame straight down into the dye, stopping about 10 to 12 inches from the top of the macrame — this way the top of the wall hanging will remain undyed. Allow the macrame to sit in the dye for 10 minutes, then lift it out of the vat, and allow it to drip over a second empty 5-gallon bucket for 10 more minutes.
 Carrie Waller
Step 6
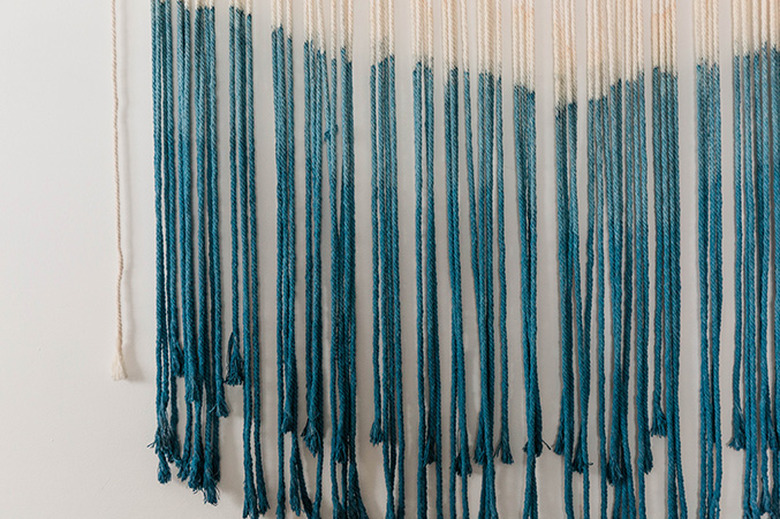
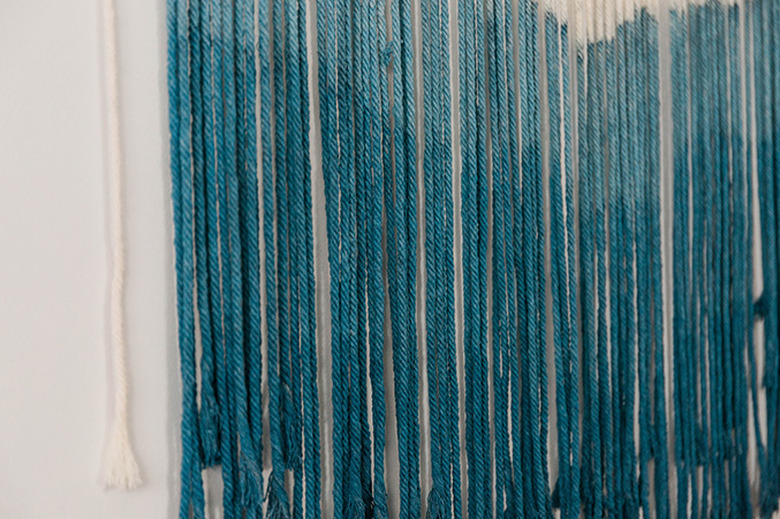
Redip the macrame into the dye in the same manner as before, but leave the top dyed portion out of the vat. You'll continue redipping the macrame and hanging it to dry in 10-minute increments with fewer and fewer inches of the fibers sitting in the dye—this is how you'll achieve the light-to-dark ombre effect.
 Carrie Waller
Step 7
After you've finished the dying process and are happy with the intensity of the indigo color, rinse the dyed macrame until the water runs clear. Find a spot to hang the macrame to dry over a drop cloth (such as in a shower or bathroom) — that way it will catch the drips in case there are any. Hang the finished dyed macrame art from nails on the wall, and enjoy!
 Carrie Waller
 Carrie Waller
 Carrie Waller