How To Remove An Undermount Sink

We may receive a commission on purchases made from links.
To remove any type of sink, including an undermount, you first have to disconnect the plumbing and the garbage disposal. Then, you must remove the clips that hold the sink to the countertop from below the countertop (bathroom sinks may not have clips). The final step, which is not necessarily a trivial one, is to break the silicone bond seal. If the sink is an undermount sink, it's probably glued to the underside of the countertop with silicone, so performing this last step can be frustrating because there may be limited access.
The difficulty level gets ratcheted up another notch if the sink is glued to a stone countertop with epoxy cement or construction adhesive. This is rare, but it happens. The standard installation procedure calls for gluing support posts to the countertop and then securing the sink to the posts with clips after applying a bead of silicone to the rim, but occasionally, an overzealous plumber will use a different kind of glue. If the sink you're removing was installed like this, the keys to removing it are patience, wood shims, and perhaps a little heat.
Supporting the Sink
Supporting the Sink
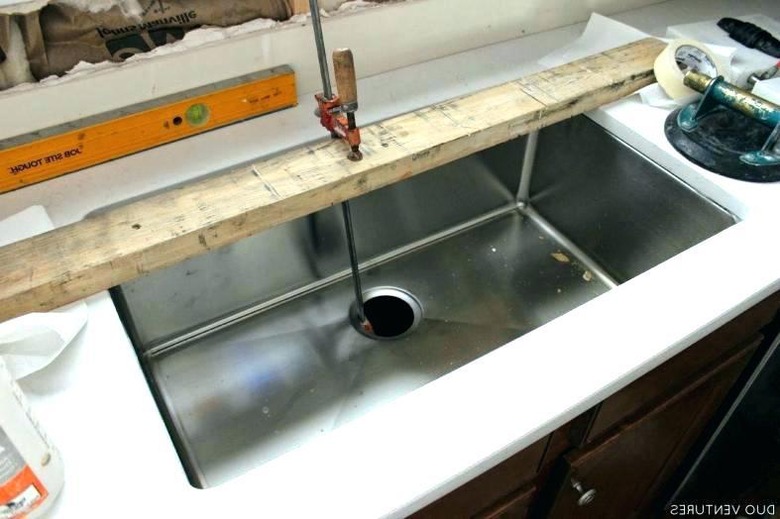
Undermount sinks can be made of heavy materials, such as cast iron or stone composites, and the last thing you need is to have it crash to the floor when you finally manage to free it from the countertop. You could support it from underneath, but the supports will probably get in your way. A better option is to support it from above after you've removed the garbage disposal and sink drain assembly. Here's how to do it:
 Inianwarhadi
- Lay a 2x4 across the top of the sink parallel to the front of the cabinet.
- Wrap a length of 12-gauge wire seven or eight times around the 2x4 and extend it through the drain hole. There should be at least 12 inches of wire hanging below the sink.
- Wrap the wire around a 6- to 8-inch length of 3/4-inch wooden dowel. Keep wrapping until the dowel sits tightly against the bottom of the sink. Alternatively, you can form a "U" in the wire, insert the dowel in the U, and pull and twist the free end of the wire from above the sink to hold the dowel in place. Use pliers to make sure the wire is twisted tightly.
- Lower the sink gradually after you've freed it from the countertop by rotating the 2x4 to unwind the wire.
Tip
If the sink has more than two drain holes, install a support under each hole to prevent the sink from tipping.
How to Remove an Undermount Sink
How to Remove an Undermount Sink
It goes without saying that you should remove everything from the sink cabinet to give yourself room to work. You'll also need light. Some pros like to use headlamps, while others prefer to place a portable lamp in a corner of the cabinet.
Things Needed
-
Bucket
-
Rag
-
Screwdriver
-
Hammer
1. Disconnect the P-Trap Assembly
Unscrew one end of the trap from the drain tailpiece or the garbage disposal using a pair of tongue-and-groove pliers to loosen the slip nut. Unscrew the other end from the waste trap arm leading to the branch drain in the wall. Remove the trap carefully because it's full of water. Tip it into a bucket or take it outside to empty it. When you're finished, disassemble the rest of the P-trap assembly. Stuff a rag into the opening of the drain pipe in the wall to prevent sewer gasses from flowing into the room.
2. Disconnect and Remove the Garbage Disposal (Kitchen Sinks Only)
Unplug the garbage disposal or disconnect the wires if it's hardwired. If you have to disconnect wires, be sure to turn off the breaker in the electrical panel first. Most garbage disposals are secured to the drain opening by a ring that you rotate with a screwdriver to disengage the ring. Release the disposal unit, carefully lower it down, and set it aside.
3. Remove the Drain Assembly
Unscrew the drain tailpiece using pliers. Loosen the drain assembly mounting nut and then unscrew and remove the nut by hand. Tap the strainer (or garbage disposal mounting bracket) upward using a hammer to loosen the putty seal and then pull the assembly out of the drain opening from above.
4. Disconnect the Faucet (Optional)
On most undermount sinks, the faucet is mounted to the countertop and doesn't have to be disconnected to remove the sink. If you choose to do so, turn off the shutoff valves and open the faucet to relieve the water pressure. Loosen the nuts holding the flexible supply tubes to the shutoff valves and remove the tubes.
5. Support the Sink
Support the sink, using 2x4s, wire, and dowels (see above) or using some other system, such as a stool or an upside-down 5-gallon bucket. This support is especially important if the sink is made from cast iron, composite, or some other heavy material, but it's useful for all sinks.
6. Loosen the Sink Clips
Locate the clips holding the sink to the support anchors and then loosen and remove the screws using a screwdriver. If you're lucky, the sink will be disengaged when you do this, and you'll be able to remove it easily. It's more likely, however, that the sink will still be firmly attached by silicone or some other adhesive. Again, many bathroom sinks do not have clips and are secured to the vanity top with caulk (or other adhesive) only.
7. Cut Through the Adhesive
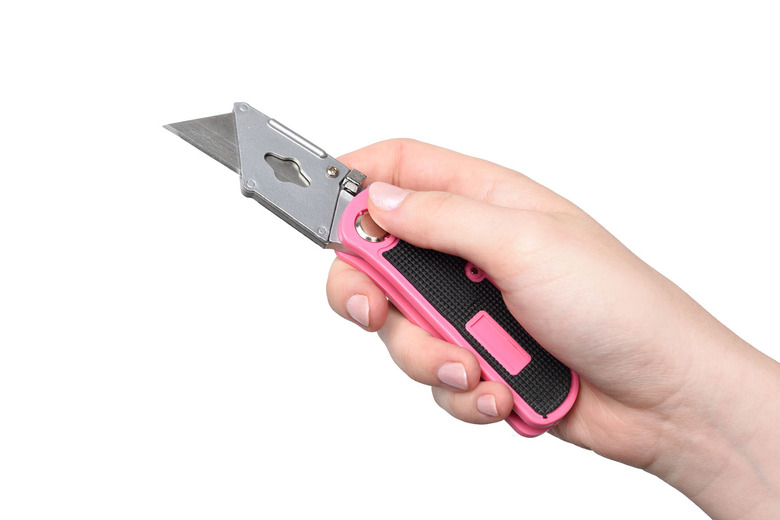
Working from above the sink, force a sharp utility knife blade between the sink rim and the countertop and cut through the adhesive. If the adhesive is silicone, which is probable, you'll be able to do this in several passes, each one a little deeper than the last. You won't make much progress with a knife if the adhesive is some other material, such as epoxy or construction adhesive. In that case, use the following method:
Wedge a wood shim between the rim and countertop and tap gently with a hammer, being careful not to chip the countertop material. (You could also use a chisel here, but wood shims lessen the risk of damage.) This should break the adhesive bond, allowing the rim to separate enough to let you wedge a pry bar in the gap to pry the rim down. If you don't have any luck, use a heat gun to soften the adhesive and then try chipping, cutting, and prying it again.
Tip
Some pros recommend using an oscillating tool with a flat blade to cut through silicone and epoxy adhesive. This is an effective method with wooden and solid-surface countertops, but it's dangerous if the countertop is stone because the vibrations of the tool can crack stone.
Clean Up
Clean Up
After removing the sink, it's important to clean old adhesive off the countertop, especially if you plan on installing another undermount sink. You'll probably also want to remove the support anchors, which you can do either by unscrewing them or chipping them off with a chisel. If the anchors are embedded in stone and held by epoxy, it's probably best to leave them, but if they're in the way, you can always cut them flush to the counter with a hacksaw.