Bathroom Sink Plumbing: A Homeowner's Guide
Whether you need to replace your bathroom sink as part of a remodeling project, you need to stop a leak in your current sink drain lines or you just need to clear a clog, it helps to understand the sink drain assembly. That's typically the part of the drain that extends from the sink drain outlet to the waste inlet in the wall. It looks a lot more complex than it is, and the fact that none of the parts are glued together makes servicing it a fairly easy DIY project.
Parts of a Bathroom Sink Drain Assembly
Parts of a Bathroom Sink Drain Assembly
If you're wondering why the sink drain doesn't connect to the waste line directly by a straight length of pipe, you need to know more about the P-trap — that curved length of pipe to which the sink drain actually does attach. The P-trap is required by code because it contains a pool of water that performs the critical function of trapping sewer gases. Ace Plumbing reminds us that the trap also performs less-critical functions, such as collecting debris that could cause clogs deeper in the system, and it's where items you inadvertently drop in the sink usually end up.
On the sink side of the trap, a vertical pipe called a tailpiece rises to the bottom of the sink, where it connects to the sink strainer housing, which is screwed to the sink drain opening. The tailpiece and strainer are often supplied when you buy a new faucet, particularly if the faucet has a pop-up stopper because the control lever has to be installed in the tailpiece for the stopper to work. If you see a second length of vertical pipe connected to the tailpiece, your sink drain needed a tailpiece extension because the trap had to be set low to compensate for a low drain inlet in the wall.
On the drain side of the trap, you'll see a horizontal length of pipe called the trap arm which leads to the drain inlet. It may include one or more elbow fittings to change its direction so it meets the drain inlet head on, which is necessary to prevent leaks. You may also see a dome-shaped fitting rising from the trap arm called an air admittance valve (AAV), and if so, that's because the sink isn't connected to the vent system.
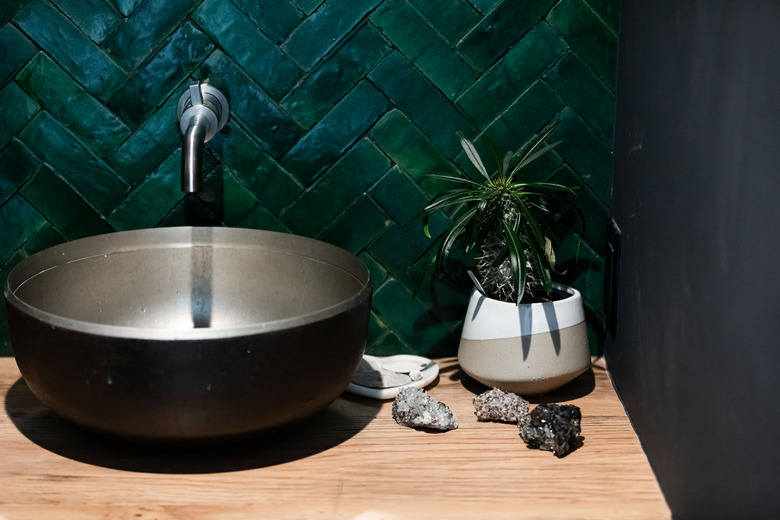
 Stephen Paul for Hunker
The Hidden Parts of the Bathroom Sink Drain
Unless your home improvement plans involve installing a new bathroom sink or changing the position of your current one, you won't need to look behind the wall, but if you do, this is what you'll probably see:
- The other end of the 2-inch pipe that stubs out of the wall, which is glued to a sanitary tee that directs water flow to the sewer.
- A vent pipe rising from the tee. In some cases, the drain stubout is glued to a bend and continues horizontally for some distance behind the wall, and the vent rises from this pipe. The vent can't be any farther than 6 feet from the trap, assuming the trap is made from 1 1/2-inch pipe, which most are.
Any horizontal pipes, whether drain or vent, must have a minimum 1/4-inch slope toward the drain, so they aren't really horizontal. If you don't see a vent pipe, that's why there's an AAV on the trap arm. If you don't see either, that's why your drain is slow and why you might be noticing sewer odors. Call a plumber for advice.
About Those Compression Fittings
About Those Compression Fittings
All the connections in a bathroom sink drain assembly, except the one between the trap and the trap arm, are made with compression fittings. Compression fittings for drain parts are often called slip-joint fittings. Each slip-joint fitting consists of one threaded pipe, a smooth pipe that fits inside it, a tapered plastic washer to close the gap between the pipes and a compression nut to tighten the joint and jam the washer into the gap.
These fittings are designed to be hand-tightened, but you may have to use pliers (large channel-type, or tongue-and-groove, pliers work best) to stop leaks, and the reason may be because the washer is old or improperly seated. When assembling the fittings, make sure the narrow side of the washer faces the connection and push it into the joint with your fingers before screwing on the nut. That way, you're more likely to get a leak-proof seal without having to resort to tools.
 Peter Schweitzer
How to Assemble a Bathroom Sink Drain
How to Assemble a Bathroom Sink Drain
This procedure assumes the drain rough-in has already been installed behind the wall and the stubout is in place. If you're installing a pedestal sink, you typically hang the sink and assemble the drain before you install the pedestal, which hides the drain assembly.
1. Install the Sink Strainer
Disassemble the strainer assembly, pack plumbers' putty under the flange on the actual strainer and then drop the strainer into the sink. Slide the rubber gasket that comes with the kit up the threaded section that extends below the sink and screw on the retaining nut. Tighten it as much as you can by hand and then finish the job with pliers.
2. Screw on the Tailpiece
Tighten the tailpiece onto the threads just below the retaining nut. If the tailpiece has a lever opening for a pop-up stopper, make sure this opening is facing the back wall when the tailpiece is tight. You'll finish installing the stopper mechanism when you install the bathroom faucet because the control rod is behind the spout.
Use a level to gauge the position of the bottom of the tailpiece with respect to the drain inlet in the wall. It should be at about the same level. If it's too low, cut it with a hacksaw, and if it's too high, add a tailpiece extension that is cut to the proper length.
3. Fit the P-Trap
Slide the compression nut and washer up along the tailpiece, fit the long, straight end of the P-trap over the tailpiece, slide the washer into place and tighten the nut just enough to prevent the trap from falling. Slide the trap up until the trap inlet is 1 to 2 inches above the waste inlet in the wall to provide the required 1/4-inch-per-foot slope.
4. Glue a Trap Adapter Onto the Waste Stubout
The trap adapter reduces the 2-inch drain opening to 1 1/2 inches for the trap arm, and it has threads that accept the compression nut. Glue this fitting to the stubout with plastic pipe cement.
5. Install the Trap Arm
Cut a piece of drain pipe to span between the trap outlet and the waste inlet, allowing at least an inch extra at each end for the pipe to fit securely inside the fittings. Install this piece with compression nuts. You may have to swivel the trap to get the pipe to fit into the joints, and twisting and turning any of the parts a bit here and there is normal.
6. Tighten All the Fittings and Check for Leaks
Confirm that the entire assembly looks good and the horizontal pipe is sloped toward the waste inlet at 1/4 inch per foot. Tighten all of the fittings by hand to lock the pieces in place. Fill the sink with water and look for leaks as the water drains. Tighten any fitting that leaks using pliers if necessary.
If the waste inlet isn't directly behind the sink drain or the water shutoff valves for the water supply lines are in the way, you may have to install bends onto the trap arm. These have compression fittings that you tighten the same way as all the others.