How To Replace A Garbage Disposal
We may receive a commission on purchases made from links.
As long as you don't overload it with bones, starches, and other items it can't handle, a garbage disposal should last for many years, but even the most rugged machine will eventually need to be replaced. However, even if it doesn't wear out, you may replace yours simply because you decide you need a bigger one.
The good news is that garbage disposal replacement is a DIY project for any home improvement warrior who has some basic plumbing knowledge. The job also involves some rudimentary electrical wiring, but it's difficult to do this incorrectly, especially if you follow the instructions that come with your new garbage disposal. The procedure is greatly simplified if your new garbage disposal is the same brand as the old one because that may allow you to leave the drain collar that holds the disposal to the sink in place.
 snyferok/iStock/GettyImages
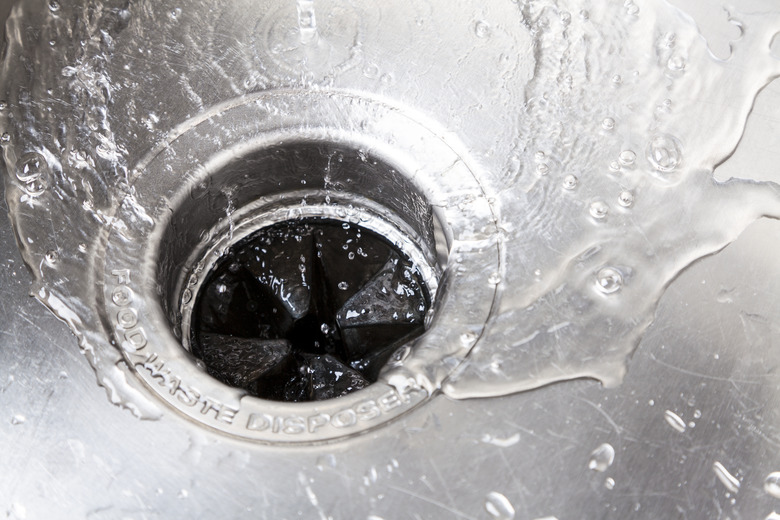
Signs You Need a New Garbage Disposal
Signs You Need a New Garbage Disposal
Some of the telltale signs of a worn-out garbage disposal include rattling and excessive noise, which indicate burnout or that the internal components are loose; leaking from the disposal body (not the hose connections or sink drain); and the need to frequently press the reset button because of clogging. Persistent bad odors may also warrant a replacement because getting rid of them may involve disassembly, and that's usually more expensive than purchasing a new unit.
Shopping for a New Garbage Disposal
Shopping for a New Garbage Disposal
If you were happy with your old disposal before it started malfunctioning, you might as well replace it with an identical one. That way, you won't have to make any changes to the plumbing, and your existing sink collar is sure to fit. If you choose to upgrade to a larger model, make sure there's enough space for it under the sink. More powerful units are larger.
If you're considering switching models, you can take advantage of some features that may not be included in the one you have now:
- More power: If your family has grown, your 1/3-horsepower unit may be working too hard, which is probably why it wore out. A 3/4- to 1-HP unit will better serve you.
- Batch or continuous feed: A continuous-feed model starts running as soon as you turn it on, and if you're in the habit of dropping utensils and other hard objects into it, you're a good candidate for a batch-feed model. It has a cover that you have to hold down before the disposal switches on.
- Noise control: Many contemporary garbage disposals have sound baffles and other cushioning to reduce noise.
- Enzyme reservoir: If you have a septic system, your garbage disposal should have one of these to treat food waste before it enters the septic tank. It will help keep your septic system running smoothly.
- Anti-splash baffles: This is a rubber liner that fits around the drain opening to help keep your sink clean. Most units come with one of these, but if cleanliness is your priority, it's a good idea to double-check to make sure one is included.
How to Remove and Replace an Old Garbage Disposal
How to Remove and Replace an Old Garbage Disposal
Warning
Before you do anything, it's important to turn off the power. Locate the circuit breaker in the main panel that controls the garbage disposal circuit and flip it off. If the panel isn't labeled, turn on the water and the disposal and flip breakers off one by one until the disposal goes off. Put a piece of tape over the breaker to make sure no one turns it back on while you're working.
1. Disconnect the Old Disposal From Power
If the old disposal is plugged into a receptacle, you can simply unplug it. If it's hardwired, locate the electrical terminal on the unit and use a screwdriver to remove the cover plate. Carefully unscrew the wire nuts holding the wires together but don't unravel them until you test the wires with a voltage tester to make sure they're dead. It's safe to proceed if the tester reads zero or the light stays off.
2. Disconnect the Plumbing
Put a small bucket under the P-trap to catch water. Then, loosen the nuts on either end of the trap, remove it, and turn it over to empty it into the bucket. If there's a dishwasher drain hose, loosen the clamp holding it to the disposal using a screwdriver and pull it off.
3. Unmount the Old Unit
Grasp the old unit with both hands and turn it counterclockwise until it unhooks from the mounting assembly. You usually have to turn it through less than 1/8 of a full rotation to free it. Lower the disposal unit to clear the assembly and take it out of the sink cabinet. It may be heavy, so be prepared to support its weight.
4. Remove the Mounting Assembly
(Note that this step is only necessary if you're installing a new disposal unit that uses a different mounting assembly.) Loosen the three mounting screws to relive tension on the lower part of the assembly. When this part is loose, use a screwdriver or a pair of needle-nose pliers to pull off the mounting ring. You can now separate the drain assembly. Tap the part that remains in the drain with a hammer to break the bond formed by the old putty and then pull it out from the top of the sink.
5. Clean Up
If you're installing a drain flange for your new garbage disposal, clean up all the old plumbers' putty from the drain opening. Don't leave any because hardened plumbers' putty will prevent the new flange from sealing, and it will leak.
6. Read the Instruction Manual for the New Model
Although the installation procedure for a new garbage disposal is fairly standard, there may be some features of the model you bought that require special attention. It's also a good idea to check all the parts included in the box with the list in the manual to make sure you have everything you need. If you bought an InSinkErator, you'll find a clog-busting wrench that fits into a slot in the bottom of the canister. Put it in a safe place because you're sure to need it at some point.
Tip
Some garbage disposals come with a preinstalled power cord, but others don't, and for those, you have the options of wiring a power cord that you can plug into a receptacle or hardwiring the unit to the home's circuitry. If you connect a power cord, it's easier to do it before you mount the garbage disposal.
7. Connect the Power Cord
Locate the electric terminal, remove the cover, and pull out the wires. Unless you're installing a 208/240-volt model, which is typically only for commercial use, you'll see two wires: one red and one black. Feed the power cord through the hole on the opposite side of the disposal unit, pull it out through the terminal opening, and separate the wires.
Connect the black wire on the cord to the black wire on the disposal and screw on a wire nut (which is supplied). Repeat with the white wires and then wrap the bare ground wire from the cord clockwise around the ground terminal screw and tighten down the screw. Push in the wires and replace the cover.
8. Install the Drain Assembly
Separate the drain assembly; you'll probably need to pry off the snap ring to do this. Pack the underside of the flange, which sits on top of the sink opening, with plumbers' putty, making sure it forms a continuous seal with no voids, and set the flange in place in the sink drain opening. Push down to make the putty ooze out and then have a helper hold it in place or secure it with a weight while you complete installation from underneath.
Working from under the sink, slide the fiber gasket up along the stem of the drain followed by the backup flange (a metal plate) and the mounting ring (a ring with three screws). Push these up as far as they will go and then install the snap ring into the groove in the bottom of the drain stem to hold them. Tighten the screws, each a little at a time, to secure the assembly to the sink. The stem and backup flange may be threaded, and if so, tap the flange in the clockwise direction with a hammer and screwdriver to tighten it. Clean up excess putty from the bottom of the sink with a putty knife.
9. Remove the Knockout Plug if You Have a Dishwasher
Most garbage disposals have a discharge tube opening for draining the dishwasher. There's a plug inside that you need to remove if you're going to hook up a dishwasher. Insert a screwdriver into the opening and tap it with a hammer to knock out this plug. Turn over the disposal unit and the plug should fall out. Make sure you remove this plug from the disposal unit or it will damage the shredder.
10. Mount the Disposal Unit
Lift the disposal unit onto the drain assembly and align the three tabs on the mouth of the disposal with the notches on the drain assembly. Push upward and turn the whole unit clockwise to lock the tabs into the assembly.
11. Make Electrical Connections If You Didn't Install a Cord
If the unit is hardwired, now is the time to connect the electrical cable. Follow the same procedure you would use to connect a power cord. Make sure all the connections are securely capped and the ground wire is connected before you screw on the electrical terminal cover.
12. Hook Up the Drain P-Trap
Most units have a drain elbow extending from the side. Slide a P-trap nut along the straight part of this pipe followed by a P-trap flange and then insert the pipe into the mouth of the P-trap and tighten down the nut onto the trap. Connect the other end of the trap to the waste pipe in the wall. The configuration of pipes you need to make this connection can vary. It helps to leave the disposal loosely mounted so you can rotate it as needed to make this connection and then fully tighten the drain assembly after you're finished.
13. Connect the Dishwasher Drain Hose
Slip a ring clamp around the dishwasher drain hose, push the hose onto the discharge tube opening, and tighten the clamp with a screwdriver to hold it.
14. Test Your New Garbage Disposal
Turn on the circuit breaker for the disposal circuit and then turn on the faucet. When a steady stream of water is running, turn on the garbage disposal and check inside the kitchen sink cabinet for leaks.
References
- Insinkerator: Installing a Replacement Garbage Disposal
- Home Depot: How to Install a Garbage Disposal
- YouTube: FIX IT Home Improvement Channel – How to Install a Garbage Disposal – Insinkerator Evolution
- Select Home Warranty: 5 Signs It's Time To Replace Your Garbage Disposal
- Build With Ferguson: Everything You Need to Know About Garbage Disposals