This DIY Valentine's Day Flower Arrangement Is Literally For Everyone
We may receive a commission on purchases made from links.
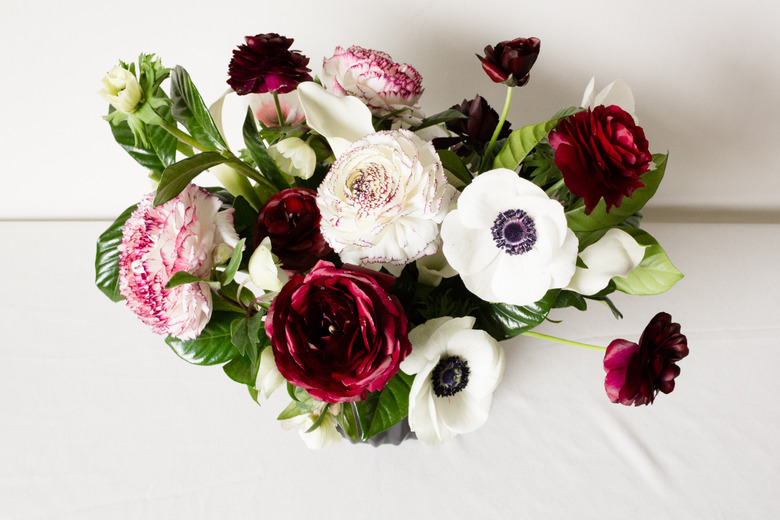
In the flower world, Valentine's Day is boss. And while most may associate the holiday with romantic love, you can also take this day as an opportunity to spread love with anyone you deem special — and flowers are a beautiful way to do just that. Especially when you create an arrangement on your own. It's bound to show the recipient, whomever they are, how much you care.
Things Needed
-
Fresh cold water
-
Gardenia branches, 1/2 bunch
-
Hellebores, 5 stems
-
White anemones, 6 stems
-
Berry-lined ranunculus, 4 stems
-
Burgundy ranunculus, 6 stems
-
White mini calla lilies, 4 stems
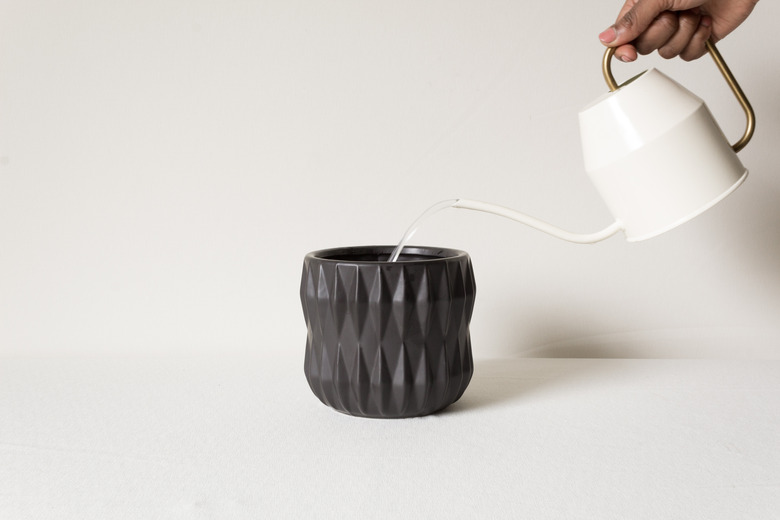
Step 1
Fill your vase with cold water.
 Whit McClure
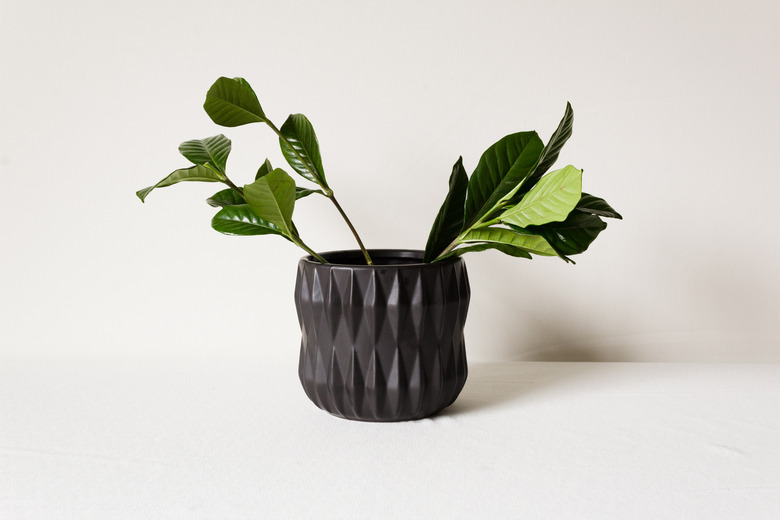
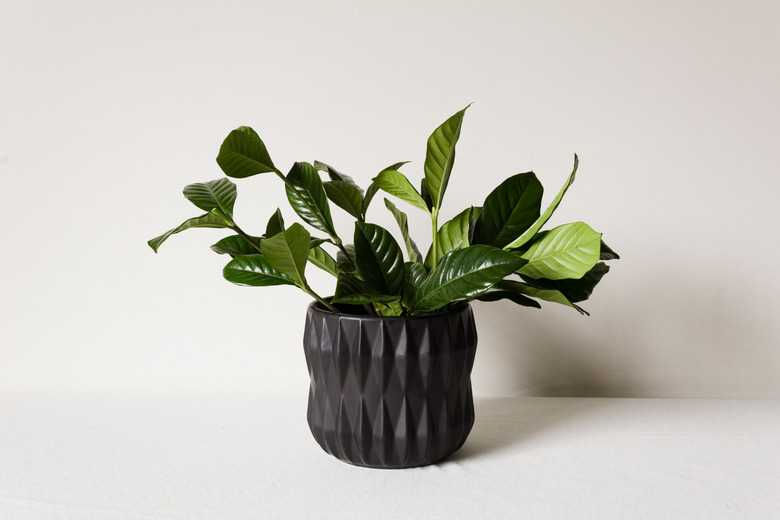
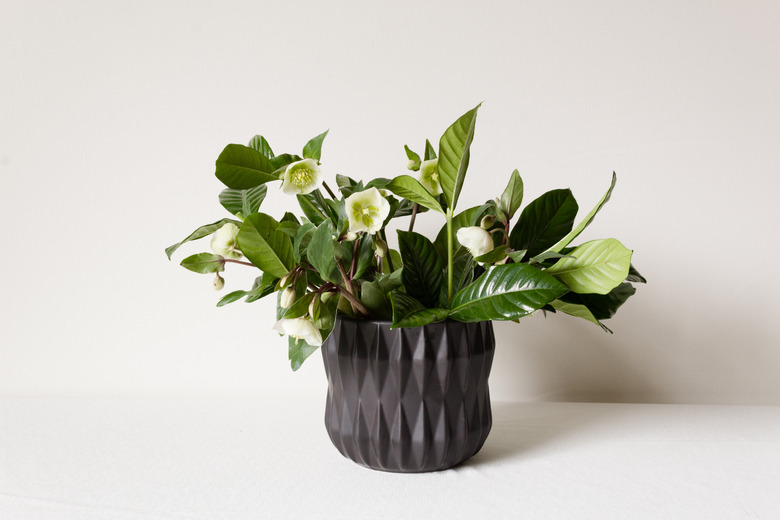
Step 2
With your gardenia and hellebore stems, establish your arrangement's shape by creating a nest. To do this, start with the gardenia stems and add two stems on each side of the arrangement. Then add two more stems cut a little shorter to the front and rear. Continue creating your nest by adding your hellebore stems. Keep these stems low in the arrangement to help create depth.
 Whit McClure
 Whit McClure
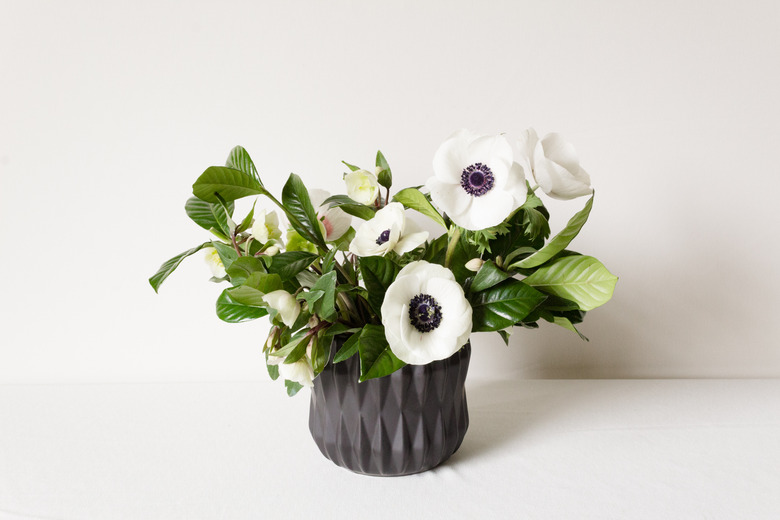
Step 3
Now add the three different focal flowers: white anemones and two different varieties of ranunculus. Start with the anemones by adding them in a cluster focused in the center and to the right side.
PRO TIP: Working in clusters helps ensure that your blooms make the greatest impact, while also creating continuity by giving the eye a place to rest as it takes in an arrangement as a whole.
 Whit McClure
 Whit McClure
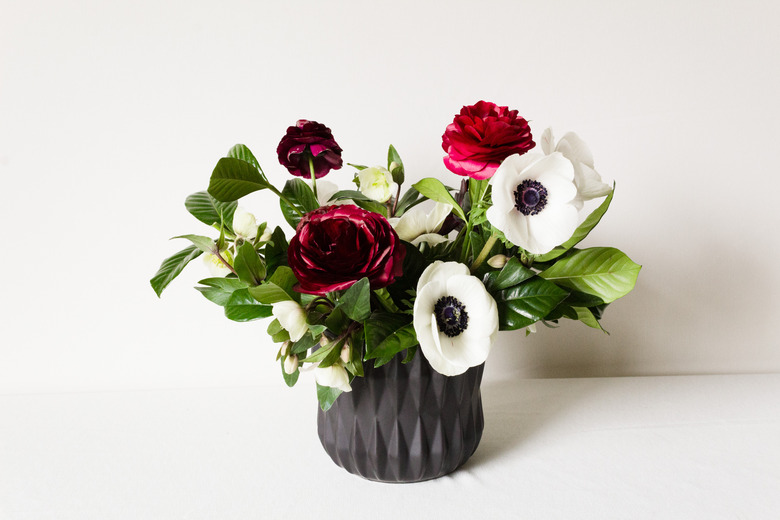
Step 4
Next, add your ranunculus. For this arrangement, we used two varieties: a deep burgundy and a white-to-burgundy gradient. We mostly focused the deep burgundy in the center and the gradient kind on the left to balance out the arrangement.
 Whit McClure
 Whit McClure
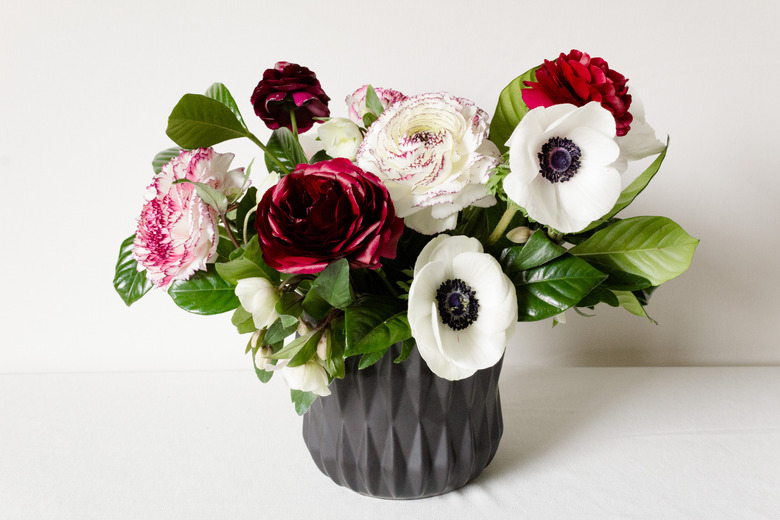
Step 5
Take the mini calla stems and tuck them into the arrangement, adding a little more depth and covering in blank spots.
Whit McClure
Step 6
Finally, top off your arrangement with a little more cold water, and you're ready to share!