How To Winterize An Outdoor Shower
We may receive a commission on purchases made from links.
An outdoor shower is a great convenience, and it's designed to hold up to harsh weather and high temperatures. However, you need to give extra attention to the plumbing and some hardware of the outdoor shower as the temperatures dip and winter cold gets a grip. Winterizing an outdoor shower will ensure that the open-air respite or workspace will weather the storms through the short, dark days of the season and be ready for use at the first sign of spring.
Why Winterizing Matters
Why Winterizing Matters
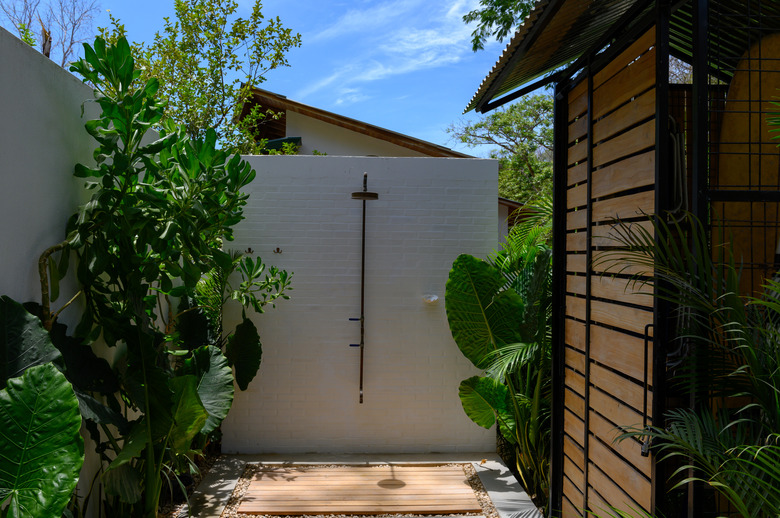
The fixtures, pipes and any ornamental faucets or spigots of the outdoor shower are designed to withstand quite a lot. But freezing temperatures can burst the pipes, small parts of showerheads and faucets and otherwise ruin the function and aesthetic of the outdoor oasis. The outdoor shower plumbing should be drained, and the fixtures, protected from harsh winter weather.
It's a good time to also give the open-air retreat a thorough cleaning after a long summer. A pair of work gloves can help you to get a good grip on the water valves or shut-off hardware. A small wire brush can be used to whisk away any hard water deposits that have built up around the pipe connections. Use a kitchen sponge to wipe down the pipes and fixtures. Plumbing tape or old clothes can be used to cover openings after removing hardware and fixtures.
Drain the Outdoor Shower Pipes
Drain the Outdoor Shower Pipes
For areas with mild winters, the outdoor shower needs to be drained only when there is a threat of freezing weather. In regions that are susceptible to freezing temperatures, the water from the outdoor shower needs to be drained regularly. Simply turning the water off to the shower is not enough to protect the pipes from freezing temperatures and possible rupture.
Shut off the water valve to the outdoor shower. If the outdoor shower has a ball valve, turn the handle of the fixture one-fourth of the way. It should be perpendicular to the pipe. A stop and waste valve needs to be twisted clockwise until it is resistant to turning.
Open up the showerhead, faucets or spigots. Let the water out completely and leave the water to the outdoor shower shut off.
Prepare the Pipes for Winter
Prepare the Pipes for Winter
For areas that are prone to freeze damage each winter, there are a few extra steps to finish winterizing the outdoor shower to protect pipes that are susceptible to freezing. Use a can of compressed air to completely blow any excess moisture from the fixtures, valves and pipes.
Remove the showerheads, faucets, spigots and any other detachable parts. The small parts of showerheads and ornamental fixtures can be damaged by freezing temperatures. This is also a good time to thoroughly clean them and store them inside. Remember to cover the pipe and valve openings with plumbing tape or old clothes to prevent critters, dust and debris from clogging up the lead-ins.
If, by chance, the pipes do freeze, let a little water run through the plumbing to keep them from freezing beyond repair.