How To Cut Cork Flooring
If you're looking for a warm, luxurious flooring material that's easy to install and eco-friendly to boot, you'll love cork flooring. It comes in floor planks or tiles, and you can glue it to the subfloor or install it as a floating floor. You can do it yourself, even if you never installed a floating floor before, but it does help to have a little experience.
You cut cork flooring in much the same way that you cut laminate. The cleanest and easiest way to do the cutting is to rent or buy a laminate flooring cutter, which will work with cork even though it's quite a bit thicker than most other laminates. Most people will probably want to do the cutting with a circular saw, and that's OK as long as you take a few precautions.
When it comes to cutting curves and notches, most installers use a jigsaw, but you need even more care to make these cuts because cork is a somewhat fragile material that chips easily. You can also make these cuts with a rotary tool but consider this word to the wise: Rotary tools work quickly and efficiently, but they're hard to control, and if you let your tool wander, you might end up having to discard an entire plank or tile.
 Stephen Paul
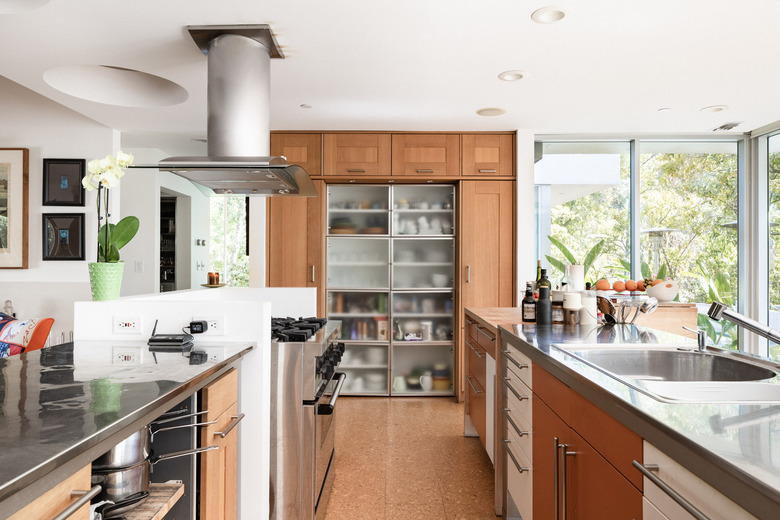
The Construction of Cork Flooring
The Construction of Cork Flooring
The term "cork flooring" doesn't refer to those thin sheets of cork padding you see rolled up in the back of the flooring store. Those sheets are underlayment, and you won't need them when installing cork flooring because the planks and tiles already have a cork backing. A typical plank has cork on the top, cork on the back and a plywood or fiberboard core, and all the layers add up to a typical thickness of 1/2 inch to 5/8 inch.
The core forms the bulk of a cork plank, and it features the same tongue-and-groove locking mechanism that you find on laminate flooring. If you're not installing a glue-down floor, you simply snap the planks together and allow the cork floor to float over the subfloor. You can install it on a plywood or concrete subfloor, but you may need a moisture barrier because the cork backing doesn't provide moisture protection.
One of cork's main weaknesses is its vulnerability to moisture, so it isn't a good choice for below-grade installation or installation in a damp location, such as the bathroom. When in doubt and as a good practice, you should always install a moisture barrier. The National Wood Flooring Association installation guidelines (available at Ferma Flooring) used to require a tarpaper or kraft paper moisture-protective underlayment for wood floors, including cork, but they've removed that requirement from their updated guidelines. Check with the flooring manufacturer for recommendations on moisture barrier materials.
 Stephen Paul
Rip Cutting the First Row
Rip Cutting the First Row
After leveling the subfloor, checking moisture with a moisture meter and giving your new flooring at least 48 hours to acclimate in the installation space, you're ready to begin installation, and that starts with laying the first row. When installing hardwood boards, a professional installer usually makes angled rip cuts on the first row to compensate for out-of-square walls, but cork planks are wide, and they don't have a vertical grain, so that usually isn't necessary. You can use full-width planks or tiles maintained at the proper distance from the wall with spacers.
Read more: A Homeowner's Guide to Saw Blades
You should trim the tongue off the planks, however, to allow you to maintain a 1/4- to 1/2-inch expansion gap against the wall. If the planks have a fiberboard core, you can usually make this cut with a sharp utility knife. You can also use a saw; a table saw is best, but if you don't have one, go ahead and use your circular saw. Turn the plank over and cut from the back to avoid chipping the surface. Keep the blade flush against the edge of the plank while you trim off the thin part of the core that extends beyond the edge.
 Stephen Paul
Making Straight, Clean Crosscuts
Making Straight, Clean Crosscuts
The easiest way to make straight crosscuts is to use a laminate flooring cutter, which resembles a heavy-duty paper cutter. You draw the cut line, align it with the cutter blade, pull the handle and voilá – where there was one plank, there are now two. The thickness of cork flooring is at the upper limit of what a good quality laminate cutter can handle, though, so chances are that you'll be doing the cutting with a circular saw.
Things Needed
-
Tape measure
-
Carpenter's square
-
Pencil
-
Sawhorses or work bench
-
Goggles
How to Cut Cork Flooring
1. Measure the Length of the Plank
Extend a tape measure from the wall to the end of the plank that precedes the one you need to cut. Bring the tape measure to the actual edge of the plank, not the end of the groove. Subtract 1/4 to 1/2 inch from the measurement to allow for an expansion gap.
2. Mark the Cut Line
Align the plank you're about to cut to ensure it's in the proper orientation, with the tongue facing the groove of the preceding plank. Turn the plank over, hook the tape on the end of the plank and mark the length on the backing. Use a carpenter's square and a pencil to draw a straight line perpendicular to the sides of the plank through the mark.
3. Set the Cutting Depth of the Saw
Loosen the depth control on your circular saw and raise the blade until the cutting depth is about 1/8 to 1/4 inch more than the thickness of the plank. This helps reduce chipping on the surface.
4. Keep the Blade on the Offcut Side of the Line
Clamp the plank to your work surface, lift the blade guard of your saw so you can see the blade and align the blade with the offcut side of the line. Put on a pair of goggles to protect your eyes and watch the blade as you cut to make sure it doesn't wander onto the line or away from it.
5. Use the Offcut to Start a Subsequent Row
Depending on how the room dimensions compare to the length of the planks, you may be able to use the offcut to start the next row, but that doesn't always guarantee a random stagger pattern, which is as important for cork as it is when laying hardwood flooring. Sometimes, you need to wait for a row or two to use an offcut to avoid step or H-patterns, which are unsightly.
Read more: How to Stagger Floating Floors
How to Cut Curves and Notches
How to Cut Curves and Notches
Cut curves and notches with a jigsaw. Unlike a crosscut, you can't easily measure a curved cut from the back of a plank. If you prefer to cut curves from the top side, you can minimize the risk of chipping by using a metal-cutting blade with a minimum tooth count of 12 teeth per inch.
When curved cuts or notches are exposed, such as at the corners of cabinets, they have to be accurate. One way to guarantee an accurate cut is to make a cutting template from cardboard or even a waste piece of flooring. Once you have a good fit, place the template on the plank to be cut, trace the cut line and make the cut.
Read more: How to Lay Laminate Flooring Around the Kitchen Cabinets
It's essential to anchor the plank well when cutting with a jigsaw to prevent vibrations that can cause you to lose control. When cutting on a table or on sawhorses, hang the edge you're cutting over the edge of the cutting surface so that the bulk of the plank is supported and put your weight on the plank as you're cutting. If you have to cut on the floor, hang the edge over a piece of 2x4 placed on its side.
 Stephen Paul
Cutting the Last Row
Cutting the Last Row
When you come to the wall opposite the one where you started, you have to fit in partial-width planks, and this is where you compensate for out-of-square walls by cutting planks at an angle. You need two measurements for each plank, one at either end, and these measurements will be different unless the walls are square, which is unlikely. Don't forget to subtract 1/4 to 1/2 inch for the expansion gap; you'll need the extra space to fit the planks in place. If you make the measurement marks on the ends of each board, you can flip the board over, scribe the line on the back with a straightedge and cut from the back.