How To Install A Washing Machine Box After Sheetrock Is Installed
We may receive a commission on purchases made from links.
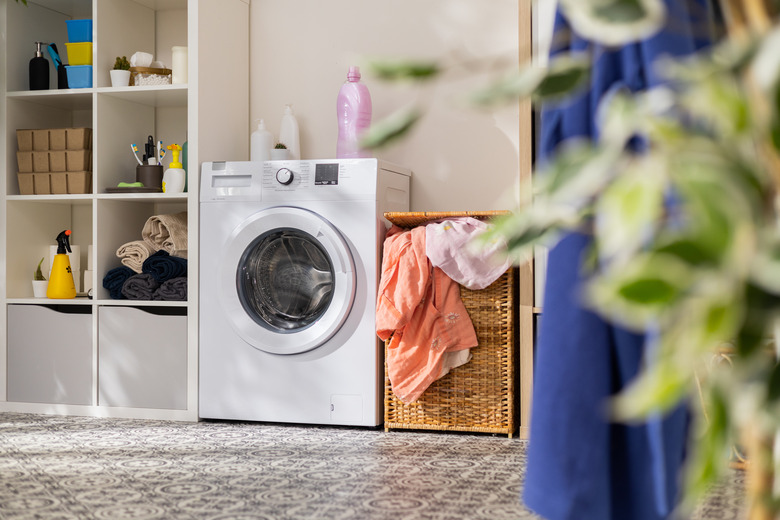
The room in which you do laundry, iron clothes, and fold them should be as clean and orderly as the jobs you do there, and nothing feels less orderly than water supply faucets sticking haphazardly out of the wall. You can fix that by installing a washing machine box. That's a job that's a lot easier to do when the walls are under construction and the drywall hasn't been installed yet, but you can still do it after the drywall has been hung and painted.
Let's face it, though — you're going to have to remove some of that nicely finished drywall to access the studs to which the box has to be attached as well as the water and drainpipes. It's tempting to remove as little drywall as possible, but cutting out a large section will give you better access, and when it comes to drywall, a large hole is no more difficult to patch than a small one. After you install the box and make connections, you may be able to reuse the drywall you cut out, or you can use new drywall. Neither option is very expensive.
1. Clear the Space and Measure
1. Clear the Space and Measure
If a washer is already hooked up, disconnect it from the existing supply valves and move it out of the way. Then, clear away all other items from the area to give yourself room to work. Measure from the floor to the desired height of the bottom of the box. It must be higher than the water level in the washer — usually from 42 to 48 inches. Make a mark, set the box on the mark, level it with a torpedo level, and draw a line along the top of the box.
2. Cut Out the Drywall
2. Cut Out the Drywall
Using a stud finder, locate a pair of adjacent studs to which you can attach the box. Draw vertical lines along the outside edges of the studs all the way to the floor and then extend the line you drew until it touches both vertical lines. Cut out the entire section of drywall using a drywall saw. Locate the screws holding the cutout to the studs and remove them. Then remove the cutout.
3. Screw the Box to the Studs
3. Screw the Box to the Studs
Washing machine boxes usually have a pair of wing flanges with screw holes that snap onto the box and extend sideways to overlap the studs. Align the box with the top edge of the cut-out section, level it with a torpedo level, and screw the flanges to the studs. The edge of the box should extend a distance out from the stud equal to the thickness of the drywall. Make sure the preinstalled valve inlets are facing in the direction of the water pipes. The drain opening always faces down, but many boxes have drain openings on the top and bottom so you can't make a mistake.
4. Connect the Water Lines
4. Connect the Water Lines
Run the water pipes to the box, drilling holes in studs wherever you need to pass them through. Connect the pipes to the valves using an appropriate connection method — soldering for copper pipes or crimp rings for PEX. Some valves have push-on connectors for PEX pipe. If you're disconnecting existing valves, be sure to turn off the water to the bathroom before you cut the pipes and reroute them to the new valve box.
5. Install the Drainpipe
5. Install the Drainpipe
Glue a section of 2-inch PVC drainpipe to the drain outlet in the box, extend the pipe to a suitable height for a P-trap, glue on the trap, and then extend the drain to an existing waste pipe and tie it in. You need access to the entire bay to do this, which is why it's a good idea to remove a large section of drywall.
6. Reinstall the Drywall
6. Reinstall the Drywall
Either reuse the old drywall or measure the cutout dimensions and cut a piece of new drywall. Cut out a notch for the box in the top and then screw the drywall to the studs with drywall screws. Tape the three edges with drywall tape and cover the tape with two or three coats of joint compound. Scrape the joint compound flat between coats and sand the final coat flat. Prime the joints — and the drywall if you used new material — using PVA primer and then apply two coats of paint.