How To Glue PVC Pipe
If you've never worked with PVC pipe before, it can seem a little like magic. You mop on some glue, fit the parts together, and in 15 seconds they're bonded—forever. Nothing else in the world glues so quickly and easily (not even super glue). In reality, the "magic" is a chemical reaction between the PVC plastic and the solvent cement, which actually softens and slightly melts the plastic to create a permanent weld between the parts. While it's impossible to undo a glued PVC joint, an improperly made joint certainly can leak, and for this there is no repair; you have to start over with new parts. But if you follow four simple steps, you'll get a leak-free joint every time, with or without magic.
 Feverpitched/iStock/GettyImages
1. Cut and Deburr the PVC Pipe
1. Cut and Deburr the PVC Pipe
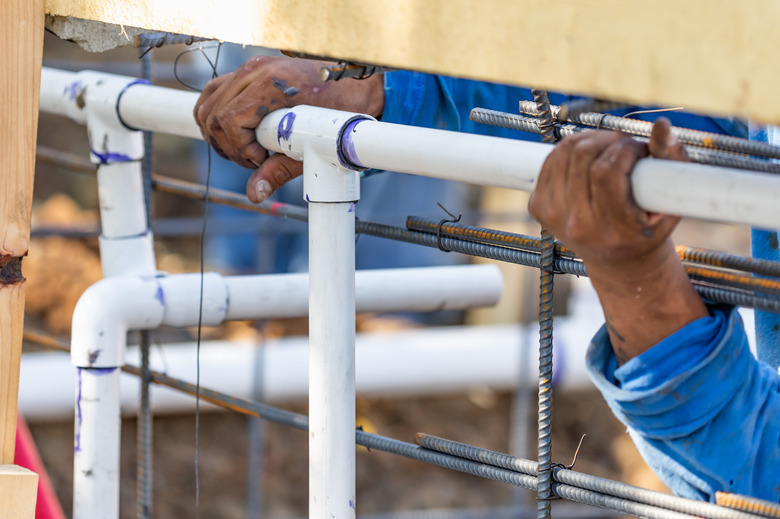
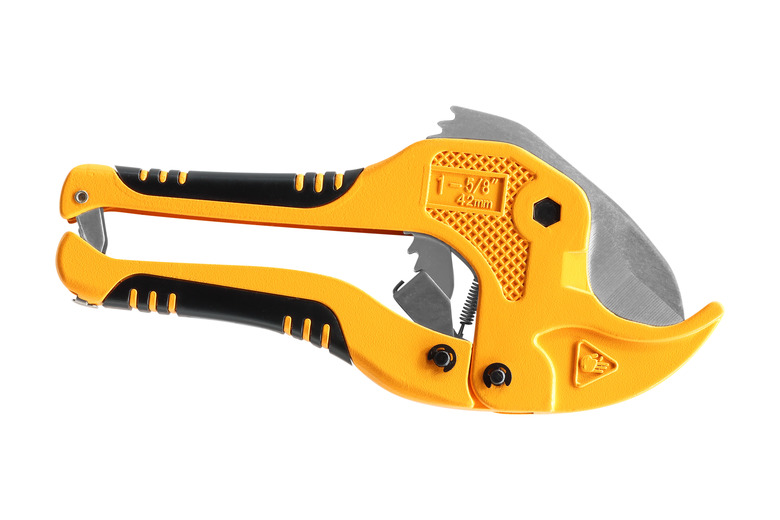
You can cut PVC pipe with almost any type of saw, including a handsaw designed for wood, a hacksaw, reciprocating saw or miter saw. For small pipe, you can also use a plastic pipe cutter—a tool that looks like modified pruning shears. The important thing is to make a straight cut that is square, at 90 degrees to the pipe. A crooked or angled cut is one of the most common causes of leaking joints, since the improperly cut pipes cannot fit fully into the sockets on pipe fittings.
 Modify260/iStock/GettyImages
Another common cause of leaks is _burrs—_rough plastic bits left on the cut edge of the pipe. These appear with almost all cutting methods. To de-burr a cut pipe, simply rub the cut edge with 80-grit sandpaper (other grits will work, too) or emery cloth. You can also sand a slight chamfer (bevel) on the outer edge of the pipe. This isn't critical, but it helps the pipe slip into the fitting more easily.
2. Dry-Fit the PVC Pipe and Fittings
2. Dry-Fit the PVC Pipe and Fittings
Before the glue-up, always test-fit the PVC parts together fully and mark their relative positions. The advantage of this method of "registering" the pipes and fittings will become clear once you see how quickly the glue sets and how impossible it is to correct any mistakes. A dry-fit is simply a full assembly of the relevant parts without glue.
 Oatey/DoItBest
- Fit each pipe into its adjoining fitting until the pipe bottoms out in the fitting's socket. Rotate the pipe or fitting to the desired position. For example, if you're adding a T-fitting to a length of pipe, and you want the side outlet of the T to point straight down, twist the fitting until the outlet does just that.
- Mark the positions of the pipe and fitting, using a dark-colored marker (a Sharpie is fine). Draw a straight line that starts on one piece and extends onto the other. (When you reassemble the parts with glue, you will align the two halves of the line to make it whole again).
- Also, mark the pipe by tracing along the edge of the fitting where the pipe goes in. During assembly when time is critical, this will tell you how far to insert the pipe to bottom it out in the fitting.
If you're gluing several parts in a sequence, dry-fit the entire assembly, make sure everything looks right, then mark all of the parts before disassembling them.
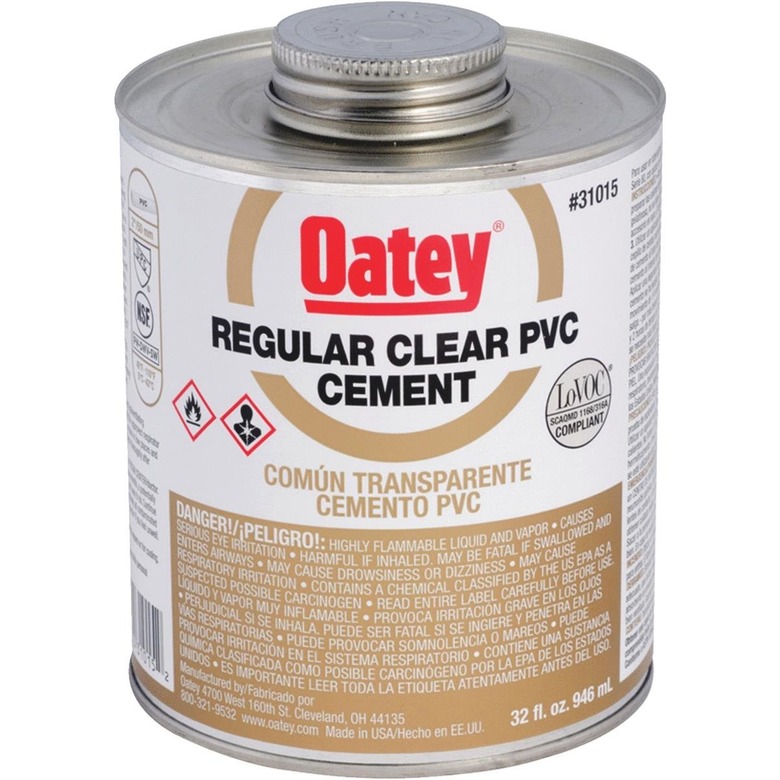
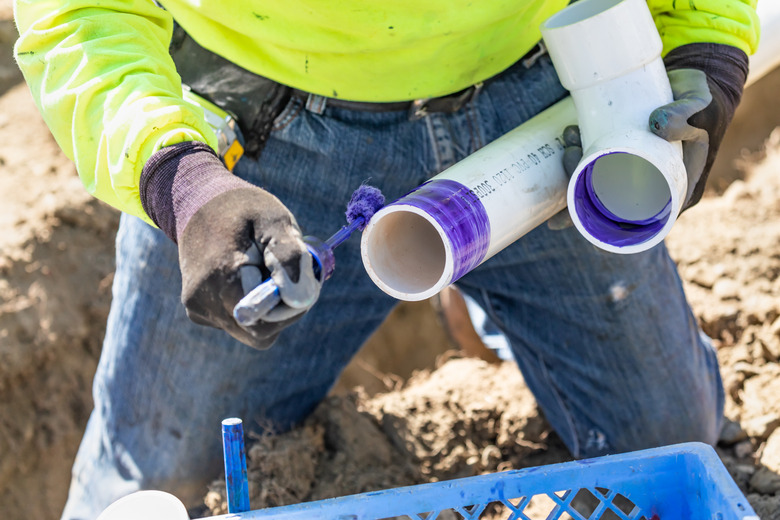
3. Apply PVC Primer and Cement
3. Apply PVC Primer and Cement
PVC primer and solvent cement (glue) comes in round metal cans that have pom-pom-like applicators built into the container caps. Make sure the products you get are designed for PVC pipe. If you're working with CPVC pipe (which is rated for hot water supply; standard PVC is not), double-check that the primer and glue will work with CPVC. As the solvent glue is applied to the fittings and pipe, time becomes important. The solvent glue begins to set up and harden fairly quickly, so work with haste finishing each joint completely before moving to the next.
 Feverpitched/iStock/GettyImages
- Use the primer applicator to swab a coating of primer around the outside of the pipe and the inside shoulders of the fitting where the pipe will go. Be sure to cover all of the areas where the pieces will make contact, and don't worry about going beyond these areas; it won't hurt the parts.
- Switch to the glue applicator and apply a liberal coating of glue to the same areas you just primed. Apply the glue immediately after the primer so the primer does not have time to dry. Move quickly to fitting the parts together.
4. Fit and Hold the Parts
4. Fit and Hold the Parts
Speed is of the essence as you assemble the parts after applying the glue since you have a limited window of time before the solvent glue begins to harden.
 Oatey
Oatey
- Immediately after the glue is applied, fit the parts together so they are about 1/4 turn offset from the desired alignment.
- Turn the pipe (or both parts) to align the marker lines, while pushing the parts together so the pipe stays bottomed out in the fitting socket. This quick rotation ensures that the glue is fully distributed for a leak-free joint.
- Hold the parts in the final position for 15 to 30 seconds, as recommended by the glue manufacturer.
- Wipe excess primer and glue from the joint with a rag; this is strictly for appearance and does not affect the quality of the connection.
At this point, the parts won't move, but the glue bond has yet to reach full strength. Do not stress the joint for at least 15 minutes. You can move on to gluing subsequent joints right away, provided you don't stress any recently glued joints. When all of the joints are glued, wait at least two hours before testing the assembly, or three hours if the temperature is below 60 F.