How To Change The Color On An Old Cultured Marble Vanity Top
We may receive a commission on purchases made from links.
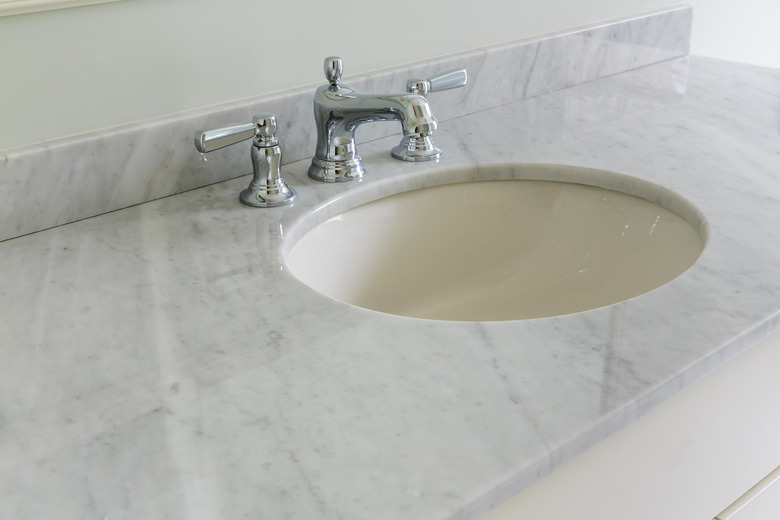
Cultured marble is a mixture of marble dust and binder that, while it looks like marble, isn't as resistant to damage or staining as actual marble. Because of this, you may eventually find that your cultured marble vanity has lost its good looks with age, attracting a collection of stains in the process.
To fix this, you can change the appearance of your cultured marble vanity top with a new coat of paint, as you would do with many other types of surfaces. Although this will change the color, it will also change the look of the marble, resulting in a solid surface for your vanity top. If you want to preserve the look of marble, seek a professional's help.
How to Paint a Cultured Marble Vanity Top
1. Turn Off the Water
Turn off any water supplying faucets attached to the vanity from the water supply valves beneath the unit. Turn the valves counterclockwise to shut off the water flow and then turn on the faucet to empty out the remaining water in the pipes.
2. Remove the Fixtures
Remove any fixtures attached to the vanity top. Use a utility knife to cut through any caulking around the fixture base; then pull the caulk free with the knife's edge. Loosen any screws or bolts holding the fixture in place with a screwdriver or adjustable wrench and then pull the fixture free.
3. Clean the Vanity Surface
Clean the surface of the vanity with a cloth dampened with a cleaning solution consisting of mild liquid soap mixed with warm water. Rinse thoroughly with clean water; then pat the surface dry with another piece of cloth.
4. Sand the Vanity Surface
Prepare the surface for primer by sanding the cultured marble with medium-grit sandpaper. The sanding removes any finish already present on the marble as well as creating a textured surface that allows for efficient primer adherence. Wipe the marble with a damp cloth after sanding to remove the sanding dust; then pat with a dry cloth to remove any moisture. Wear personal safety equipment, including a respirator mask and safety glasses, during sanding and cleanup.
5. Protect Floor and Adjacent Surfaces
Place a strip of masking tape along the edge of any adjacent surfaces to protect them from the paint. Place a drop cloth on the floor beneath the vanity to shield the floor from spills as well.
6. Ventilate the Area
Open windows and doors to maximize ventilation and put on a respirator mask and rubber gloves during priming and painting.
7. Apply a Layer of Primer
Apply a layer of primer to the surface of the vanity using a paint roller to create an even coat. Allow the primer to dry overnight, than scuff-sand it lightly with 220-grit sandpaper before continuing.
8. Add Topcoat Layers
Paint a color topcoat over the primer using epoxy-based paint and a paint roller. Make certain the coating is even, using several light layers of paint to build up your final coat rather than a single heavy layer. Wait about an hour for each layer to harden before scuffing and applying the next layer of paint. Allow the paint to cure for 24 hours after you have applied the final layer.
9. Apply a Polyurethane Finish
Cover the final paint layer with a polyurethane finish to seal the paint and create a wear layer that protects the paint from normal wear and tear. Apply the polyurethane with a roller, covering the paint in two coats and allowing each cost to dry for two hours before scuffing and applying the next. Before reinstalling the fixtures, allow the polyurethane to dry completely according to the drying time recommended by the manufacturer.
10. Reattach Fixtures and Apply Sealant
Use a screwdriver and wrench to reattach the fixtures to the vanity, then turn on the water supply and use the vanity as normal.