How To Paint A Cultured Marble Countertop
We may receive a commission on purchases made from links.
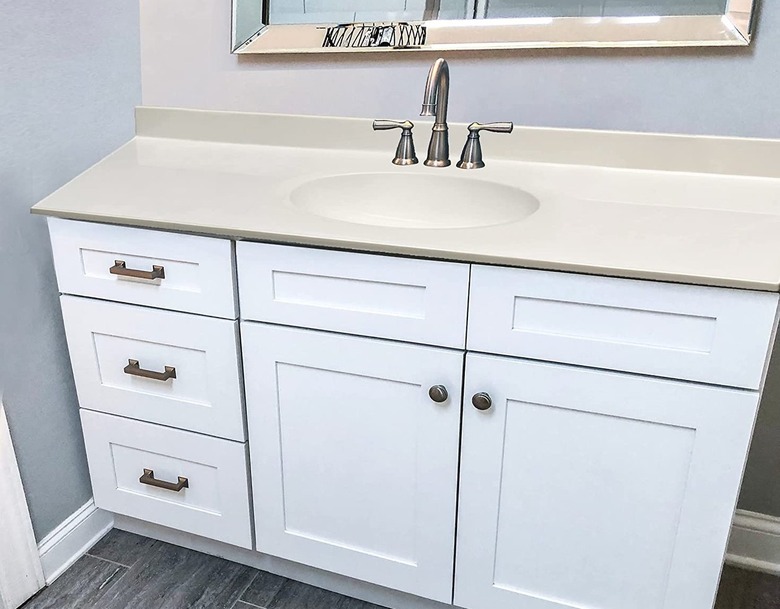
Once all the rage, a cultured marble countertop can now make your kitchen or bathroom look outdated, and some are, frankly, just plain ugly. Luckily, enough people have been faced with this problem that you can now repaint a cultured marble countertop easily using epoxy paint kits created just for that purpose. This is a lot less expensive than removing and replacing the existing marble and can completely revamp your space over the course of a weekend.
Important Epoxy Paint Safety Notes
Important Epoxy Paint Safety Notes
You should make plans for sensitive kids and pets before you get to work painting your countertops. Epoxy paint gives off some very potent fumes. You will want to wear an organic vapor respirator while you work and make sure your workspace is extremely well ventilated. Open windows and use multiple fans to push the fumes outside.
Wear nitrile rubber gloves when working as well to protect yourself from the paint and the cleaning chemicals you will be using. Use drop cloths liberally too; epoxy paint is made to stick to tough surfaces, so drips and accidents are not easy to remove. You'll need lacquer thinner to clean up unwanted drips.
Things Needed
-
Mildew remover or bleach
-
Bucket
-
Clean, lint-free cloths
-
Masking tape
How to Paint a Cultured Marble Countertop
1. Repair and Clean the Countertop
The key to a good finish is making sure the epoxy paint adheres well to your countertop. In order to do this, the surface must be free of the old caulk, mildew, and any other dirt or surface contaminants. Cleaning the countertop multiple times may seem redundant, but you will regret it if you shortcut the cleaning process.
- Remove any plumbing fixtures set against the countertop if you can. If you feel more comfortable doing so, you can mask them off later instead of removing them. Removal makes for a more complete job, however.
- Repair any chips or cracks in the countertop if necessary.
- Remove any caulk around plumbing fixtures and where the countertop meets the wall. If the caulk leaves behind any residue, remove it by cleaning the area with 99 percent isopropyl alcohol.
- Treat any mildew with a commercial mildew remover or a solution of bleach and water. Be thorough, treating the area as many times as necessary to remove any and all mildew.
- Rinse the countertop with warm water. Then scrub it with an abrasive sponge and cleanser. Strive for a spotless finish free of oil, dirt, soap scum, rust, mineral deposits, and hard water stains.
- Rinse the countertop again.
2. Prep the Surface
Your counter is now clean, but it's still not quite ready for paint. As is true of all painting projects, a good sanding job is important for a good finish. Sanding scuffs the shiny finish applied over your marble countertop so the new paint can adhere well.
- Sand the countertop surface with 320-grit sandpaper or #000-grade steel wool. Use a small, circular motion when sanding or scrubbing.
- Mix together water and the TSP or other cleaning solution that came with your paint kit per the provided instructions. Stir the mixture to dissolve it well, dampen an abrasive sponge with the mixture, and clean the entire countertop surface.
- Repeat the cleaning with the TSP mixture a second time.
- Dry the countertop with a lint-free cloth. Wipe the surface with 99 percent isopropyl alcohol one more time.
- Inspect the surface, making sure it is completely free of sanding dust and any other dirt or debris.
- Mask off the walls, any plumbing fixtures you did not remove, and any other areas you don't want to paint.
Tip
If you're using steel wool to rough up the countertop and it leaves behind a gray mark, it's a sign that some type of debris remains on the surface. You will need to clean that area again.
3. Paint the Countertop
When painting the countertop, you may choose to use a roller or a brush. If you opt for a roller, use a 4-inch roller with a 1/4-inch nap and make sure it is shed-free. Foam rollers work poorly with epoxy paints and are best avoided. If you use a brush, choose a high-quality 1-inch brush that won't shed bristles. Always have your brush ready for catching drips and working in tight areas, as epoxy paint can dry quite quickly.
- Stir the paint. Do not shake it, as this causes bubbles in epoxy paint that can mar your finish.
- Roll or brush on a thin, even coat of paint. You must keep a wet edge when working with epoxy paint, so work only a small area at a time. The paint in marble countertop painting kits can become sticky in as little as one minute, so work carefully but quickly.
- Allow the first coat to dry for at least three hours but not more than six.
- Apply the second coat using a new roller and brush. Again, apply the paint in a thin, even layer. Dark countertops may require three coats for full coverage, so don't worry if you still see a bit of the old countertop peeking through the second coat.
- Allow the paint to cure for 48 hours. You can then remove the masking tape, reinstall any plumbing fixtures you removed, and use your new countertop.