How To Frame A Shed On An Existing Concrete Slab
Things Needed
-
Tape measure
-
Pencil
-
Chalk line
-
Red chalk
-
Blue chalk
-
Clear spray
-
Sill plate
-
Circular saw
-
Ramset RS22
-
RS22 nails
-
2-by-4 lumber
-
Hammer
-
Nails
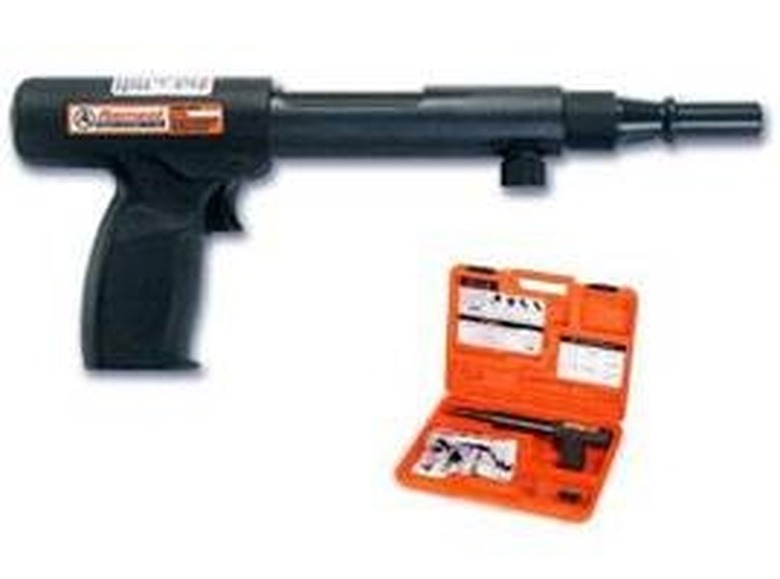
The main problem with trying to frame a shed on an existing concrete slab is trying to set the sill plate. The actual framing follows a standard process, the only exception being that you may have to toe-nail to attach the studs. You can set the sill plate by drilling and epoxying anchor bolts, or epoxying the wood directly to the concrete, but the fastest, most economical way to frame a shed on an existing concrete slab is to rent and use a Ramset powder actuated nail gun. The Ramset is relatively easy to use and powers a special nail through the wood of your sill plate and into the concrete. The hardest thing about using a Ramset gun is getting your layout right before you set the sill.
Step 1
Measure and mark on the existing concrete the points of your corners for your shed. Using a chalk line with red chalk, snap a line that will mark the outside line of your shed. From this red line, measure in the width of the sill plate (4 inches if you are using 2-by-4s, 6 inches for a 2-by-6). Snap the inside line using blue chalk in your chalk line. Spray the lines with a clear coat so there is no chance of you "losing" these guidelines.
Step 2
Lay your sill plate down, inside the lines, around the entire perimeter of the shed. Use a circular saw to cut to fit the plate.
Step 3
Load the Ramset gun. Depending on the model you rented, you may have to consult the directions for the proper steps, but the RS22 model is the simplest to use being a single shot gun. Pull back the chamber cover on the top of the barrel near the rear of the gun. Insert one RS22 nail with the charge towards the rear of the gun. The charge is indicated by the orange cap on the end of the nail. Close the chamber and you are ready.
Step 4
Make sure your sill plate is straight between the outside and inside lines you snapped. Place your foot on the board to hold it in position and place the Ramset RS22 against the board 4 inches in from the end. Hold the gun straight up and flush with the board. Pull the trigger and shoot the nail into the sill plate and concrete. Repeat this around the entire perimeter, shooting a nail every 24 inches with an additional nail 4 inches off each end, or 4 inches to each side of any two boards that have been butted together.
Step 5
Build each wall of your frame flat on the ground. Use two 2-by-4s on each end, two running length wise on top, and a single 2-by-4 on the bottom. Set your single studs every 16 inches. If you have a door or window in your shed, frame it into the wall using doubled up 2-by-4s as well.
Step 6
Lift each side of the frame into place with the assistance of two other people. Have them hold the frame vertically and steady on top of the sill plate and, using a regular hammer, drive a nail on each side of the studs at an angle so the nail passes through the stud and into the sill plate. This is called a "toe-nail." When one side is nailed in place to the sill, nail a two 2-by-4s as braces from the first single stud in on each end to the sill plate in the wall opposite. Use a toe-nail to attach the brace to the opposite sill. Stand, nail and brace all sides of the shed.
Step 7
Nail the corner pieces together. Place a 2-by-4 flat along the tops of the frame sides and nail it in place so the frames are joined together. Remove all the bracing.
Tip
Make sure to check the square of your frame before nailing the top piece of the frame on. Measure the diagonals of the opposite corners of the whole shed, they should have the same measurement if the building is square.
Warning
The Ramset is a very powerful and dangerous tool. It uses a powder charge on each nail to provide enough force to send it into concrete. Never operate a Ramset without safety glasses, shoes and gloves. Never point the Ramset gun at anyone, and never fire the Ramset into steel or into concrete where you know rebar is located because this can cause the nail to bounce or fire back through the gun.