How To Form A Homemade Concrete Wall
Things Needed
-
Ruler
-
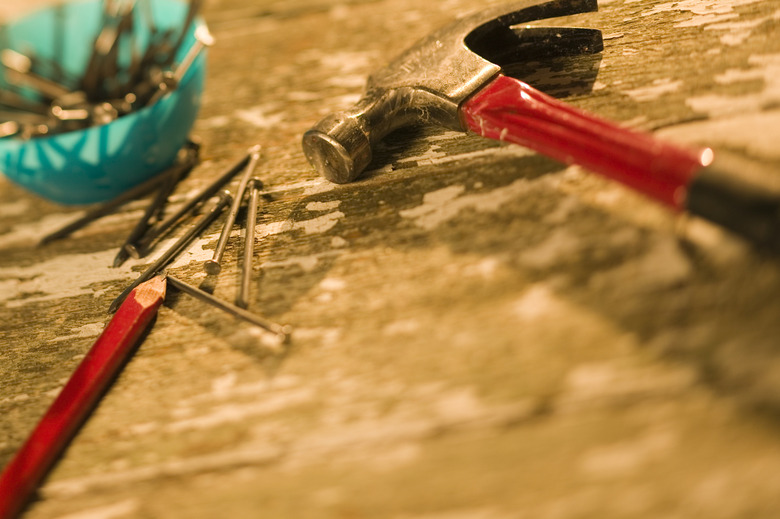
Hammer
-
Nails
-
Mason's string
-
3/4 inch plywood
-
2-by-4s
-
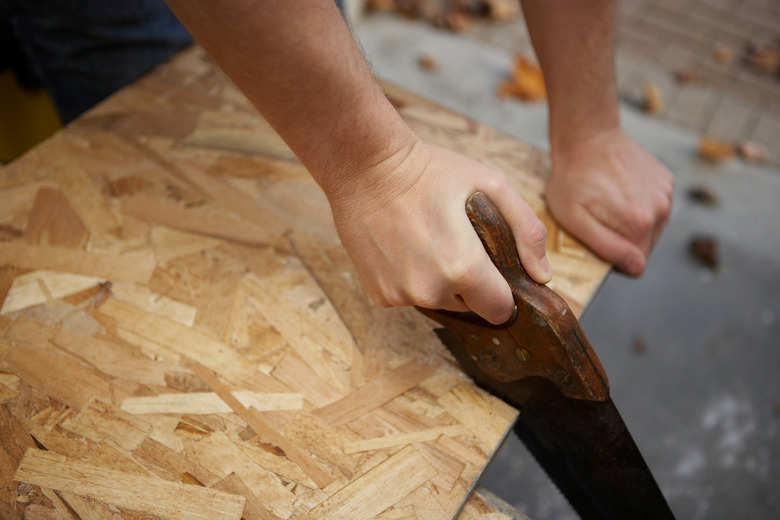
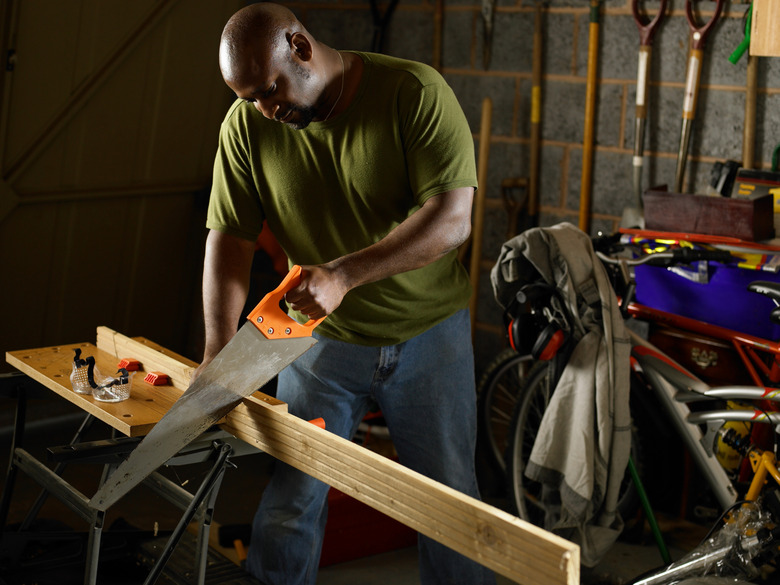
Saw
-
Metal strapping
-
Form oil
Tip
If you need to place two pieces of plywood together to create the height, cut the wood in step 4 and mark which pieces go together. When you are done setting and constructing the lower section, lift the second pieces into place and attach them in the same manner, only add additional vertical 2-by-4s to connect the two pieces of plywood.
Warning
Always wear appropriate safety equipment, especially safety glasses, when nailing into concrete. The concrete will chip and a shard hitting you in the face or eye can cause serious injury.
 Jupiterimages/Photos.com/Getty Images
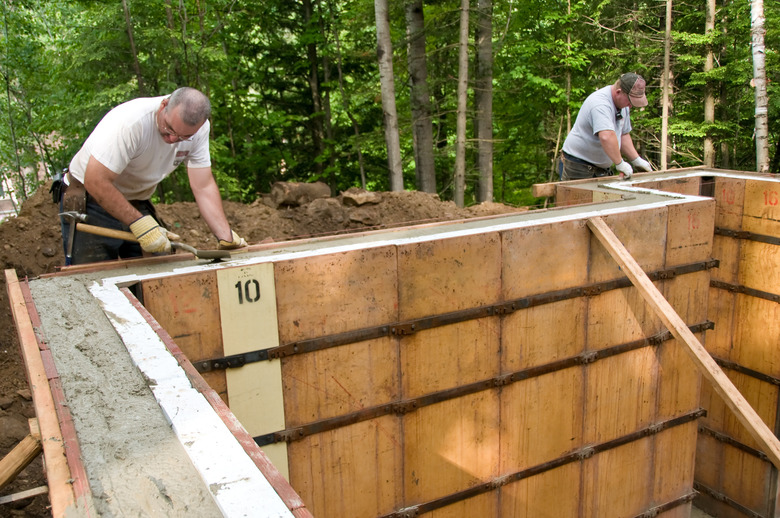
When doing your own concrete work, knowing how to form a homemade concrete wall is an essential skill. If the form is constructed incorrectly, the concrete can "blow-out" the form, breaking it apart and creating an enormous mess while wasting much of your money. Constructed correctly, a form for a homemade wall will not only retain the concrete but it can be reused to form other walls you may be planning on. Once your concrete footing that will support your homemade wall is complete, you can follow these steps to form the wall.

Step 1
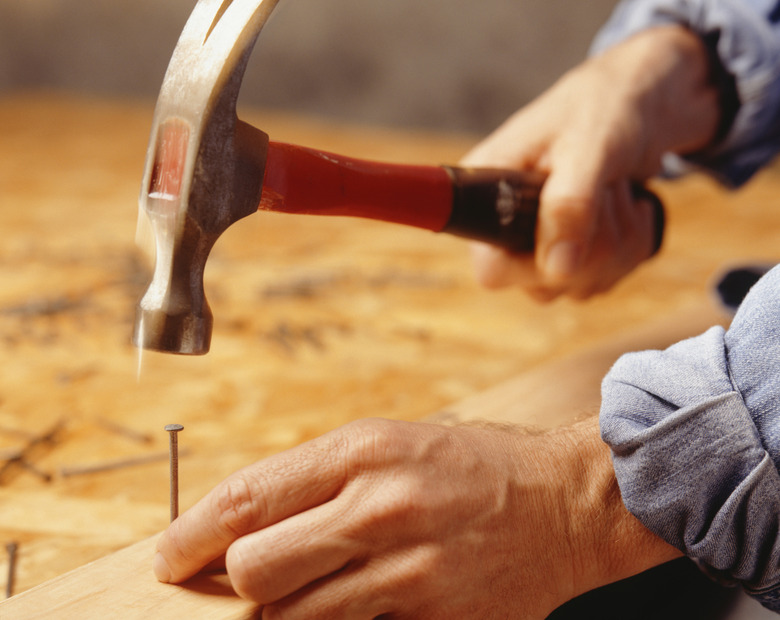
Measure from the edge of your concrete footing to the point where the outside face of your wall will be. Drive a nail into the concrete here. Measure out from that nail to where the other face of your wall will be and place another nail. So if your wall is 8 inches wide, your two nails should be 8 inches apart.
Step 2
 Comstock Images/Comstock/Getty Images
Place nails marking the outside faces of your wall at least 8 feet apart down the planned length of your wall. If your wall will be less than 8 feet in length, place two nails to mark the end of the wall. Tie mason's string down each side of the planned wall using the nails to keep the string straight. This way you can "see" where your wall is.
Step 3
 Medioimages/Photodisc/Photodisc/Getty Images
Lay a 2-by-4 board flat (on its wide side) on the concrete so the edge of the board is 3/4 of an inch away from your string (to the outside of the wall). You do not want the board to be inside the wall area. Nail the board to your concrete footing.
Step 4
 Jupiterimages/Photos.com/Getty Images
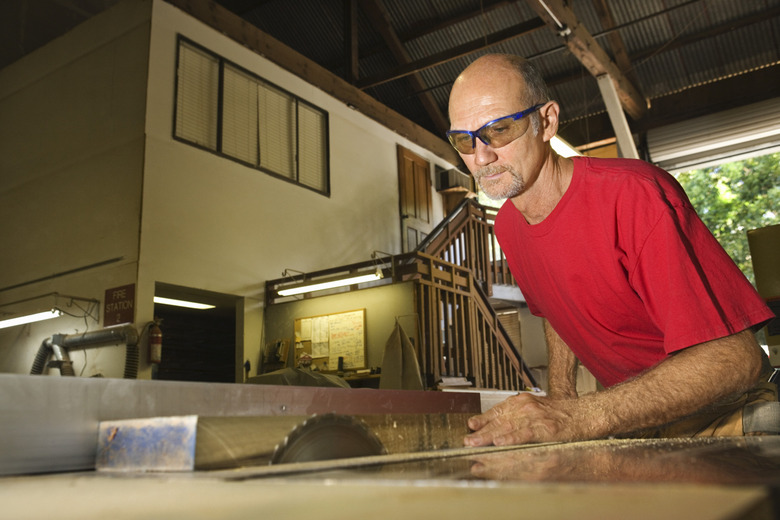
Plan out how much 3/4-inch plywood you will need to form each side of the wall. You want your wood to be as tall as your planned wall but to form the width (the length) of the wall using at least 4-foot sections. Cut your plywood accordingly.
Step 5
 John Howard/Lifesize/Getty Images
Cut some 2-by-4s and nail them to one side of the plywood so they are placed from edge to edge (width) of the plywood 2 feet apart. When you are done, it will almost look like you have made a ladder on the back of the plywood.
Step 6
 Photodisc/Photodisc/Getty Images
Stand your plywood up so it is butted against the 2-by-4 you nailed down in the space between the end of the 2-by-4 and the string. Make sure the side of the plywood with the 2-by-4s nailed to it are facing out from the wall. This will place the face of the plywood exactly where you want the face of your wall to be. Nail the plywood to the 2-by-4 attached to the footing.
Step 7
 Jupiterimages/liquidlibrary/Getty Images
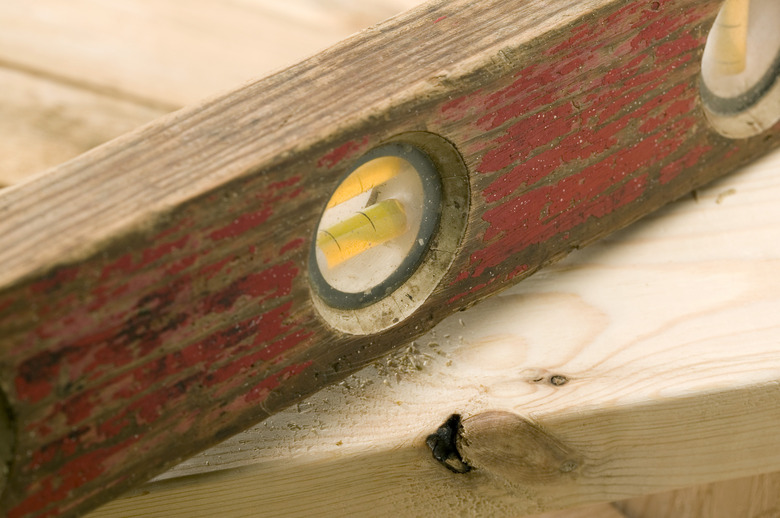
Use a level against the inside face of the plywood (the face that will be against the concrete) to make sure your form is straight up and down. Once you have it in that position, brace the wall into place by running 2-by-4s at a diagonal from the outside of the form face to the footing. Nail one end to the 2-by-4s attached like a ladder to the back of the plywood and then nail the other end to the concrete footing.
Step 8
 Medioimages/Photodisc/Photodisc/Getty Images
Repeat these steps to raise the opposite side of the form. When you are done, you should have a two-sided form for your wall.
Step 9
 Jupiterimages/Comstock/Getty Images
Cut metal strapping and attach it to both sides of the form. You want the length of the strapping to be able to stretch across the width of the wall with enough left over that you can nail the ends of the strapping to the forms. Place the strapping every 4 feet across the top of your form, bend down the ends and nail them to the wood.
Step 10
 Jupiterimages/Comstock/Getty Images
Measure and cut plywood to act as the end pieces for your forms, closing the gap between them. Use 2-by-4s to attach the end pieces by laying them across the back of the pieces and nailing them first to the end form and then connecting them. Add additional metal strapping to hold the end form to your form walls.
Step 11
 Jupiterimages/Photos.com/Getty Images
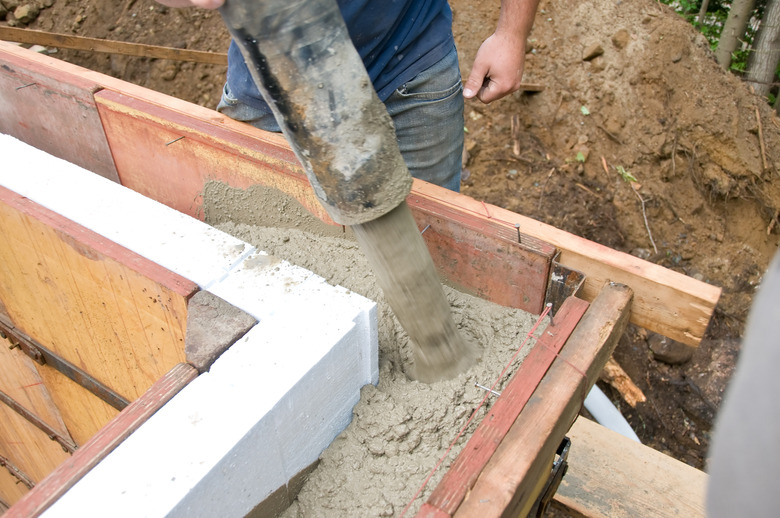
Coat the interior of your form with concrete form oil, so the plywood will not stick to your concrete, and you are ready to pour your wall.