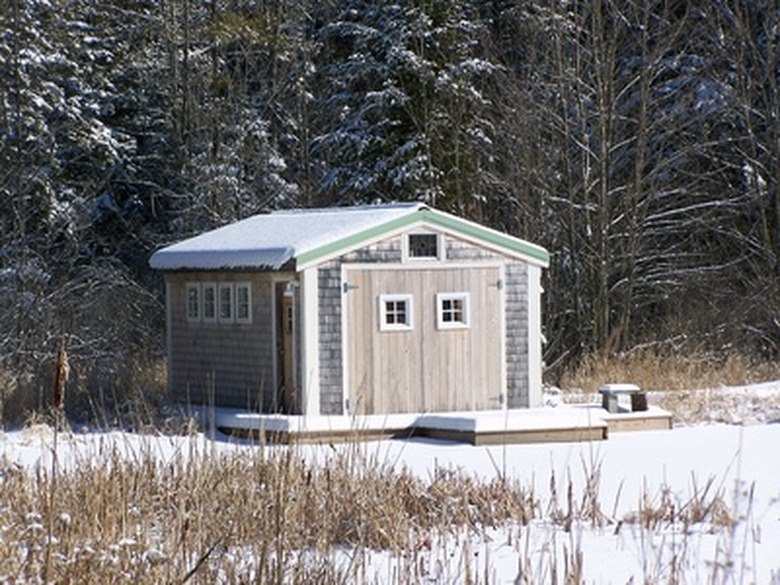
How To Turn A Storage Shed Into A House
With the cost of living increasing from year to year, many people are turning to smaller houses that cost much less to live in. A small house the size of a shed is not much different than a large house, except that everything is space orientated. You obviously need to consider the size of everything before installing it in the home.
Step 1
Go to your local government office and check to find out what kind of permits and steps you may have to go through before you start any plans. They will give you a list of requirements that apply to your community to help guide you through the legal aspects of your project.
Step 2
Bring water, sewer and electricity to the shed site. You will need to hire the appropriate contractors to make sure the sewer lines are placed at the proper depth and angle and fed into a septic system or public sewer.
Step 3
Set the shed on a secure foundation of a concrete slab or concrete blocks. Make sure there is appropriate grading around the shed to keep water from puddling around the base or under the shed.
Step 4
Outfit the shed with plumbing for fixtures such as a pedestal sink, a corner toilet and a small shower. Consider installing an outside shower to save space if you live in a warmer climate.
Step 5
Install outlets and recessed lighting by having a licensed contractor wire everything. The actual lights and face plates get installed after the walls and ceiling are finished. Since a shed is so small, any electrical work will be easy and your contractor will not need too much time to get the work done.
Step 6
Add windows if the shed windows are not suitable. Frame them in, connecting to the existing framework of the shed and then caulk them well to keep out moisture. Change out the shed door for a locking door that can be weatherproofed if it is not already.
Step 7
Insulate the walls and ceiling after mounting plastic to moisture-proof the walls, working around the installed electric and plumbing. Cover the plastic in drywall, spackle and paint or install wood paneling.
Step 8
Put down a 1-inch layer of extruded polystyrene foam and then concrete board on top to insulate the floor. Screw it down into the existing floor structure. Lay carpet or any other floor covering of your preference to finish.
Step 9
Install all the light fixtures and switch plates as well as the plumbing fixtures when the paint has dried. Turn on the breaker and check the switches. Test the faucets for leaks.
Step 10
Add cupboards and counters near the sink. Find furniture that has multiple uses, such as a built in couch that doubles as a bed with drawers underneath for clothing storage. Mount a flat-screen television for entertainment. Add window treatments for privacy.