How To Program A Hunter Thermostat
We may receive a commission on purchases made from links.
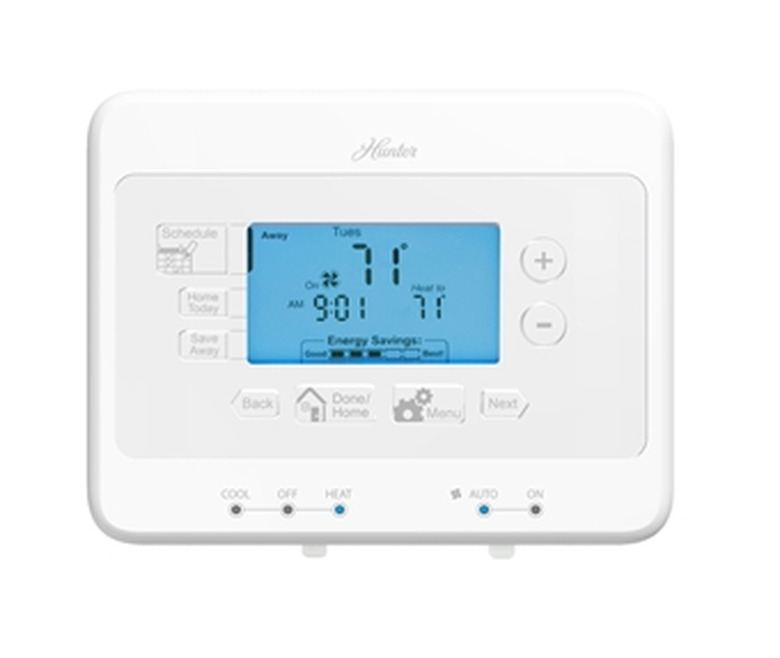
Although Hunter is not the largest manufacturer of programmable HVAC thermostats, those they do offer are efficient, good-quality thermostats that do the job just as well as any thermostat available, while costing less than most.
Like any programmable thermostat, the Hunter models allow you to set the temperature in your home according to your schedule — lowering the setting when you are away from the home or at night when you are sleeping, then powering up the air conditioning or furnace to bring the temperature to the desired range when you want it.
Hunter's 5-2 and Seven-Day Models
Hunter's 5-2 and Seven-Day Models
One series of model numbers represents a line of 5-2 thermostats, all of which have two programs you can set — one for the five days of the weekday, another for the two days of the weekend. These model numbers include the 44157, 44110, and 44155, all of which do pretty much the same thing.
Another series of Hunter programmable thermostats are the seven-day models, which allow you to set each day of the week differently. These seven-day models include the 44377, 44378, 44550, and 44668. You probably can see the pattern: Those models that begin with 441- are 5-2 models, while those that begin with 443-, 445-, or 446- are seven-day models. Fortunately, programming all Hunter thermostats follows the same procedure. The only real difference is that the seven-day models require you to set individual programs for seven different days, while on the 5-2 models, you'll only need to set two programs.
Hunter's Touchscreen Models
Hunter's Touchscreen Models
A third line of Hunter thermostats includes several touchscreen models that are so intuitive to program that they require almost no instruction. They are generally sold as "five-minute" thermostats, so-named because the installation procedure is said to take no more than five minutes. These models include the 44905, 44272, 44860, and 44377.
How to Program a Hunter Thermostat
How to Program a Hunter Thermostat
The directions for programming a Hunter thermostat are based on the company's current models. If you have an older model Hunter thermostat, the methods for setting the program may vary slightly, but it should be an easy matter to adapt the minor differences to your model.
1. Set the Date and Time (5-2 and Seven-Day Models)
- Press the DAY/TIME button. The hour display on the screen should be flashing.
- Use the UP/DOWN arrow keys until the hour display reads the correct hour.
- Press the DAY/TIME button again to lock the hour and move the display to MINUTES, which now should be flashing.
- Use the UP/DOWN arrow keys to move the MINUTES to the correct setting.
- Press the DAY/TIME button again to lock the minutes and move the display to the flashing day of the week.
- Use the UP/DOWN arrow keys to move the day of the week to the correct setting.
- Press the DAY/TIME button to lock in the correct day. Press DAY/TIME a second time to return the display to the standard setting. Your thermostat's day and time are now locked in.
2. Program the HEAT Setting
- Slide the SYSTEM SWITCH button to the HEAT setting.
- Press PROGRAM. The first program is ready to be set; you'll be setting the time and temperature you want for the "wake" period of the day. The hour display should be flashing on the screen.
- Use the UP/DOWN arrow keys to select the hour you want the first program to begin. Pay attention to the AM-PM display to make sure you're setting the correct time.
- Press the PROGRAM key again. This locks in the hour and activates the flashing minute display.
- Use the UP/DOWN arrow keys to set the minute you want the first program to begin.
- Press PROGRAM again. Now the temperature setting should be flashing.
- Use the UP/DOWN arrow keys to set the temperature you want for this period of the day.
- Press the PROGRAM key again. The time for the first program has been set, and the display should now flash a "2" to indicate the second program can now be set. Normally, this is the "Away" program — the temperature you want to set for the period when you're out of the house.
- Repeat items 5 to 8 to set the time, then the temperature for the second program of the day. Repeat these steps for all the remaining programs available on the thermostat. On a 5-2 thermostat, there will be a total of eight settings: Wake, Away, Return, and Sleep for the Monday through Friday workdays and another four settings for the two-day weekend. On a seven-day model, there will be a total of 28 individual settings, four for each day of the week.
During the times of year when you are heating your home, the thermostat will follow this group of HEAT programs.
3. Program the COOL Setting
- Slide the SYSTEM SWITCH button the COOL setting.
- Repeat the process shown in Step 2 to program when you want the AC to activate for all programs available to the thermostat.
During the times of year when you are cooling your home, the thermostat will follow this group of COOL programs.
Tip
Hunter thermostats come preprogrammed with a group of temperature settings, which may or may not actually work for your lifestyle. It's worth reviewing the programs that are already set to see if they work for your situation.
Use the "Up" and "Down" arrow buttons to set the hour for your first setting, which will be when you wake up in the morning. Arrow up or down to change the time. Note the "AM" or "PM" on the display to make sure you have the time set for morning or evening as appropriate.
4. Overriding the Program
Should you want to temporarily override the program — for example, if you stay home from work one day — here's the process:
- Hold down one of the UP/DOWN arrow keys until the display flashes.
- Use the arrow keys to move the temperature setting to the desired temperature.
- Press the HOLD/RETURN button. The thermostat will now hold the temperature at the setting until the override is cancelled. You will see the current program number flashing on the screen to indicate it is being temporarily overridden.
- To return to normal programming, press the HOLD/RETURN button again. The thermostat will now return to following its established programming.
5. Programming Touchscreen "Five-Minute" Thermostats
The various touchscreen models are quite easy to program. Rather than mechanical buttons, you'll be pressing electronic icons displayed on the screen. Here is a basic overview of how one representative model, the 44860, is programmed:
- Touch any blank spot on the touch screen.
- Touch the SELECT FUNCTION electronic "button" on the screen.
- Touch the PROG button displaying on the screen.
- Touch the PROG button again, until the SELECT ICON TO PROGRAM display appears.
- Select the DAY you wish to program; touch this button displayed on the screen.
- Touch one of the PERIOD icons on the screen. (You have four settings per day.)
- Select the HEAT or COOL icon (represented by a flame or snowflake).
- Touch the TIME display to begin setting the time.
- Touch the UP/DOWN keys to adjust the time you want the first program to begin.
- Touch the TEMP display to activate the temperature setting for this period.
- Touch the UP/DOWN arrow keys to set the temperature to the desired level.
- Touch PROG to lock in this program.
- Repeat items 4 to 12 to set the remaining programs available on the thermostat. For each program, you will set new times and temperatures. The PROG key is what will lock in each program after you set the time and temperature and send you on to the next setting to program.