

Turn Wood Rounds Into Rustic-Style Bowls With A Super Simple DIY
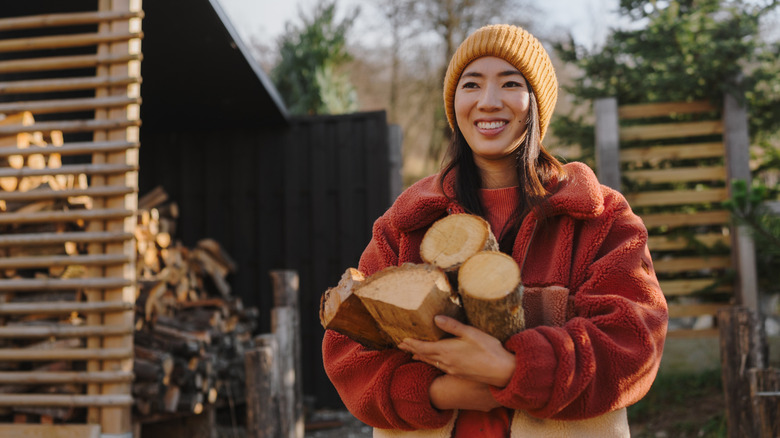
You can make lots of things with wood rounds. If they are on the bigger side, you can make trivets for the dinner table, a walkway, or even a wood-round patio. You still have plenty of options with the smaller ones, too – you can make backings for your favorite photos or hanging key holders, or you can use them as blanks to develop your artistry skills. But a bowl? How do you get wood rounds to form that shape and stay that way? Kreative Kat & Handy Dan show you how in a Facebook post, and the result is a true conversation piece.
You need wood rounds, of course, and the creators of this project got them by slicing fallen tree branches into slices about 1/4 to 1/2 inch thick. Fallen branches have already had a chance to dry out, and that's important because rounds are more likely to stick together and less likely to warp when they're dry. You can also buy wood rounds online, but commercially available ones, like these 2.4 by 2.8-Inch Natural Wood Slices available on Amazon, are all the same size, so your design will have less variation unless you order multiple sizes.
The project calls for a form around which to arrange the wood chips, and for this, they used a large plastic mixing bowl from Dollar Tree. Other supplies they used included parchment paper, multipurpose craft adhesive, and a hot glue gun.
Making and using a wood-round bowl
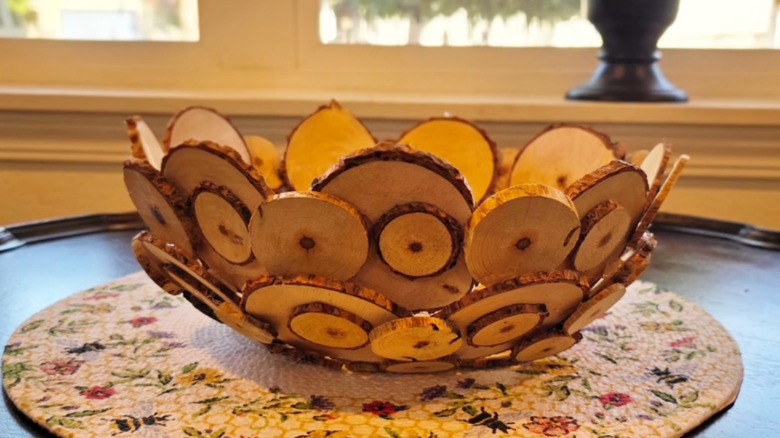
A video creator for Kreative Kat & Handy Dan started by covering the outside of the plastic bowl with parchment paper, pulling it tight and wrapping it over the lip. They then arranged the rounds around the outside of the bowl, using hot-melt glue to hold them to the paper and multipurpose glue to hold them to each other. After gluing all the rounds and giving the glue time to set, they unfurled the parchment paper, lifted the plastic bowl out, and carefully peeled the paper away from the wood rounds.
It's important to be generous with the multipurpose glue, because ultimately that's all that will hold the bowl together, but the opposite is true for the hot-melt glue. The less you use, the easier it will be to remove the parchment paper. If you see excess, dabbing it with a generous amount of isopropyl alcohol is an easy way to remove dried hot glue.
While this ornamental bowl isn't suitable for holding liquids or food, it's sturdy enough to display larger items. The Kreative Kat & Handy Dan creator opted to fill theirs with small pumpkins, pinecones, and other rustic autumnal decorations. You can easily switch out the contents for the seasons with faux greenery, ornaments, and other festive accents. However, because this DIY uses craft adhesives that aren't intended for food contact, we don't recommend storing edible food in the bowl, even if you treat it with a food-safe wood finish.