

Cover Old Tin Cans With Tissue Paper To Create Vintage-Inspired Decor Gems
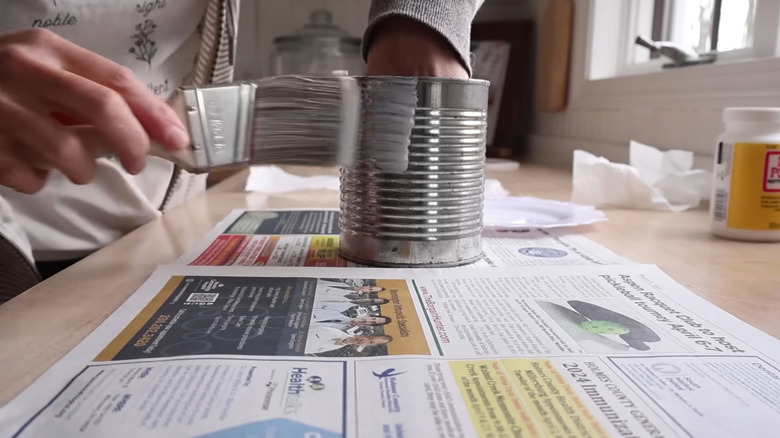
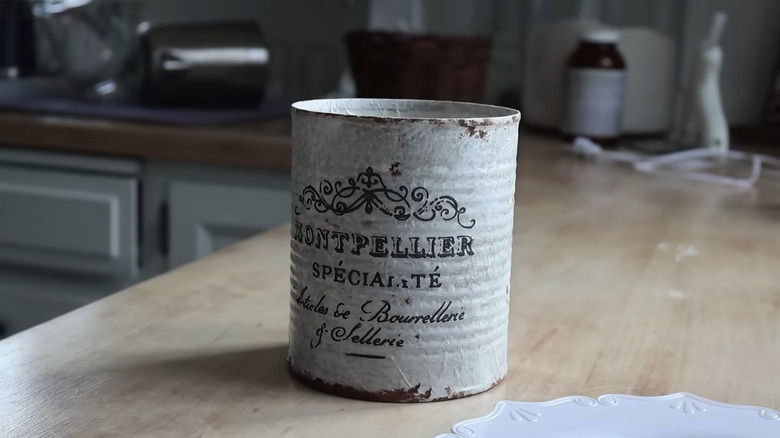
Tossing tin cans into the recycling bin? If so, you're getting rid of an inexpensive upcycling option that results in a vintage-looking container for your counter. The White Cottage Company YouTube channel proves that with a tissue-paper-covered tin can DIY. After decoupaging white tissue paper to the can, they used a vintage-style transfer that looks like a label and created faux rust spots with brown paint. Who knew repurposing old soup cans could be so easy and so cute?
Old cans are sturdy enough for upcycling them into something useful, and turning them into a new item is potentially even more eco-friendly than recycling — you cut out the transportation costs and energy to recycle the metal. For this project, you can use any size of can, from a small soup can to a jumbo commercial kitchen size can. Consider how you'll use the container, especially if you're using it for storage, to make sure it's appropriately sized. Test out empty cans to see if they fit well in the spot you're considering or if they'll hold the items you want to store there.
The vintage-inspired aesthetic of this DIY makes it perfect for farmhouse living rooms with charming country style or rustic kitchens that need a little extra storage. For the decorative touch, find rub-on transfers that fit the old-fashioned vibe. Options like these Olycraft French Farmhouse Rub-On Transfers work well. You'll also need white tissue paper, Mod Podge, and a few shades of brown paint to create the faux rust effect.
Cover a can with tissue paper for vintage decor
To prep the can, wash it well with soap and water to remove food debris. If the edges are sharp, you can rub it with a small hammer head or a coin to help smooth them out. Remove the label and any glue spots left behind. Saturating glue in cooking oil, applying baking soda paste, or heating it up gently can help remove stubborn spots.
Cut a piece of white tissue paper slightly larger than the can. Brush a generous layer of Mod Podge onto the can, and place the tissue paper over the can. Smooth it onto the surface. The excess edges can be cut off or smoothed onto the bottom of the can. Apply a second layer of decoupage glue over the tissue paper. If you're happy with the coverage, move onto the decorations. You can also add more layers of tissue paper, using the same technique, until you achieve a look you love.
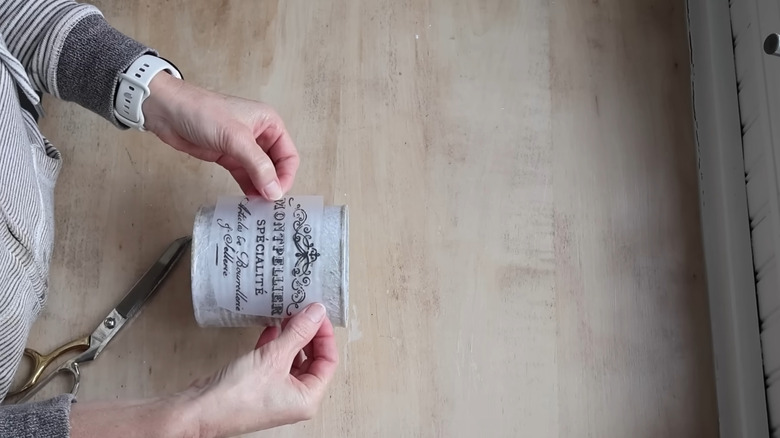
To replicate the original project, apply a vintage-style transfer to one side of the covered can. You can add multiple transfers if you prefer. Then, age the piece even more by dabbing on spots of brown paint. Gently mixing together lighter and darker shades of brown helps you reach a more natural rust look. A cotton swab gives you good control to dab small spots of rust onto the can. Focus on the top and bottom edges where rust might naturally form. When you paint metal to look old, start small to make sure you don't go overboard. You can easily add more spots if needed, but it's more difficult to wipe the away without messing up the tissue paper background.
Ways to customize your tissue-paper-covered can DIY
Changing up the techniques and decorations lets you customize your finished decor piece to reflect your style. An alternative to paint to create the faux rust effect is using cinnamon or similar ground spices that look like rust. Mix together a little Mod Podge and cinnamon, and apply it where you want the rust. Or, apply the Mod Podge to the can and sprinkle the spices on top of it. You can also dab a little Rub 'N Buff on key spots for the aged effect.
Another way to change the look is by adding a wire handle. Drill two holes opposite of each other just below the rim of the can. Curve a piece of sturdy wire into a handle shape, thread the ends through the holes, and twist the wire to secure the handle. In the original, the creator found an old metal lid that fit onto the can. Look for something similar if you want the lidded look. Another idea is to top it with a round piece of wood with a decorative knob placed on top for a simple finishing touch.
You can also get creative with how you use the can decor piece. If you skip the lid, add a strand of fairy lights inside to create a warm glow from within. You can fill the can with dried flowers to increase the height and incorporate more textures. The decorated can also works well as storage — turn the empty can into an adorable craft organizer, for example. If you use a large can, this DIY could work as a utensil holder on your kitchen countertop.